
Fireplace Mantle

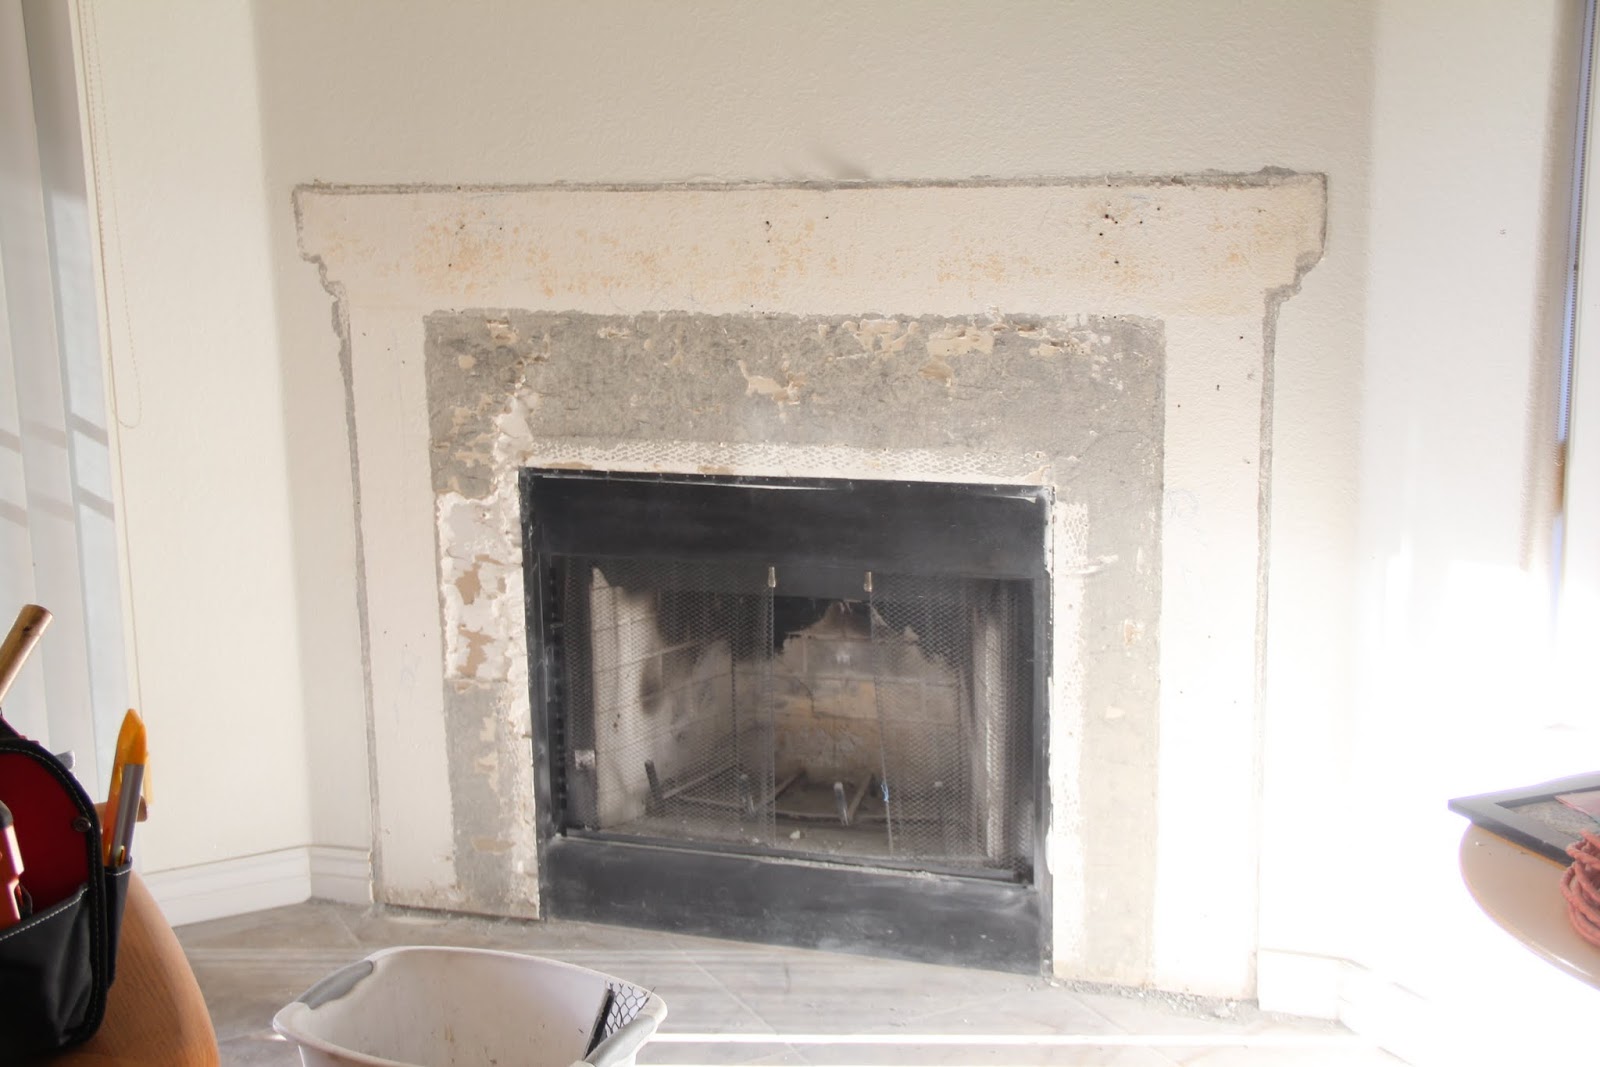
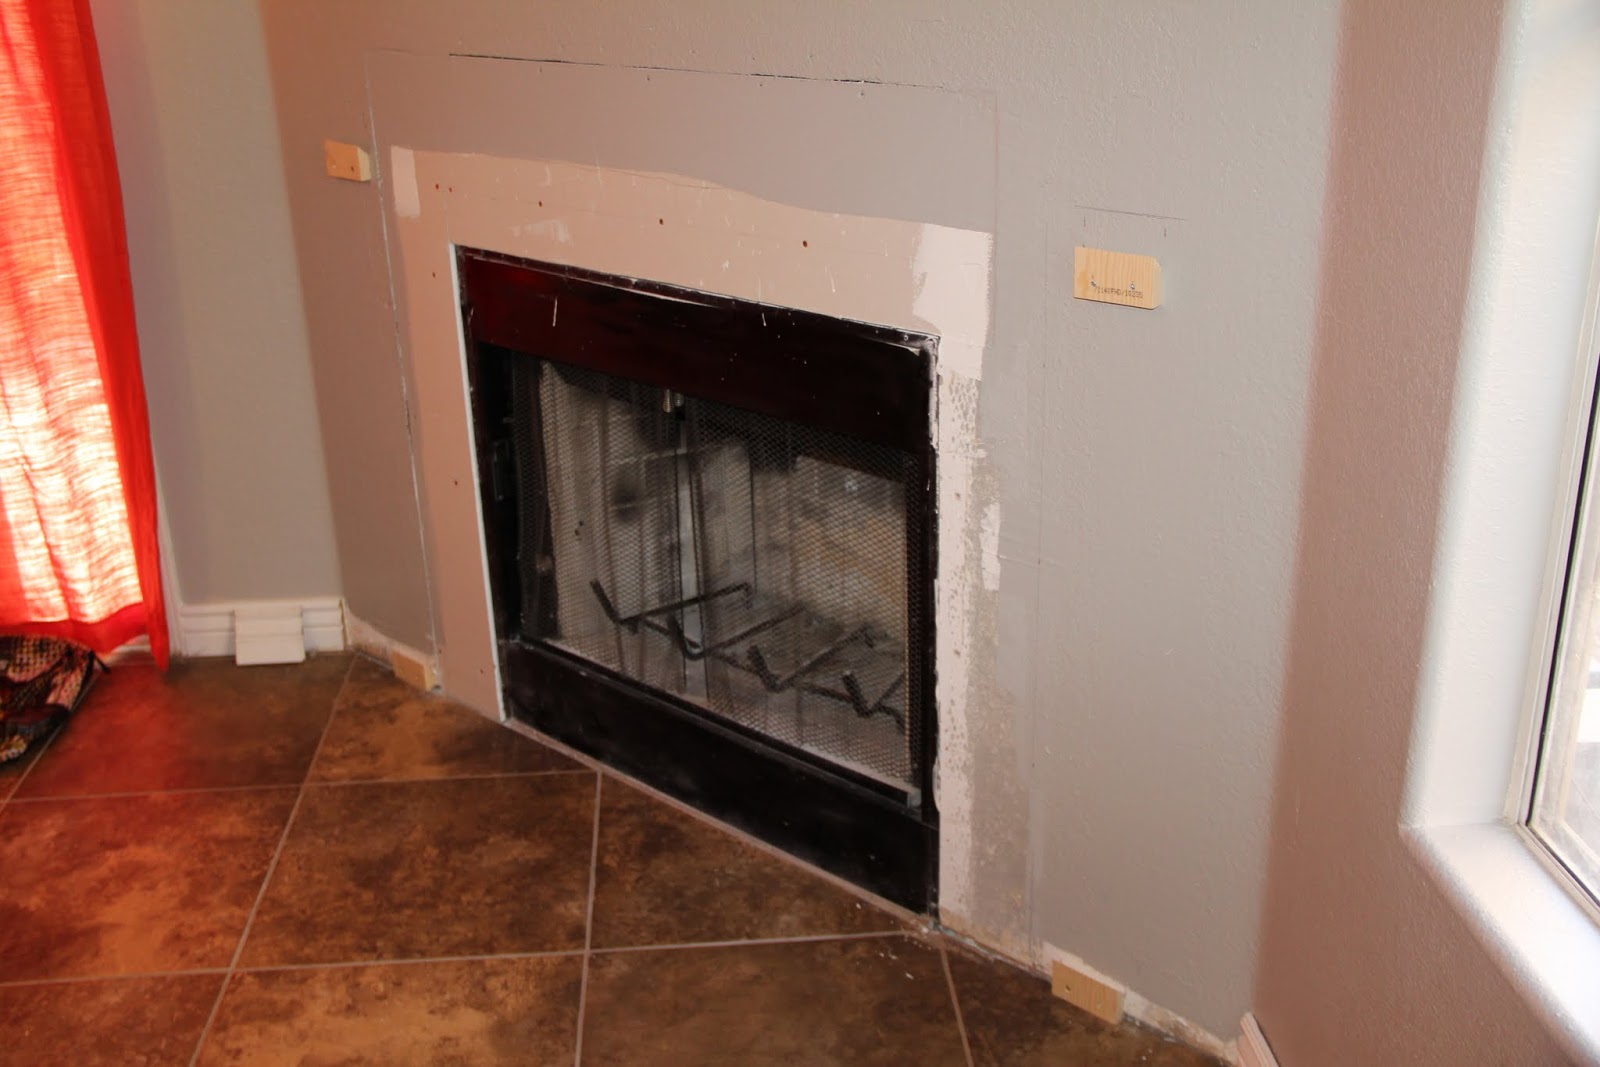
I tried my best to take lots of pictures of this project, since I'm usually pretty bad at that, so bare with me. I usually hesitate to start tearing down part of my house, but removing the old mantle was much easier than expected.
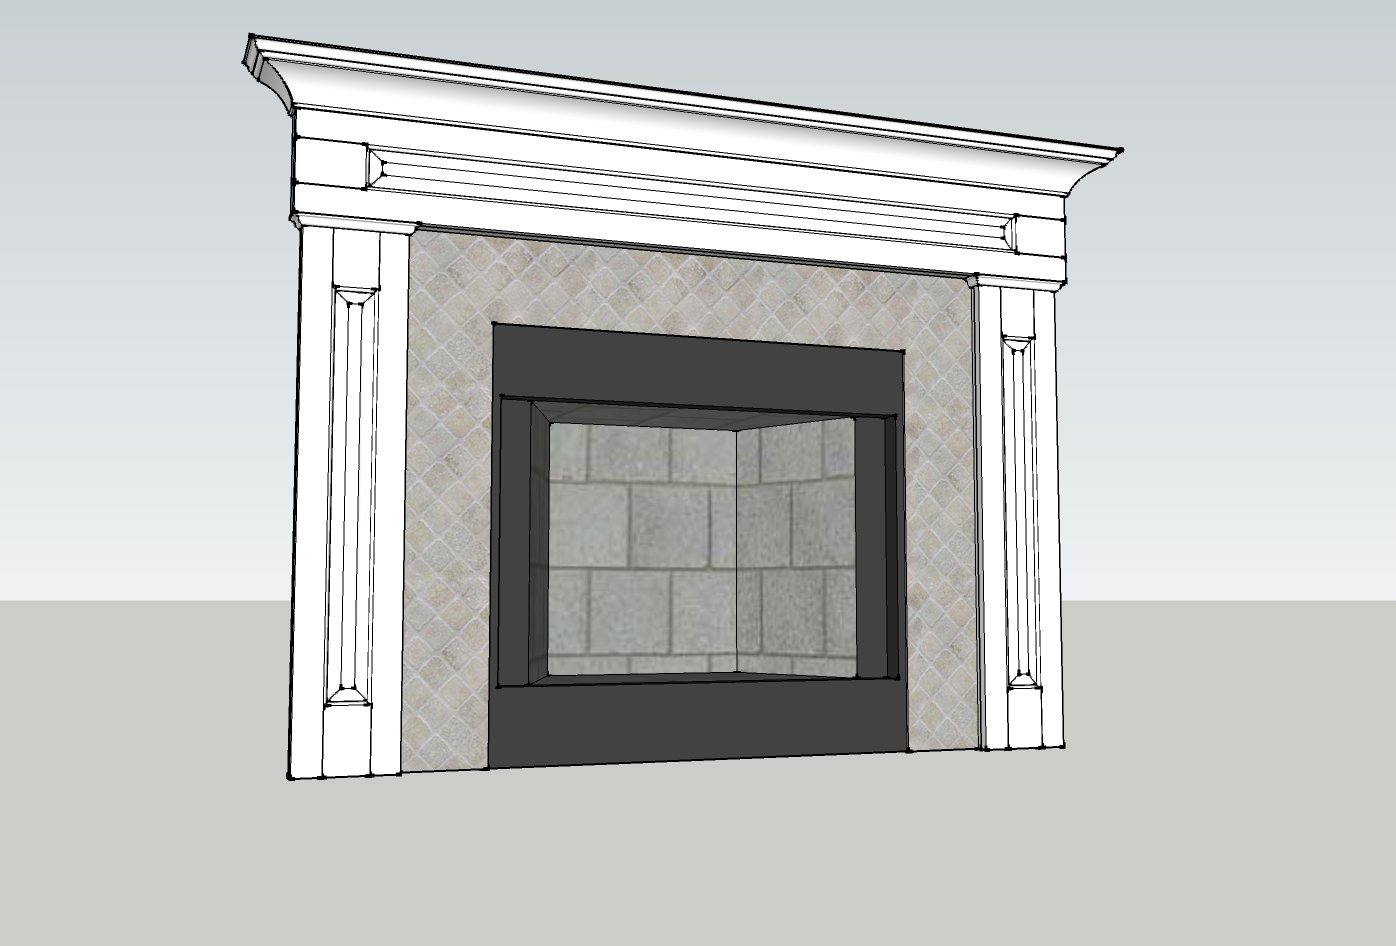 |
| This SketchUp file can be found on my Plans & Designs page. |
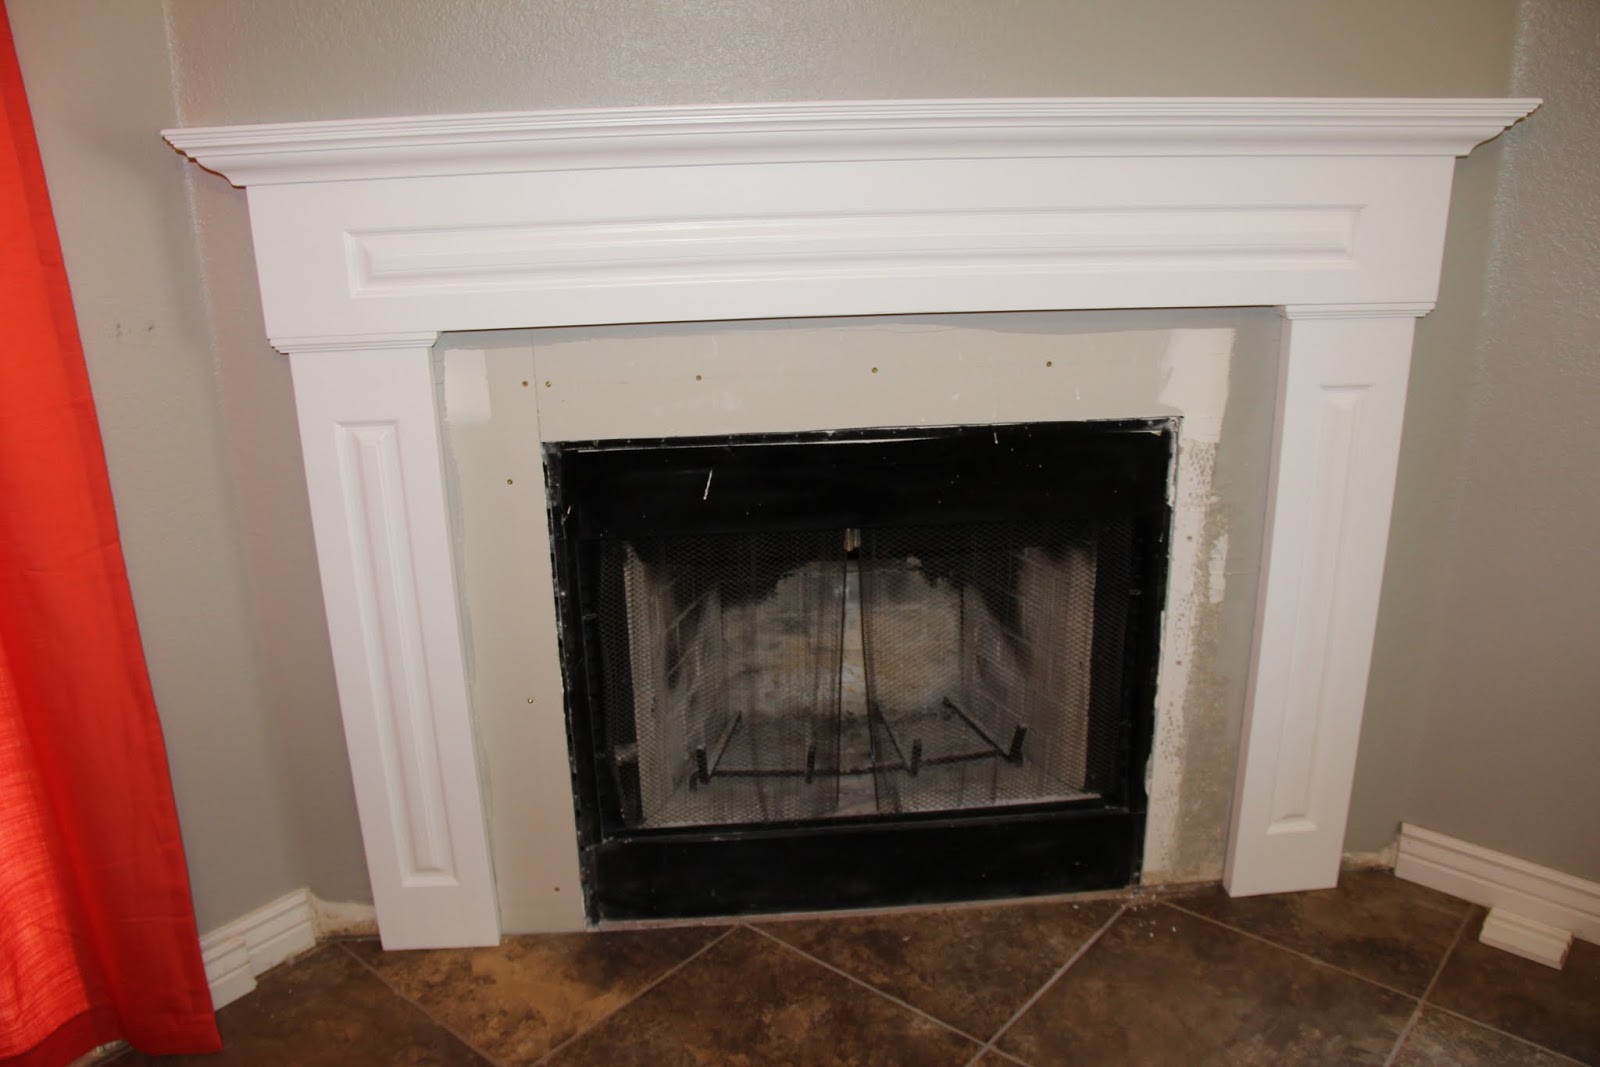
I scoured the internet for different mantles that I liked and came up with this design. I decided to make the pillars and face of the mantle look like fancy cabinet doors with skinny white stone tiles on the inside.
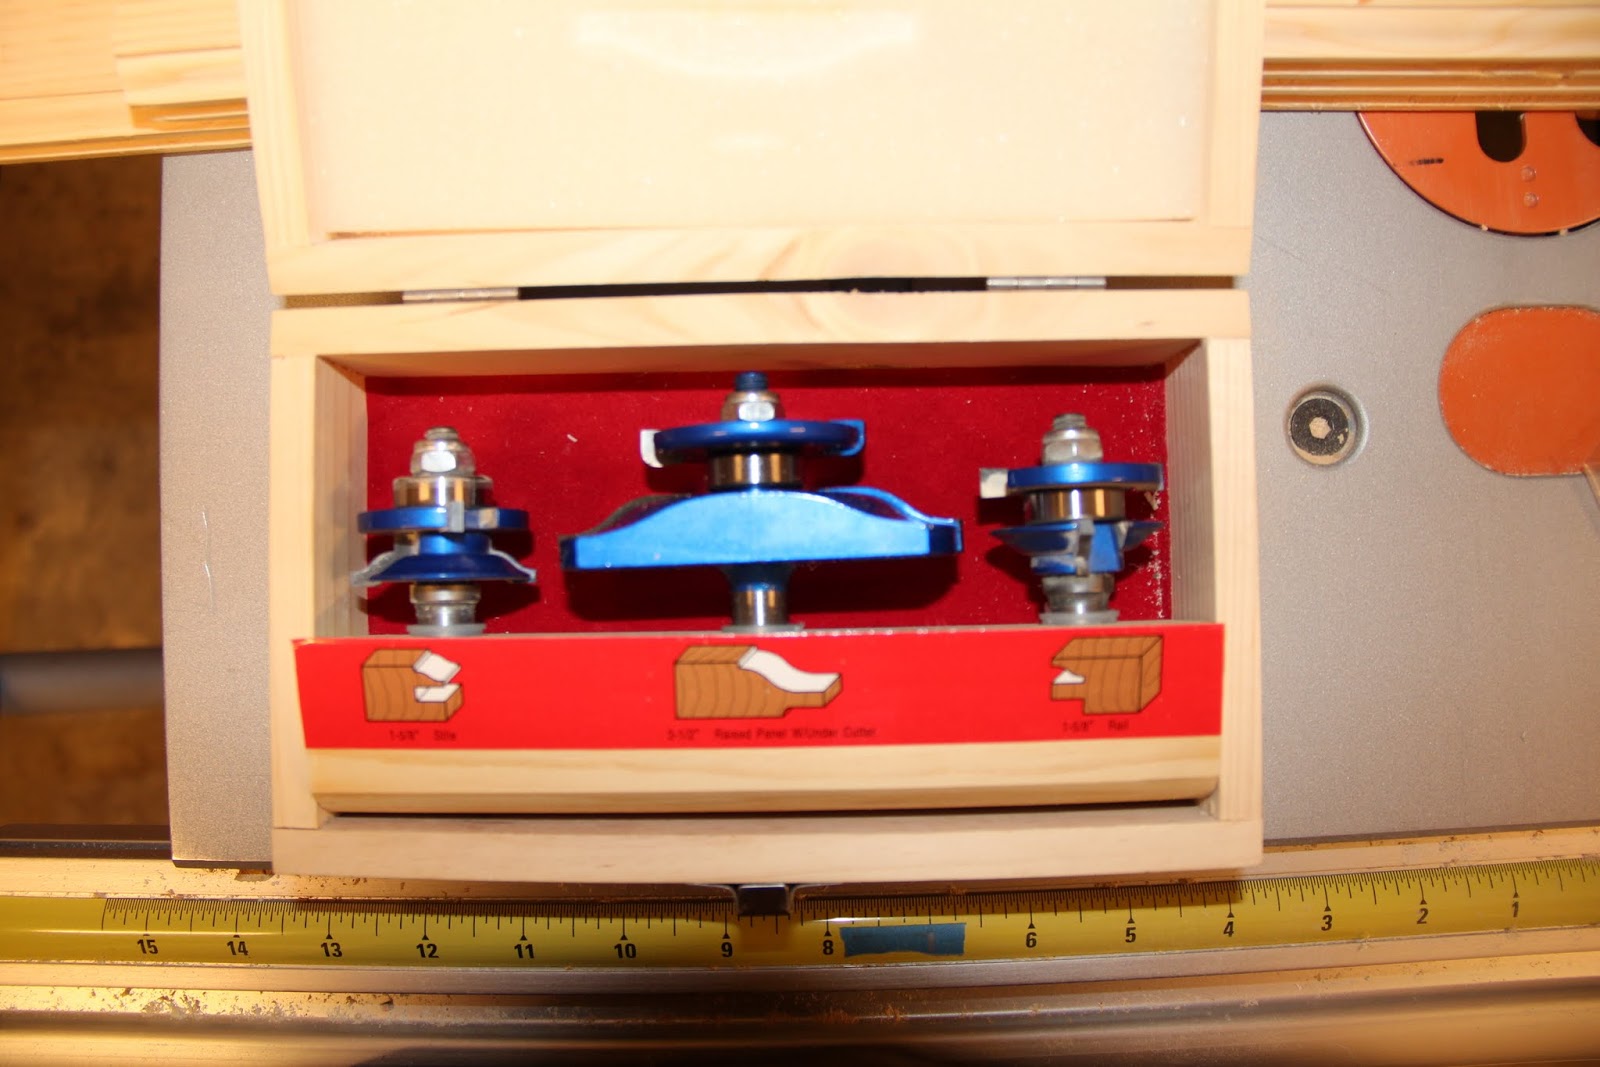
This project was a great excuse to get that new raised panel door router bit set that I've been eyeing for quite some time. It might have been a little pricier than most of my router bits but it was well worth it. The left one is for the rails/stiles, the middle one is for the raised panel and the right one is the opposite of the rails/stiles bit so the rails and stiles fit perfectly together.
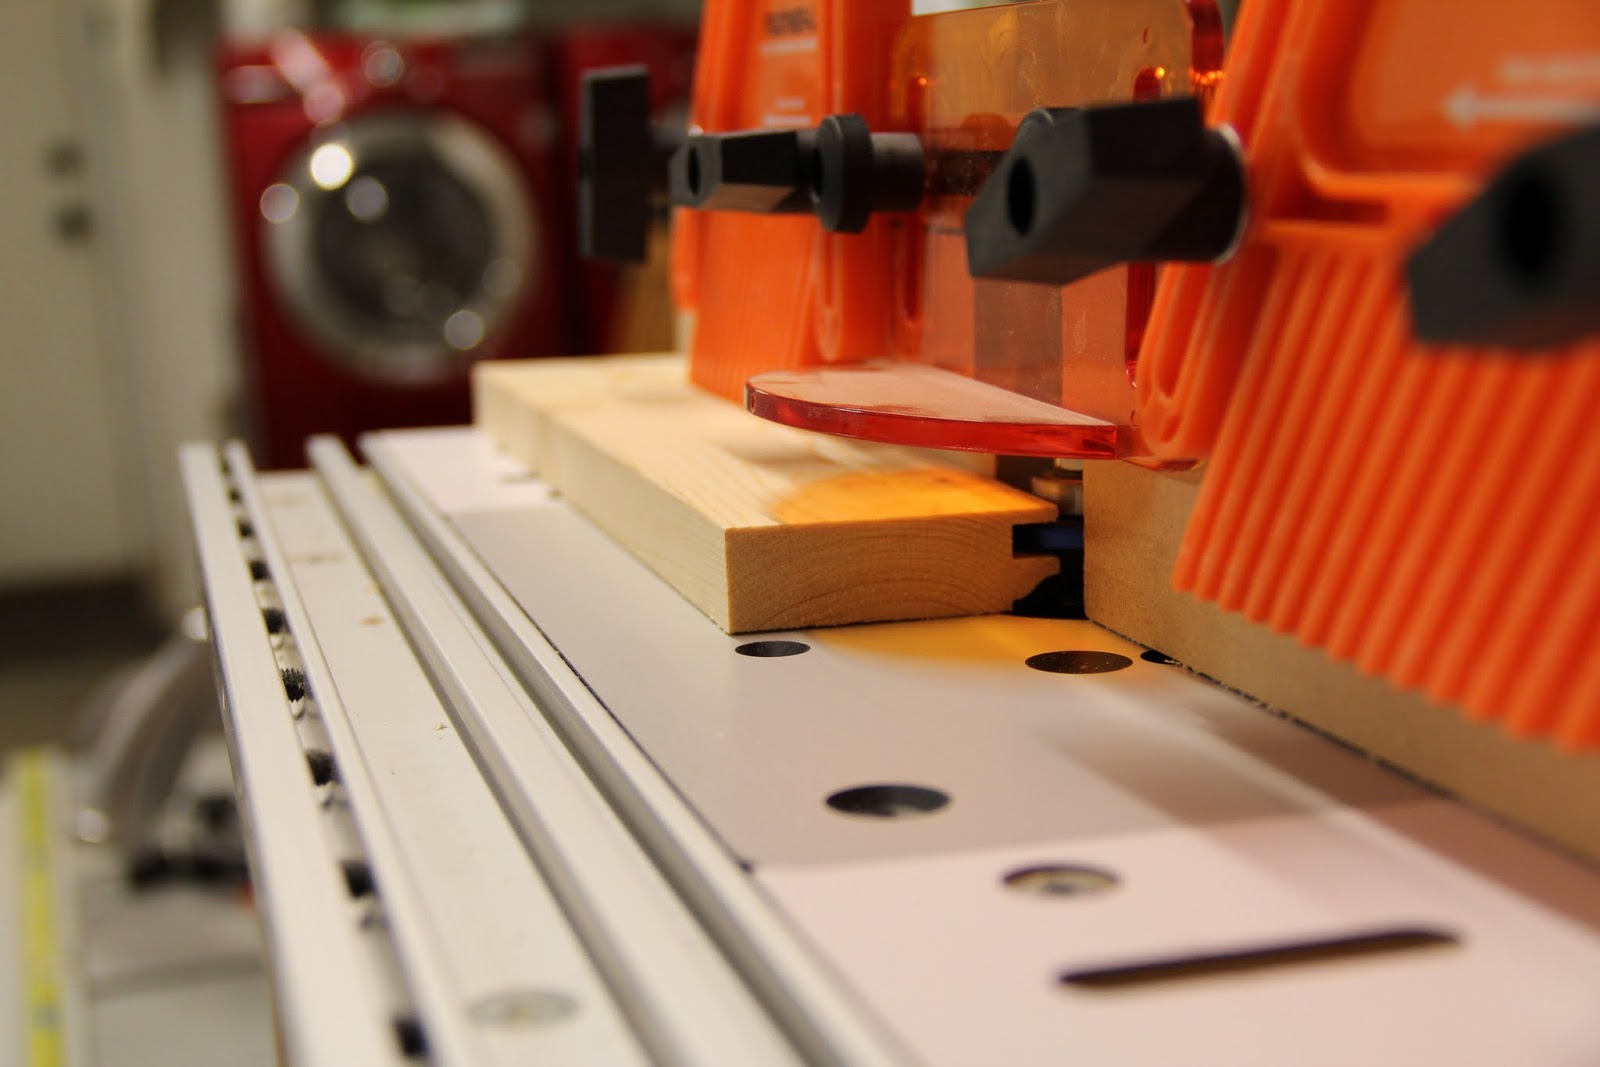
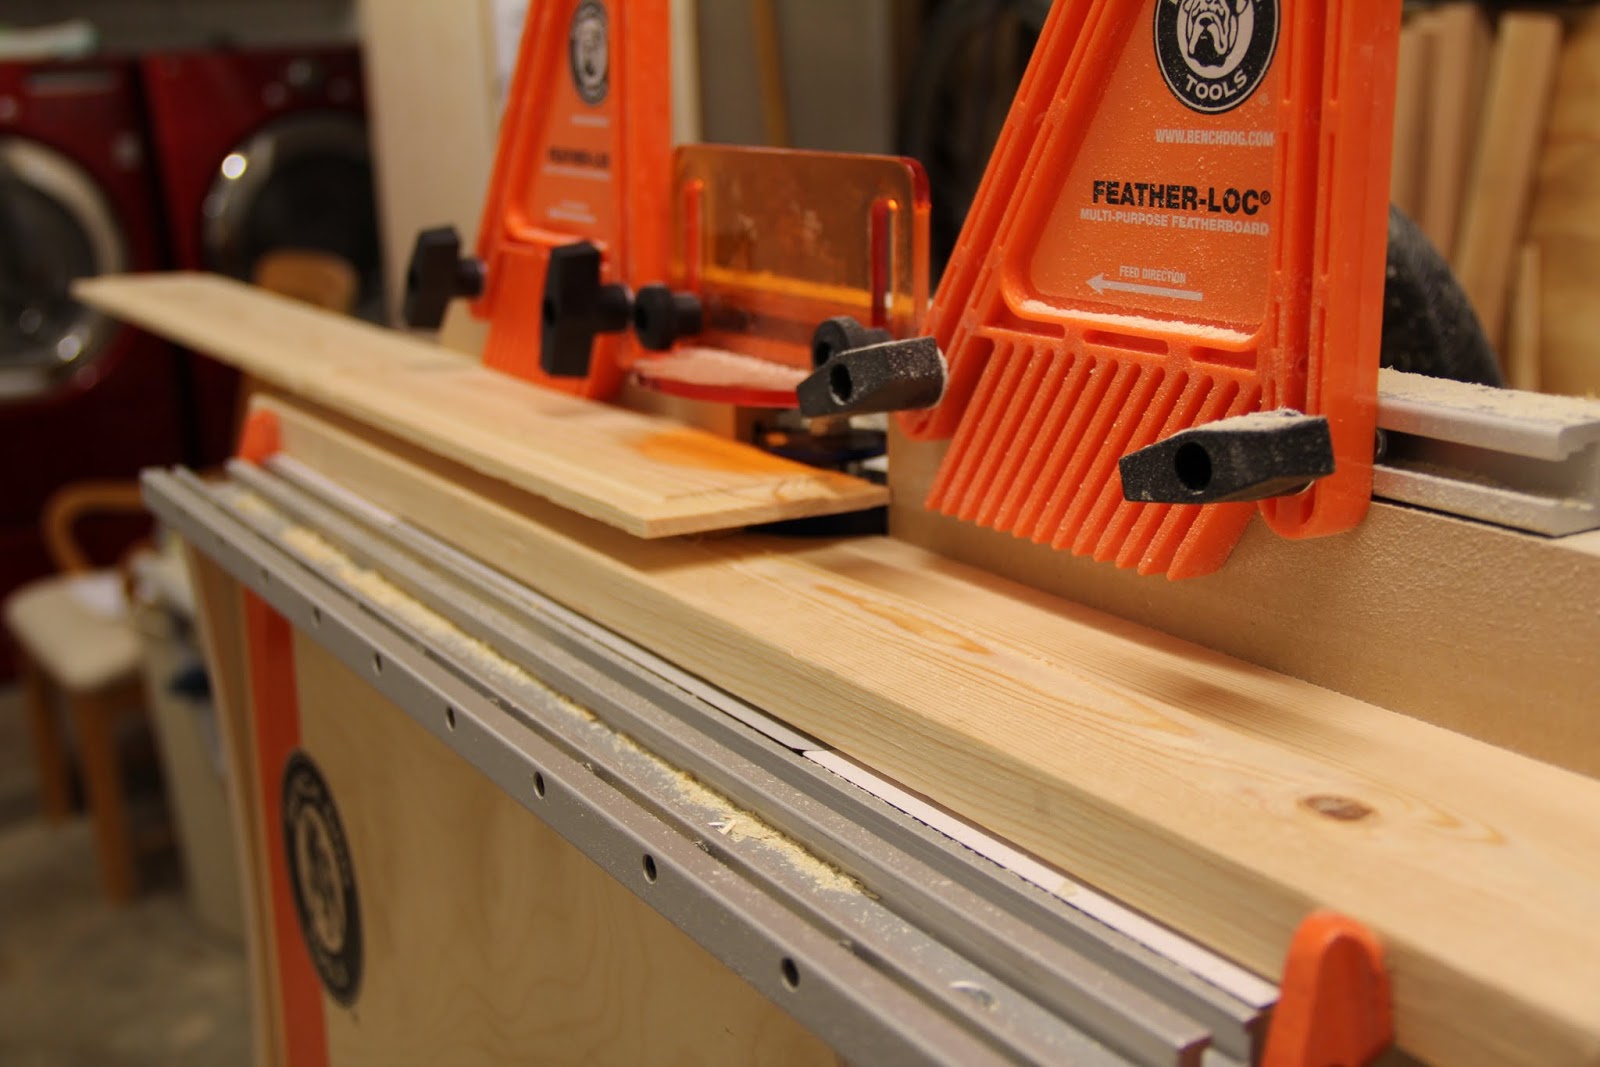
One of the test pieces I ran through while cutting the rails/stiles. I ran plenty of these with each bit to make sure everything lined up on the finished product. They do make some set-up blocks used to align your router bits but I found just making some small samples out of hard wood worked just fine.
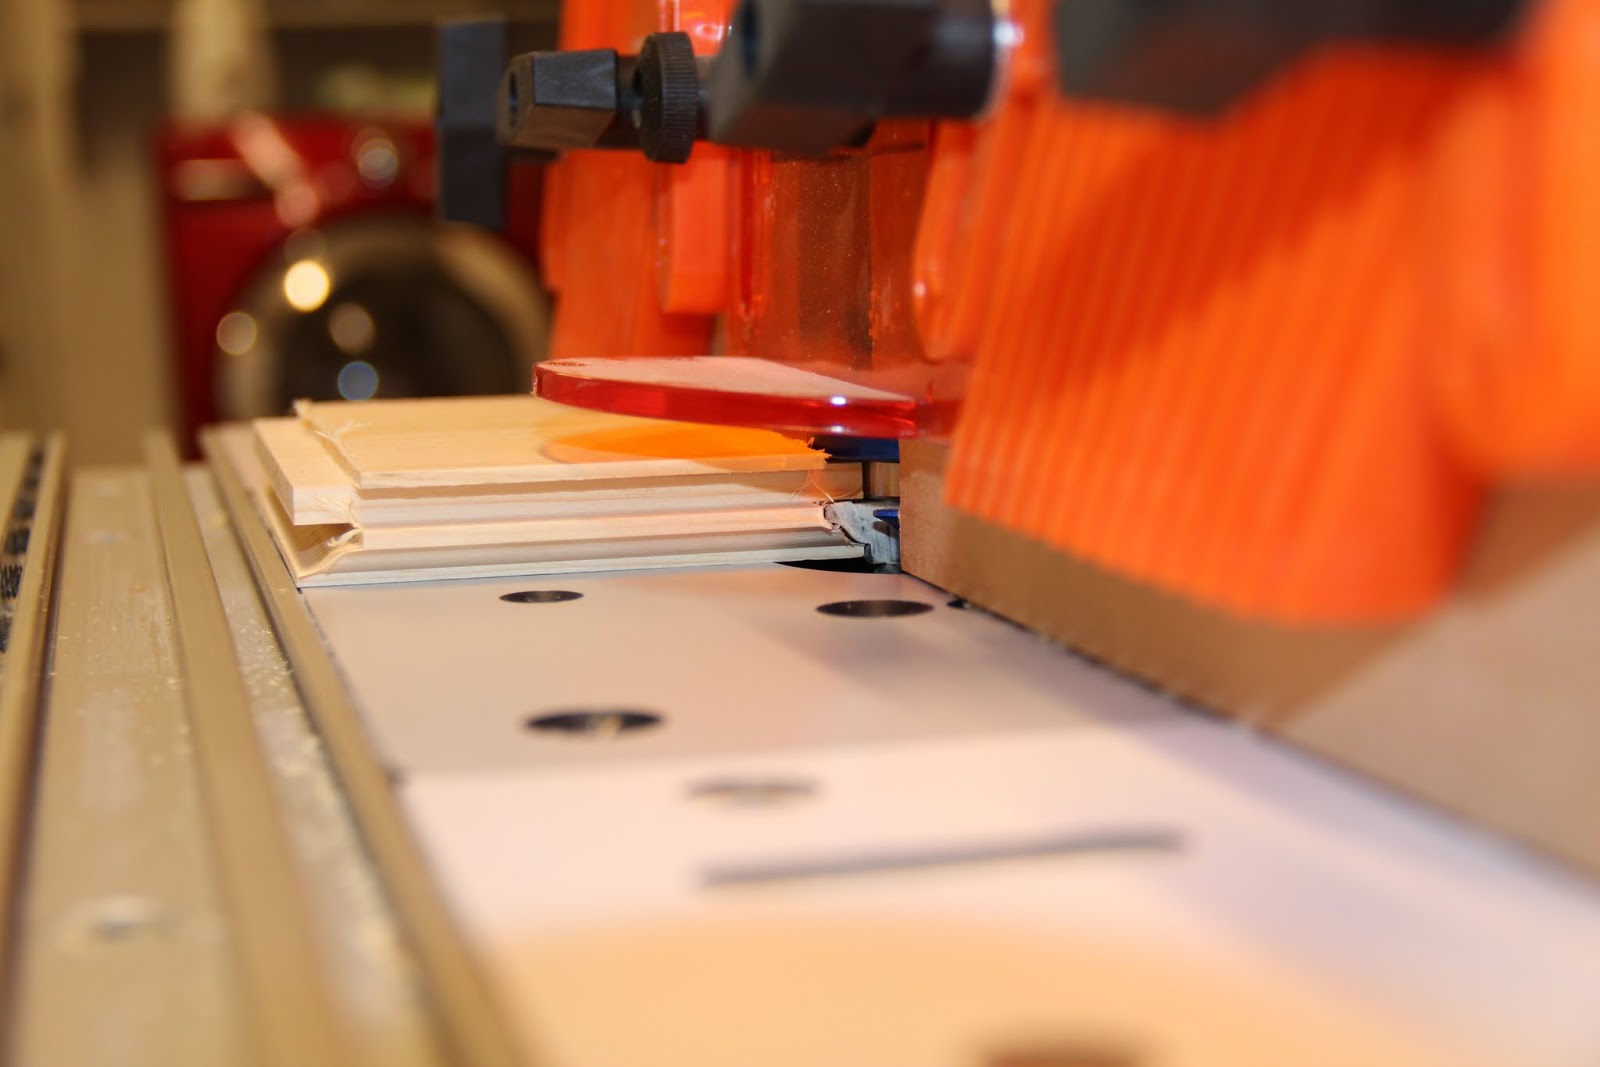
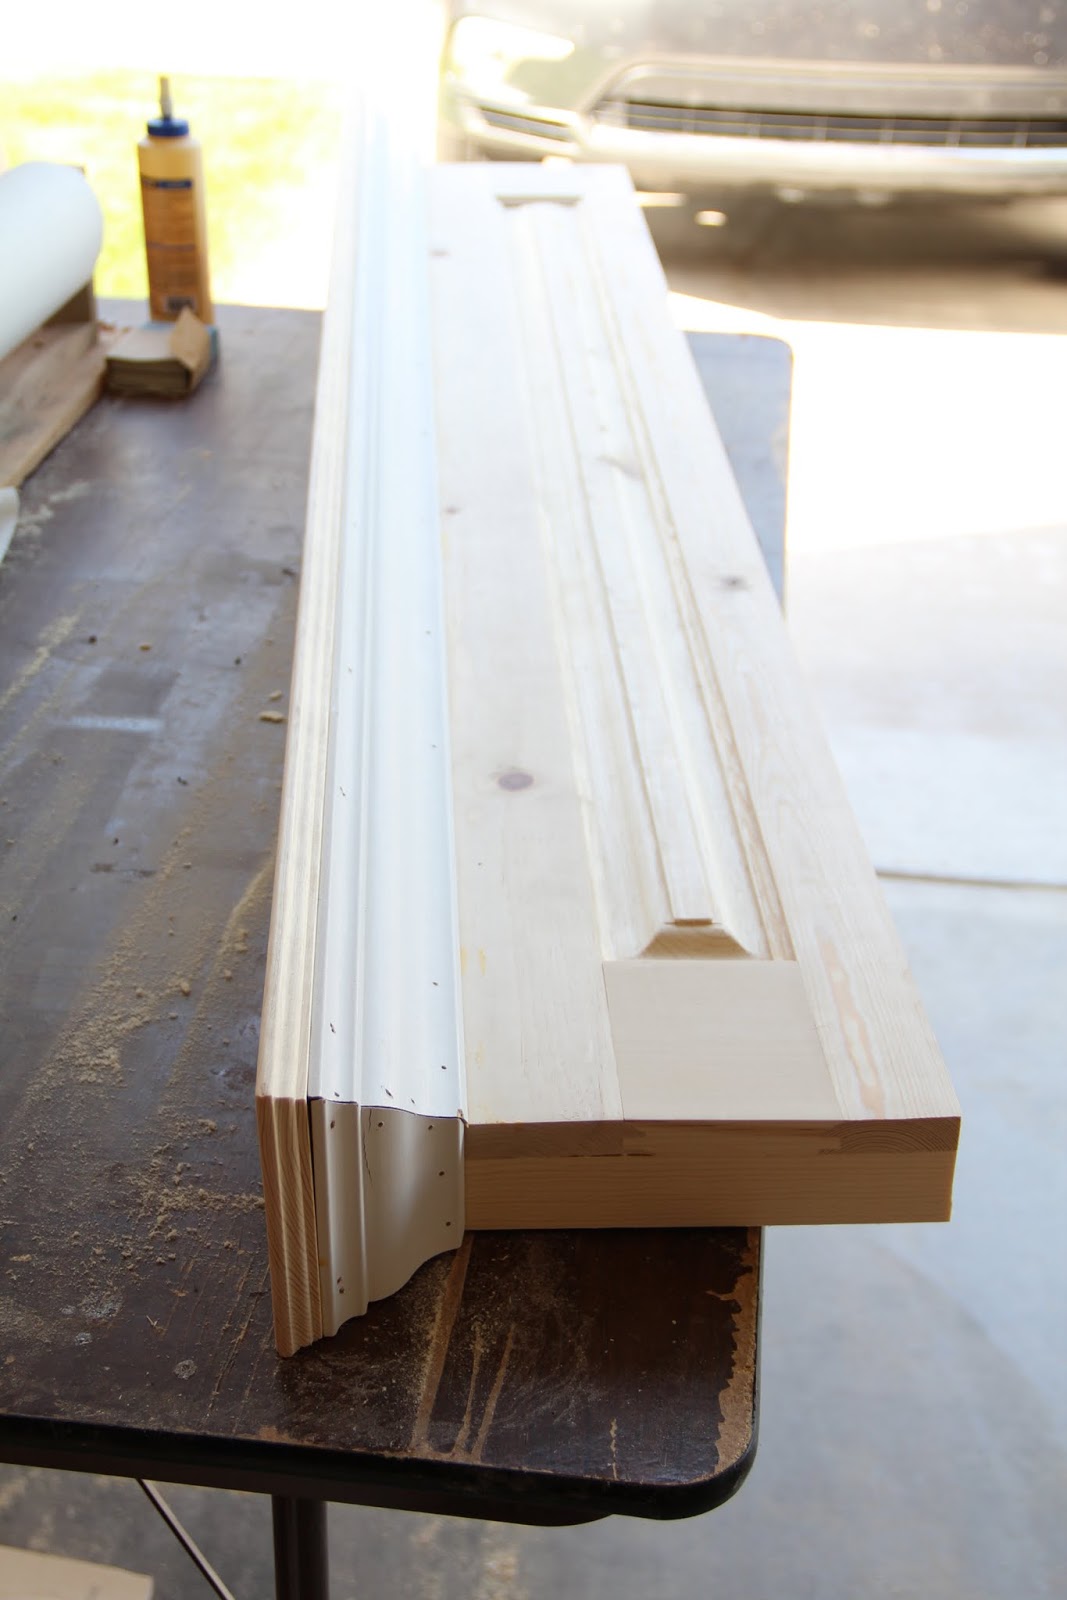
Using the reverse bit, I cut the edge of the rail that butts up against the stile.

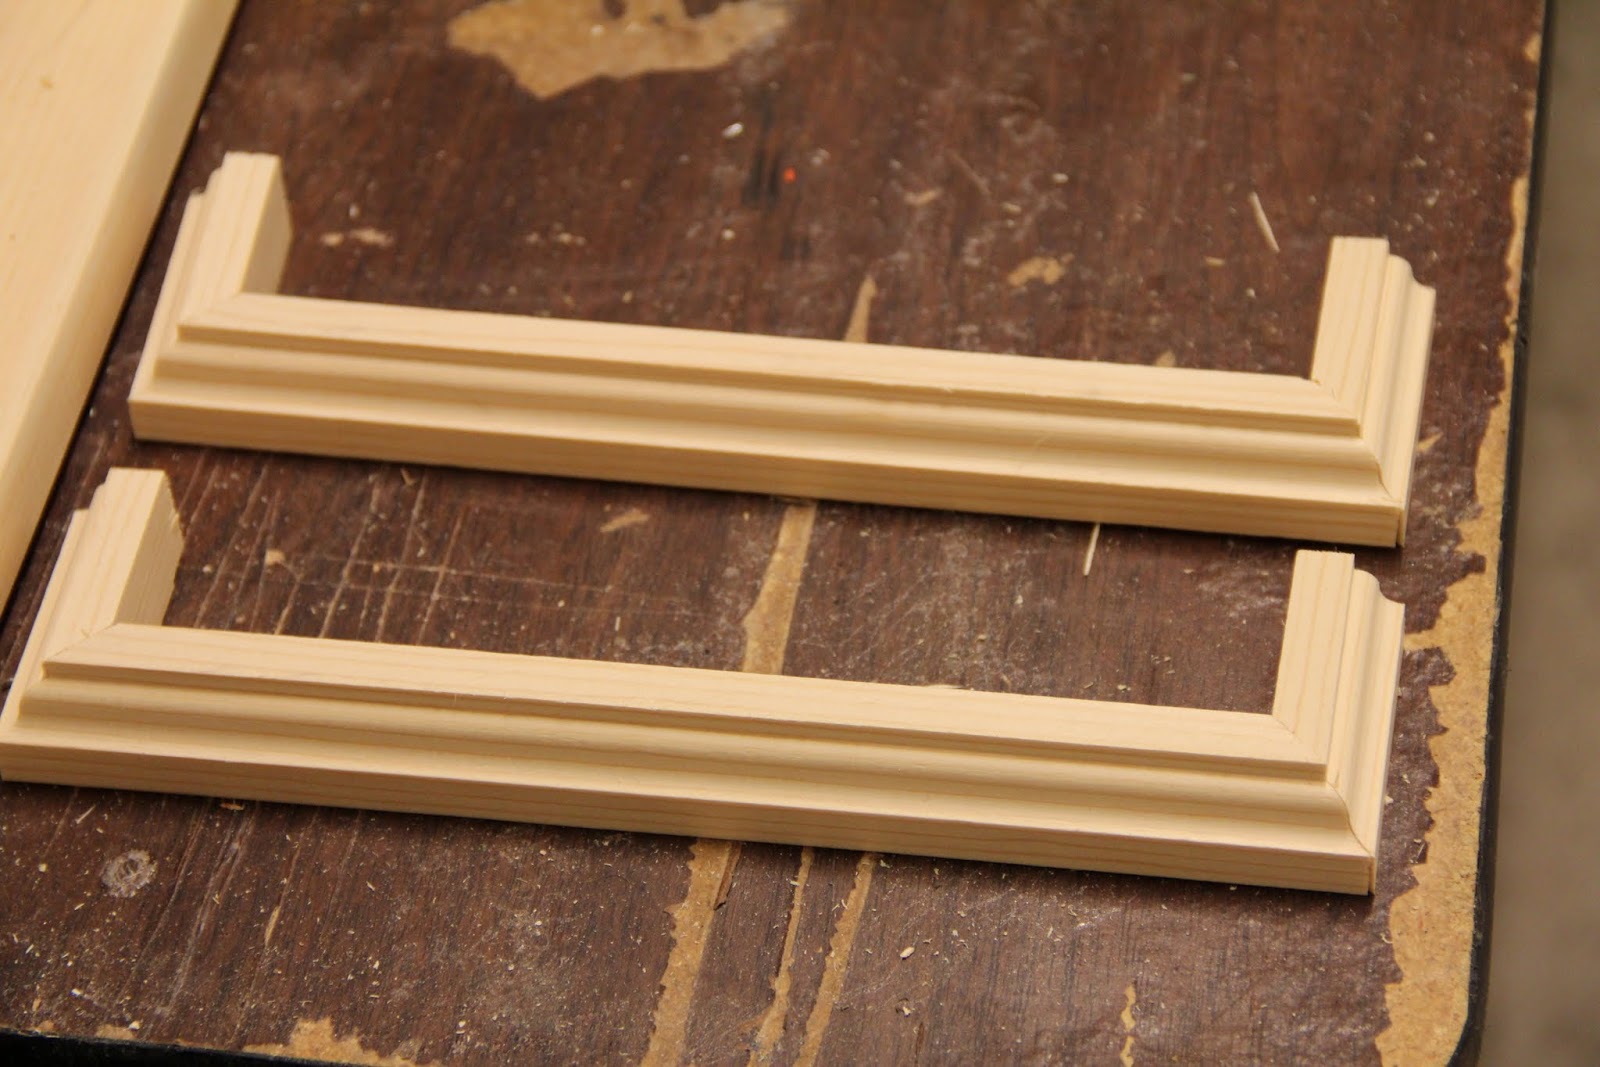
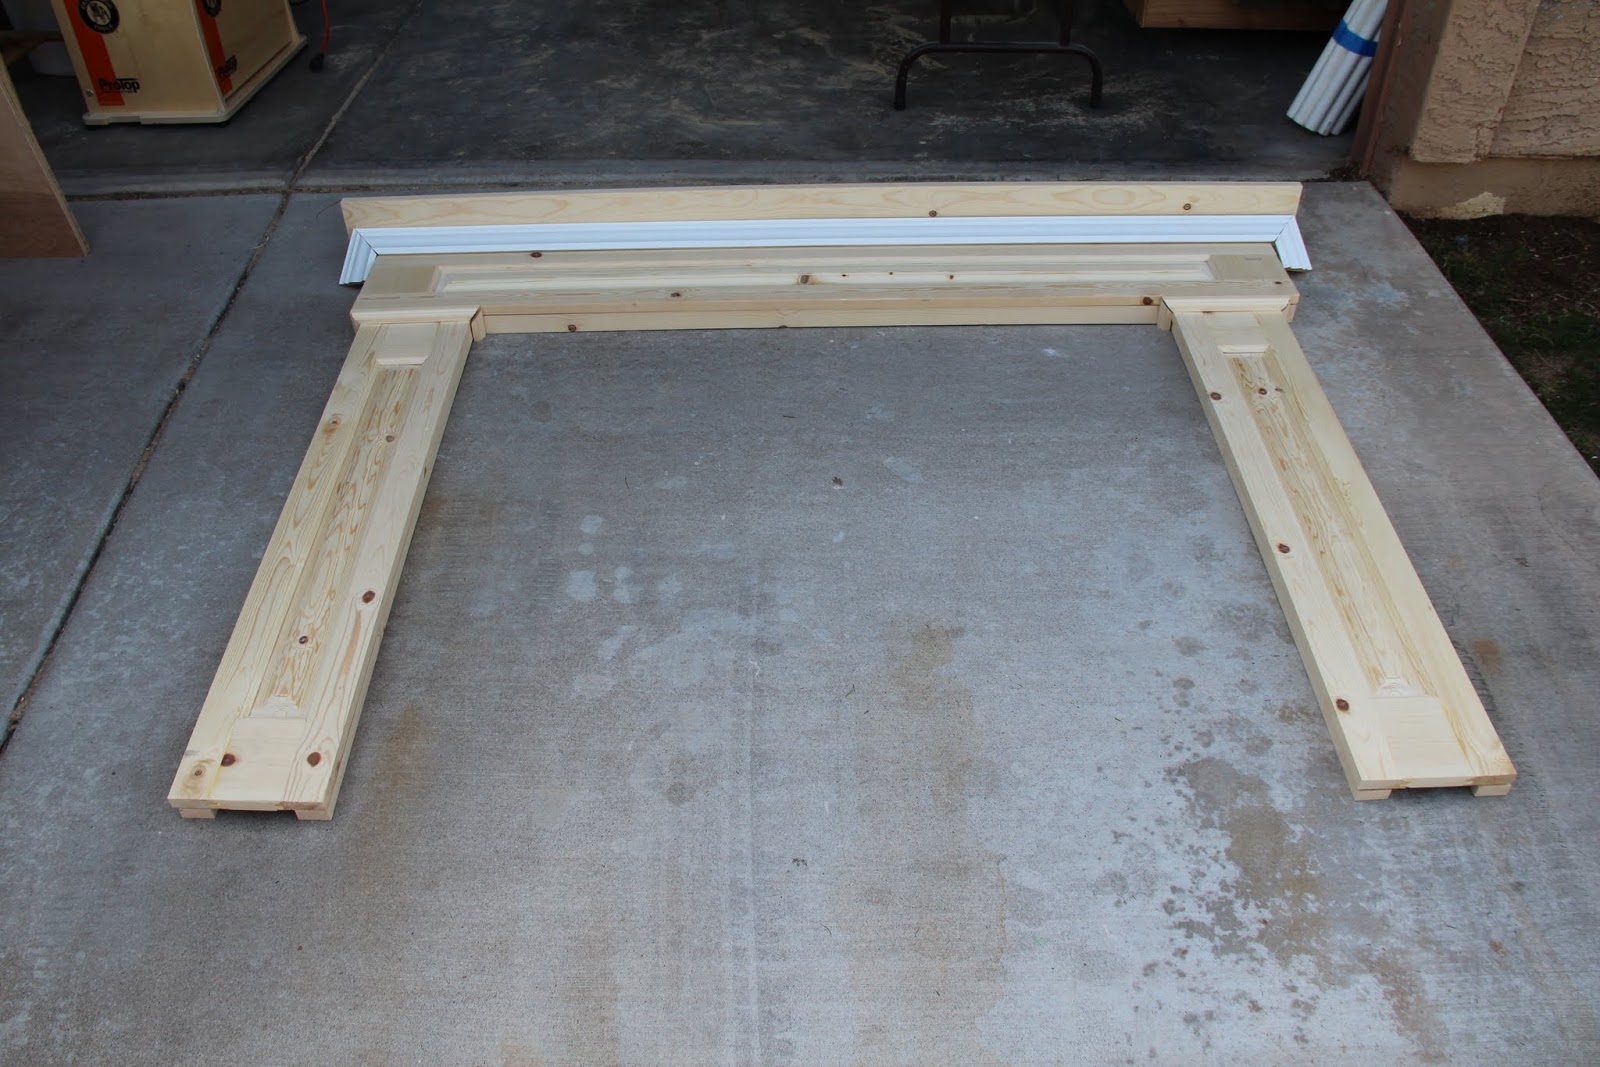
Next, I dry fit everything after finishing all of the cuts for the rails, styles and panels. I was quite happy with myself since this was the first time I used all three bits together. (I used just the rail/stile bits for the mirror frame and medicine cabinet in Jaylee's bathroom the month before.)

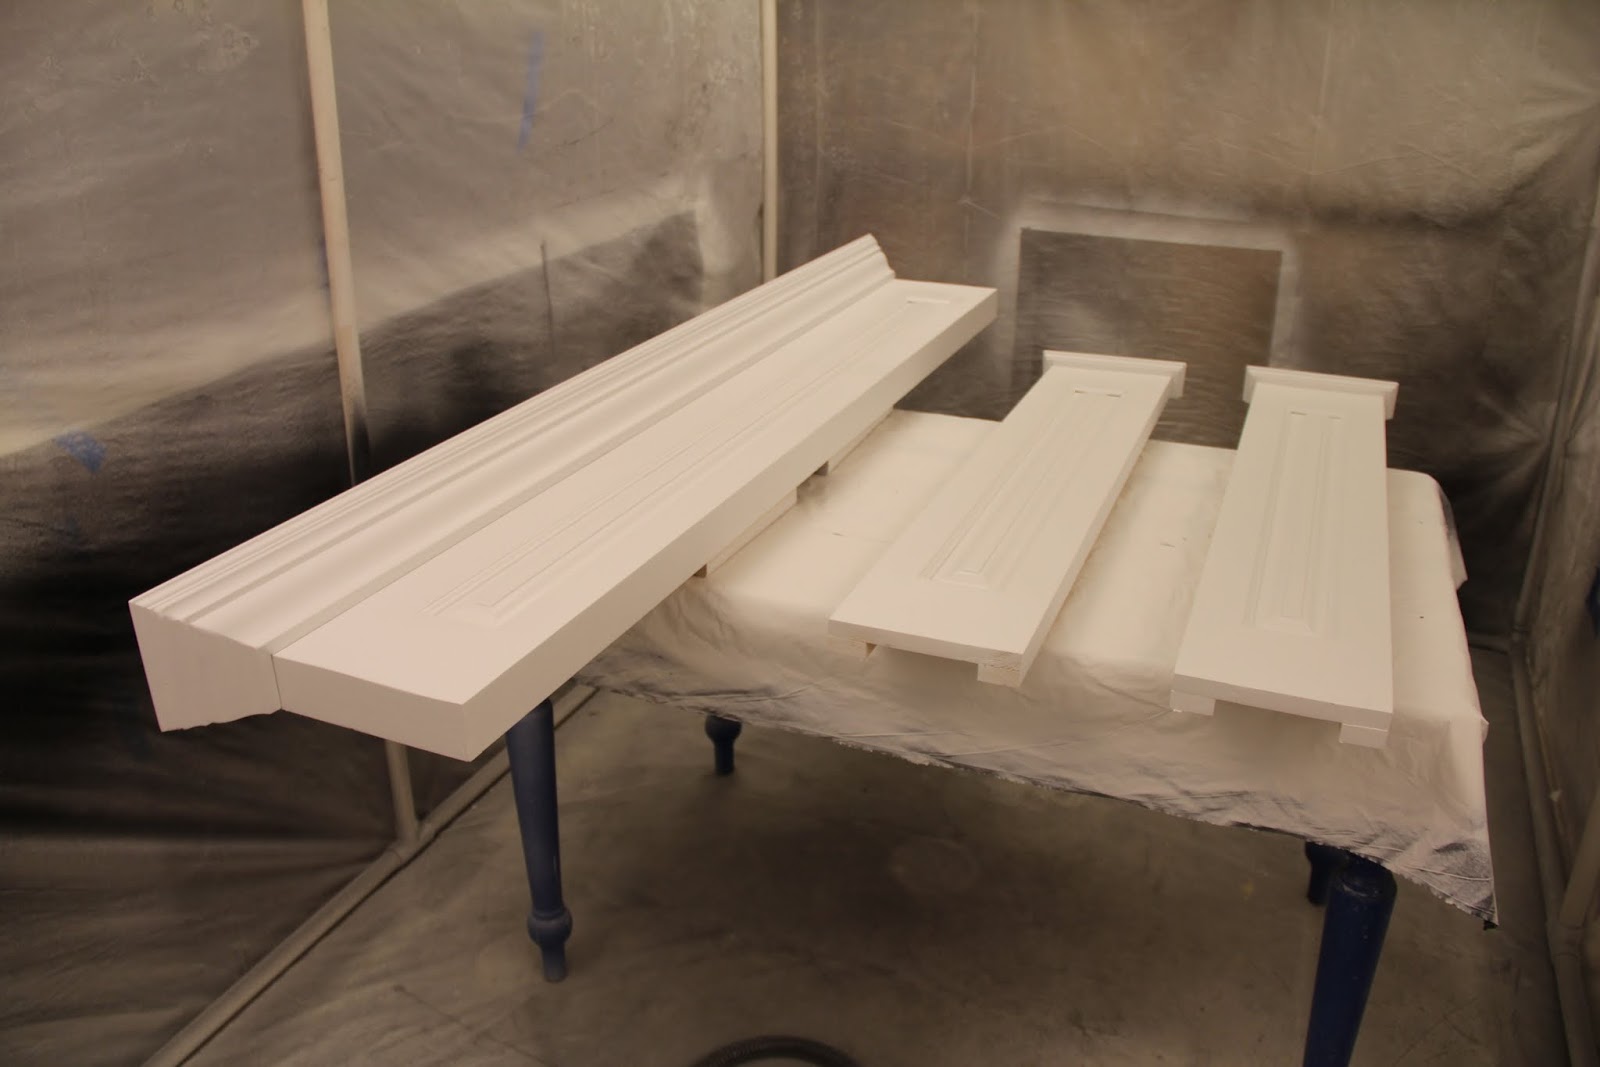
This was the 3rd of 4 projects I had planned for my paint booth and I'm glad I built it. (I really can't wait to finish the 4th project so I can remove the booth and reclaim most of my garage space.)I put on two coats of primer, sanding between each and then 3 coats of white semi-gloss paint. At this point I'm getting better at using my HVLP sprayer and will have confidence moving forward with my kitchen cabinets.
 |
 |
 |
 |
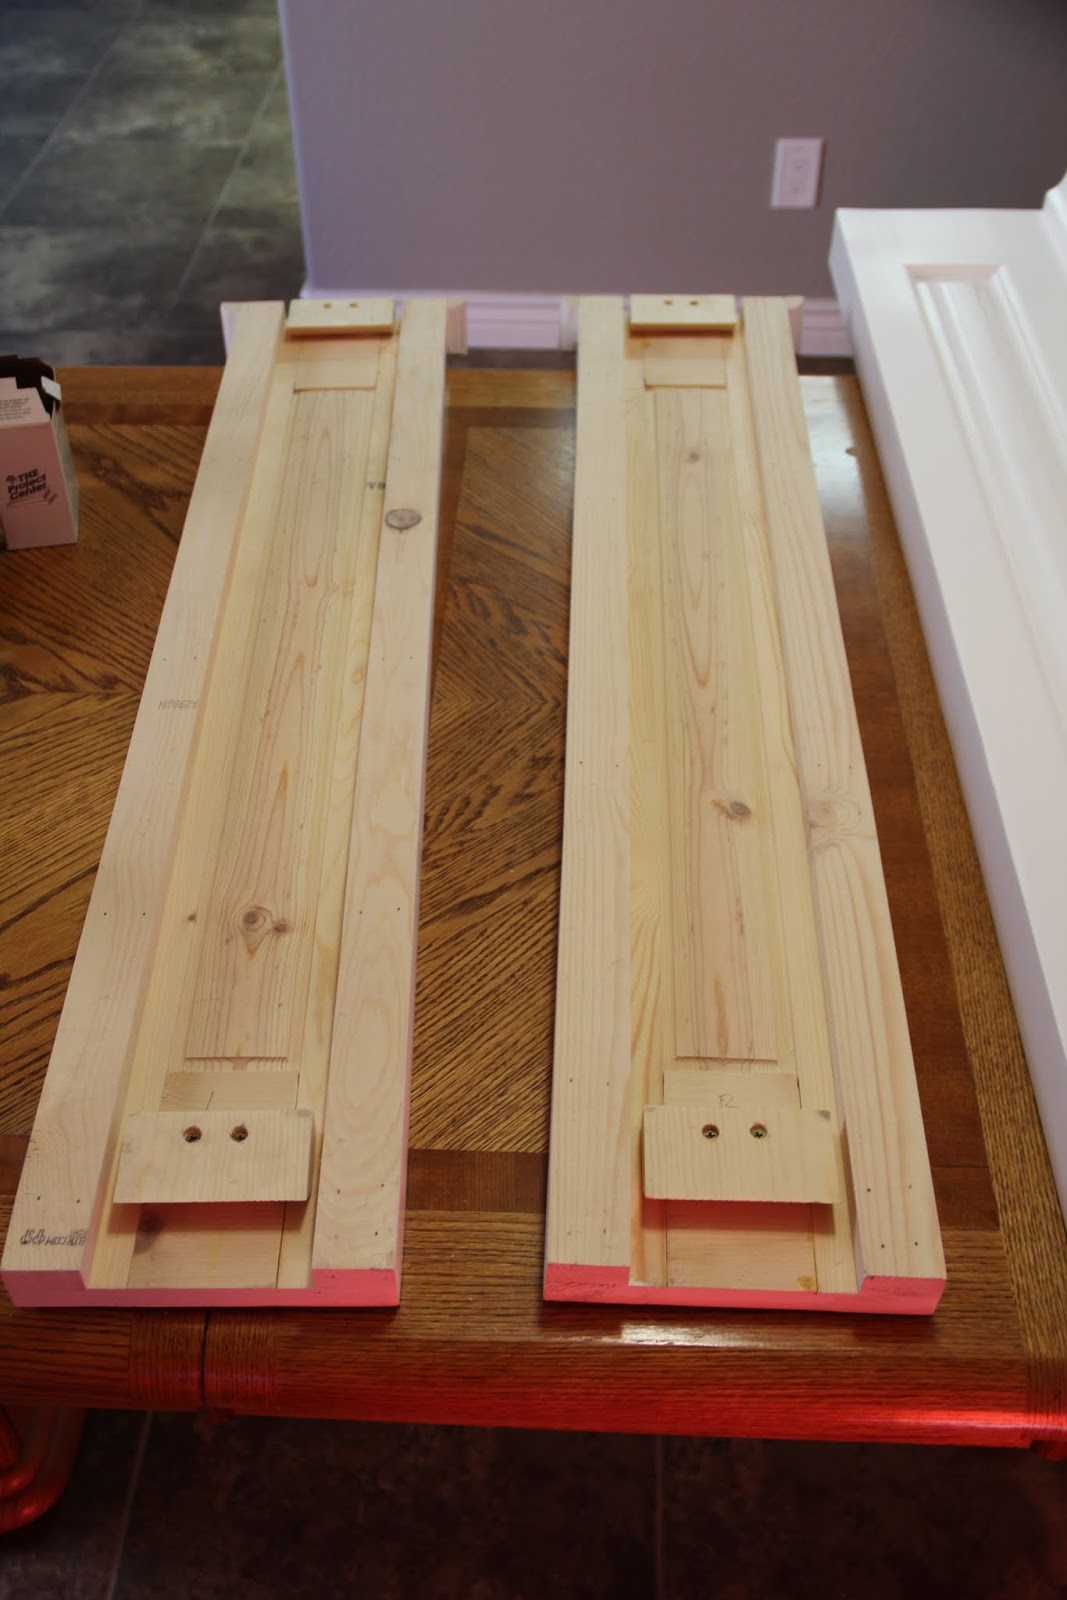
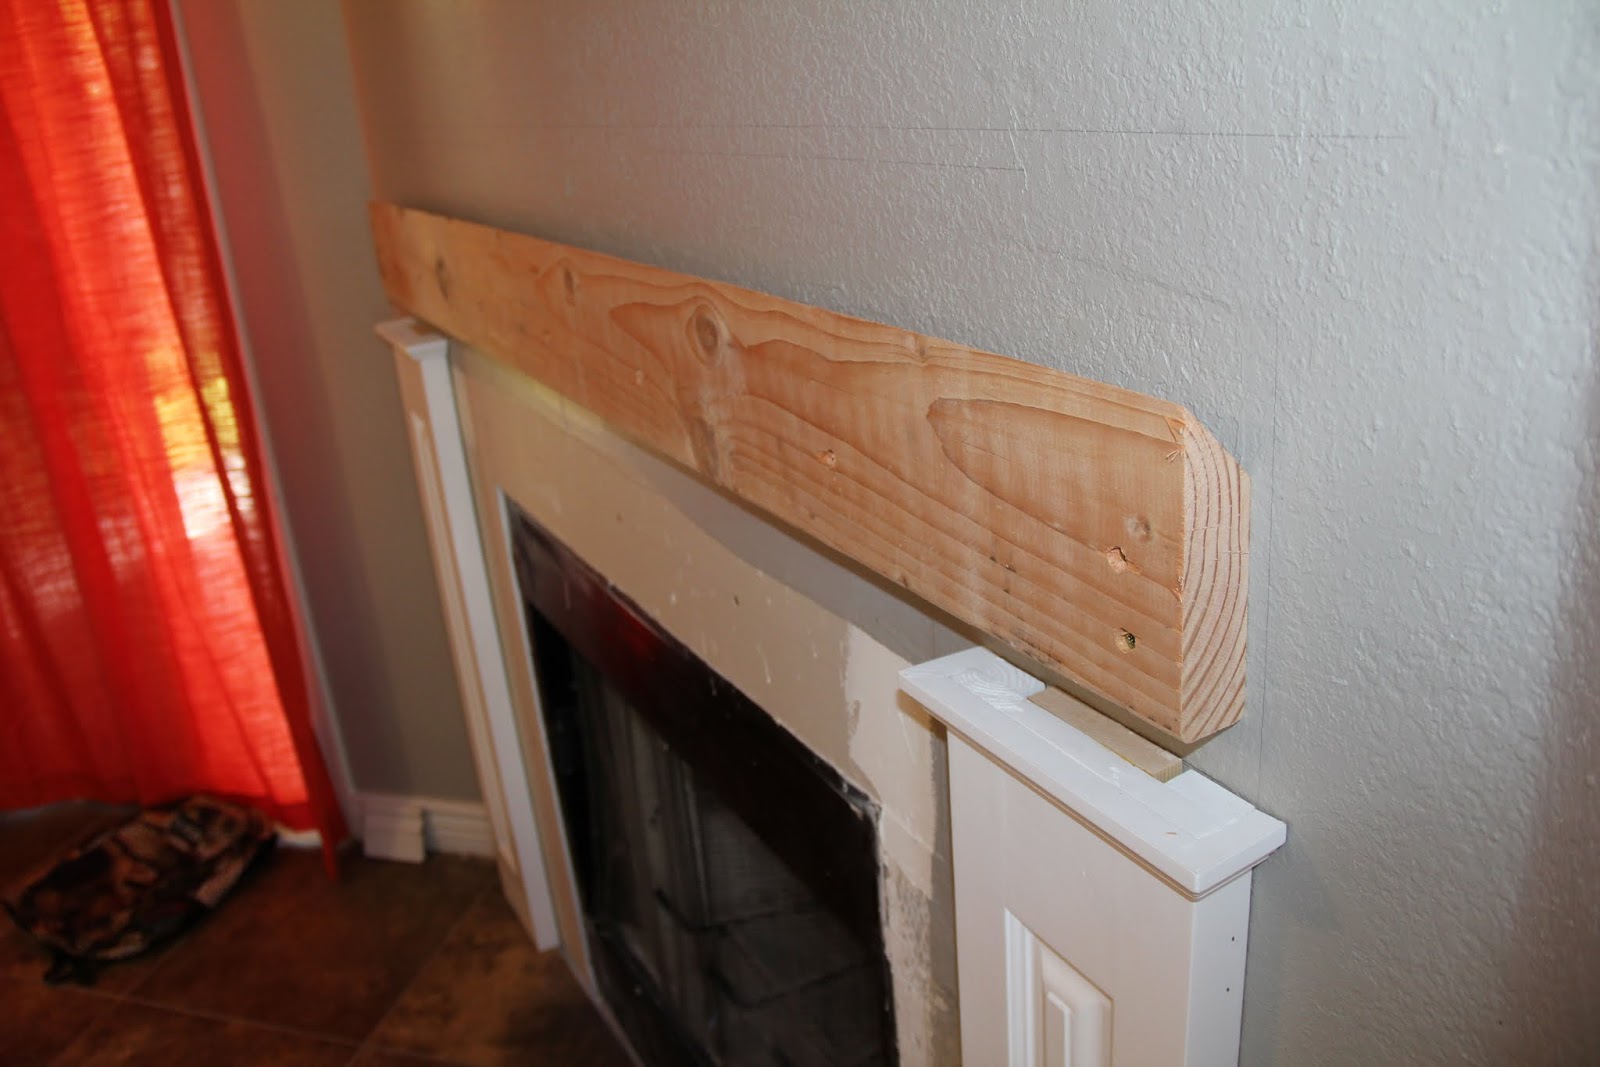
I really didn't want nail or screw holes everywhere on my mantle so I decided to go with a french cleat mounting system. I used a 1"x4" cut at 45° for the pillars and a 2"x6" for the top. I did end up using my small brad gun to shoot a couple nails into the cleats from the side but those were easily filled and painted. I also went around the whole thing with white painters caulk so it's not going anywhere in the near future.
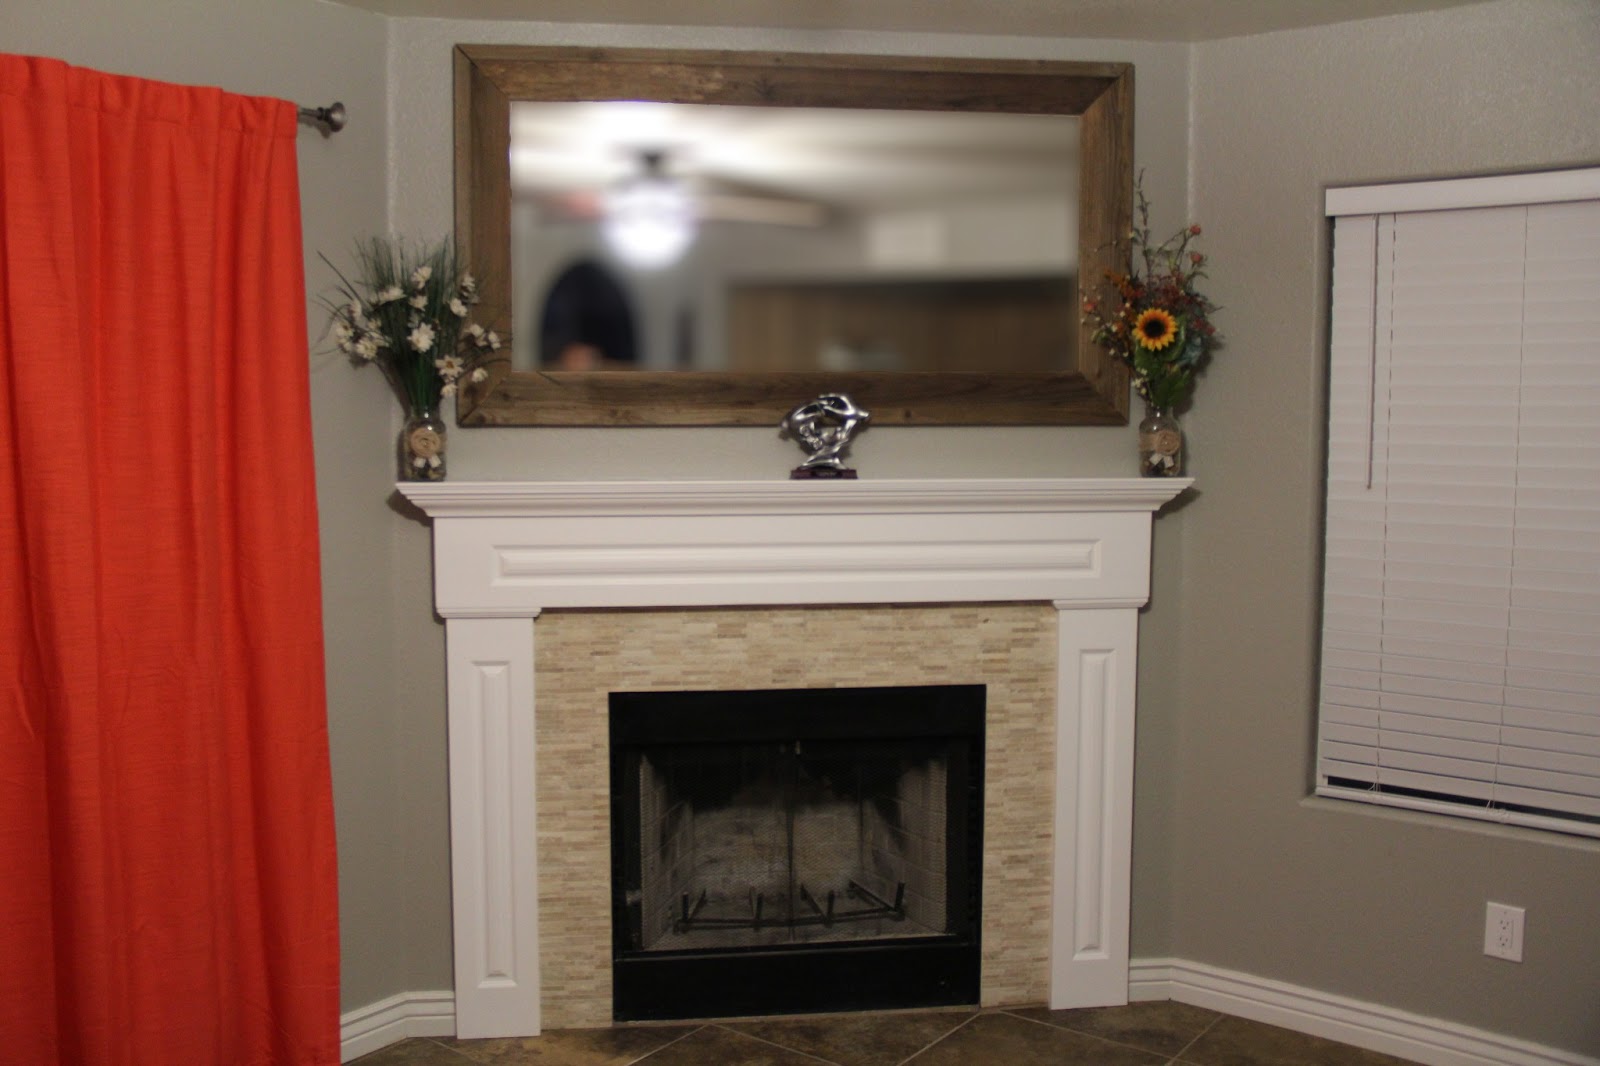
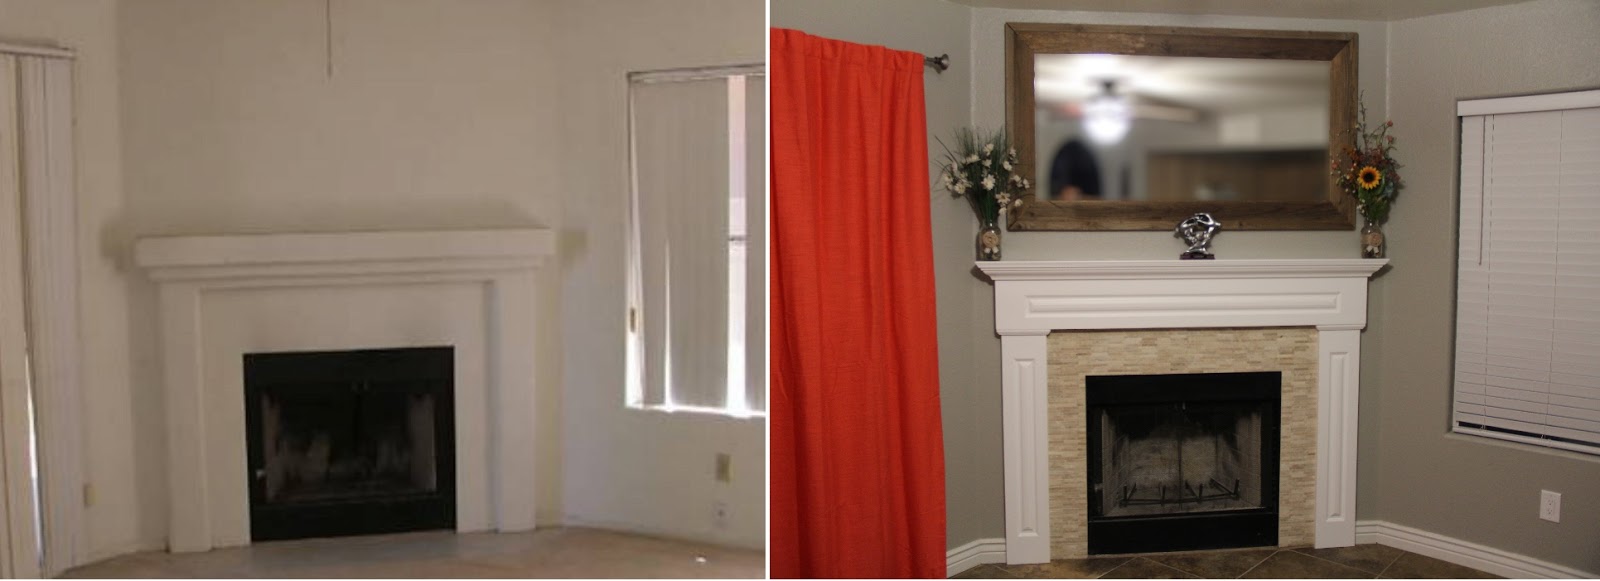
For less than $200 I got myself a new mantle with tile and a new/old mirror. This project turned out great and was a good learning experience the whole way. I can't believe how great this room looks when I compared to the picture from when I bought the house.
Lessons Learned
- I would like to say don't start too many projects at once but I got my dad to fly down for over a week and he really helped me get started on all of my projects. The only bad thing is that he helped me get started on ALL of my projects. Most of them got done shortly after he left excluding the mantle.
- Make sure you have some spare tile. I found that all of the smaller stones in each 1'x1' section weren't all exactly uniform sizes. While dry fitting, I had to cut some smaller pieces out of spares and mix and match to get the seams to line up better.
- If you look close at the tile from the right angle, you can see where they bow out in the middle. Next time I do some smaller tile glued to a mesh I will spend more time making sure the thin set is super even. My problem was that I put some thin set on the wall and then some on the back of the tile. I probably would have been fine if I didn't back butter the tile or maybe even if I had a J roller to squish/level the thin set.