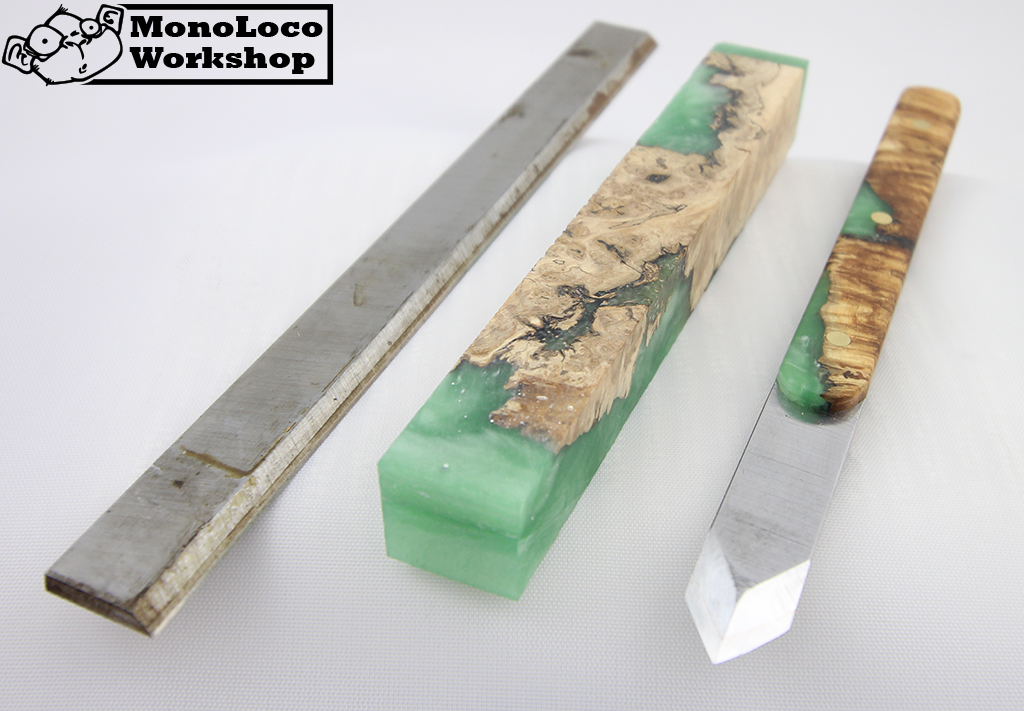
Make a Hybrid Marking Knife
If you spend as much time watching my Instagram feed as I do, you'll see TONS of cool wood/acrylic hybrid blanks. After seeing my first marking knife with hybrid scales, it was on my to-do list. After a couple years of slowly gathering pieces, making vacuum chambers and pressures pots, I've finally gotten to a point to actually make it happen. I replaced my jointer blades a while back stashing away the old ones and this summer I collected my last piece of material when I traded a slab of mesquite for a pile of burls.
Check out the video!Subscribe!
Hybrid Knife Scales
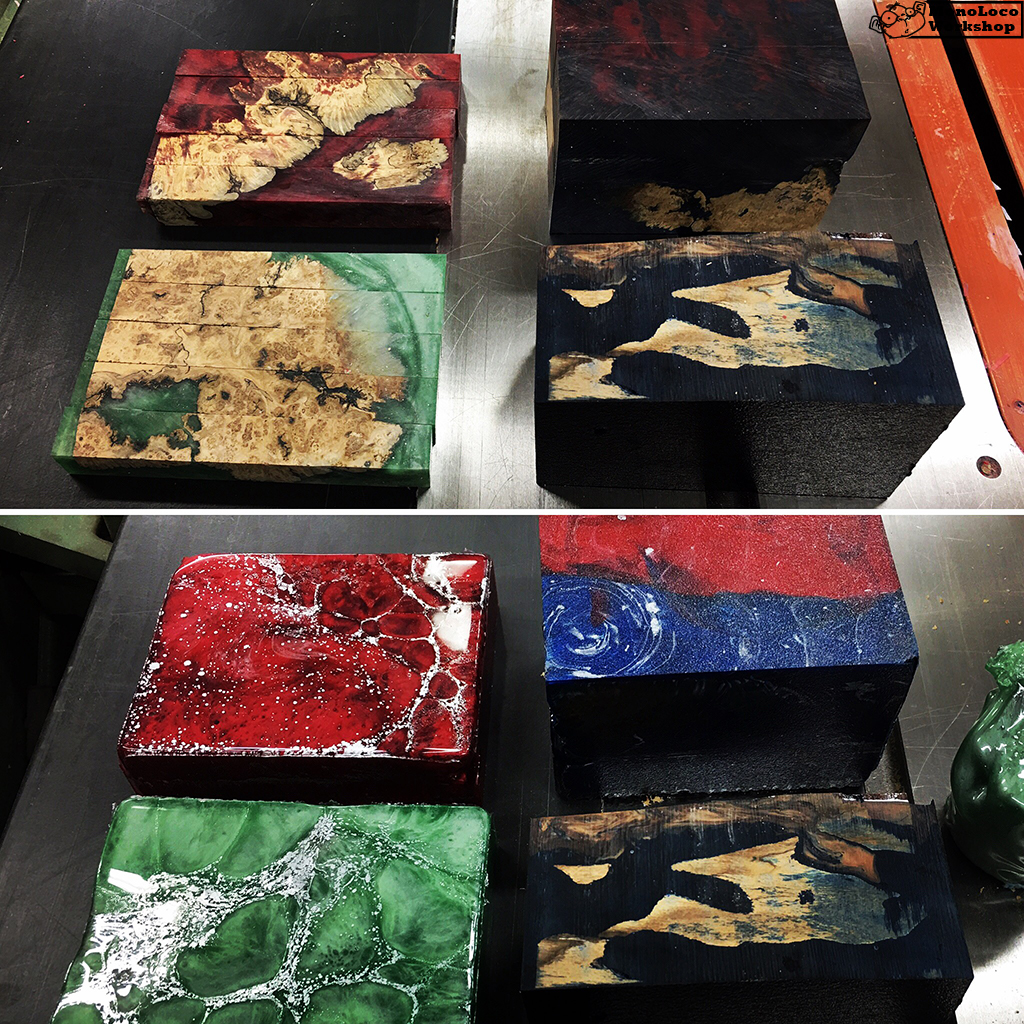 If you're not sure what a hybrid knife scale or blank is, it is typically a piece of wood that has been stabilized and then cast in some type of resin. Typically you'll see burls cast in resin but cactus, pinecones, lathe shavings and many other things can make interesting blanks as well. For my hybrid blanks, I'll be using a boxelder burl cast into a florescent green resin.I won't be going into great detail on stabilizing and casting because I plan on making detailed videos and articles on the topics in the coming months. I will give you a high-level description as well as some additional resources where you can find out more.
Stabilizing Wood
What You Need
To stabilize wood you'll need a vacuum chamber w/pump, stabilizing resin, woodish stuff and a toaster oven. If you want to read more about making a vacuum chamber, you can check out my previous article, "How to Make a Vacuum Chamber". The stabilizing resin I use is Cactus Juice by turntex.com and the toaster oven was something I picked up on Craigslist for about $20. In my case, the woodish stuff I was stabilizing was some boxelder burls but you can pretty much stabilize any kind of wood.
What is it and Why do it?