
Make a Joiner's Mallet
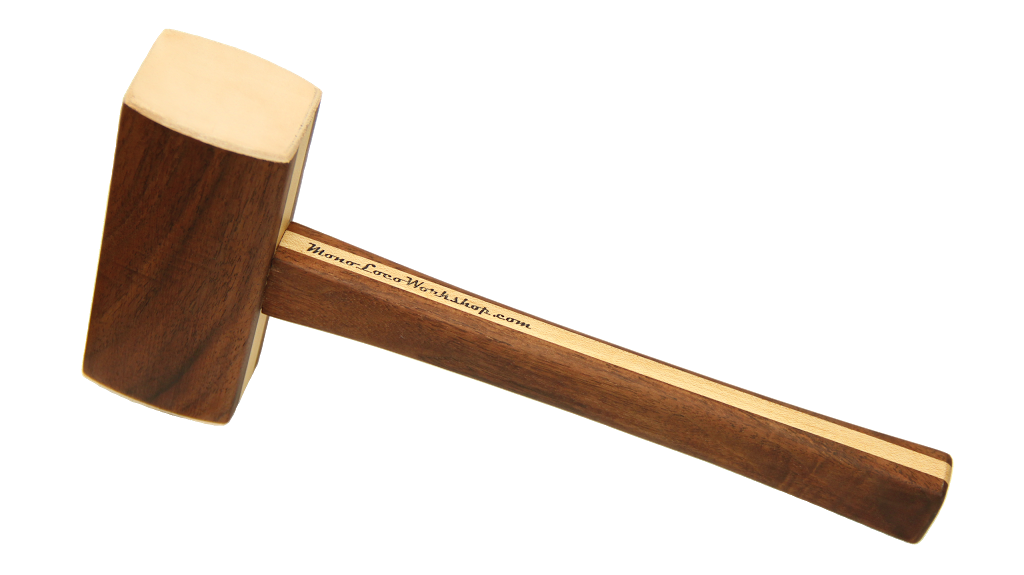

I kept getting asked "Why do you need a wooden mallet?" when I was talking about my project or showing it off when it was done. So I'm going to provide a little explanation first: I've been getting more and more into hybrid woodworking. If you don't know what that is, it's basically the idea that you start off with power tools to do the rough stuff and finish off with hand tools. Plus I do a lot of my woodworking late at night and loud power tools can wake the family. (Not like a mallet and chisel can't.. ) Using this method, I've found that I get much better results on many of my projects and because of this, my hand tool collection has been growing. One of my more recent hand tool additions was some chisels with wooden handles. If I were to use a metal hammer on these, eventually my handle tops would splinter and fall apart. I guess I could use a rubber mallet but there have been way too many times that I have left a black mark where the rubber mallet skidded across something. Now I won't need to worry about damaging my chisels or leaving unsightly black skid marks.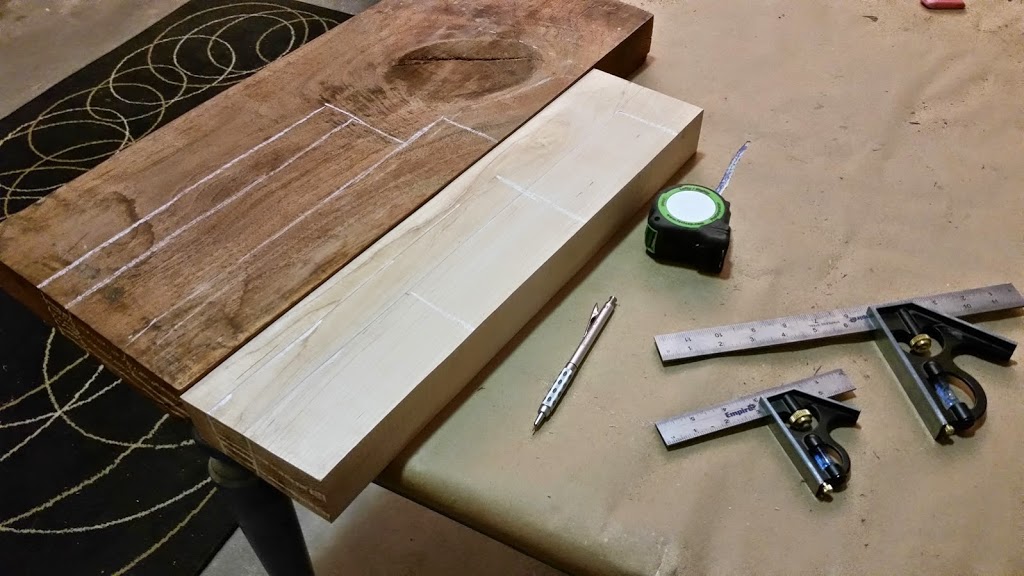


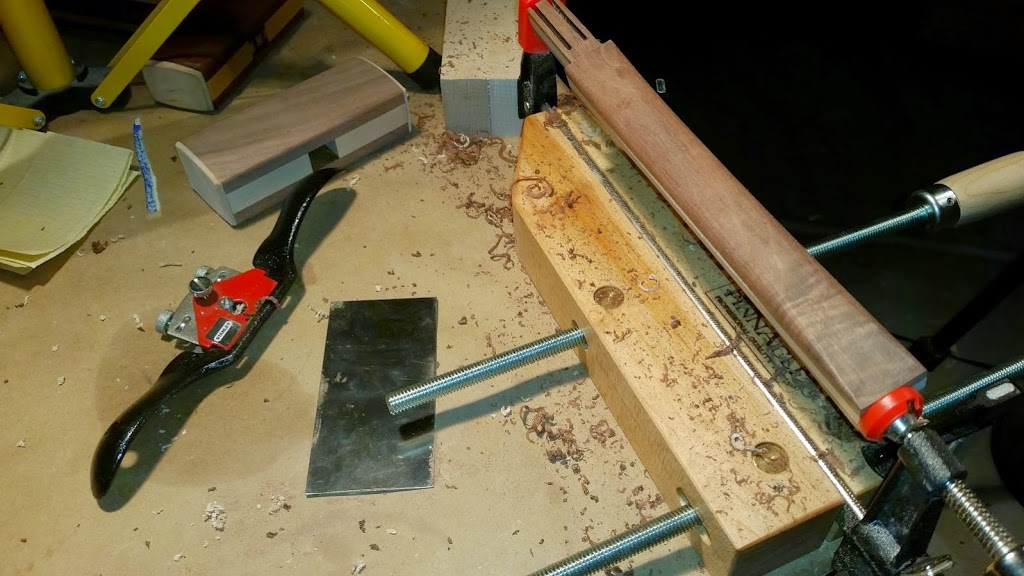
I then put the handles in a clamp that was clamped in a clamp and then clamped to the table. (again.. lots of clamps.) This actually worked very well and let me use my spoke shave and card scraper to give the handles a really nice not square feeling without anything getting in the way. Everything got a full sanding and the mallet heads got leather faces using some contact cement.
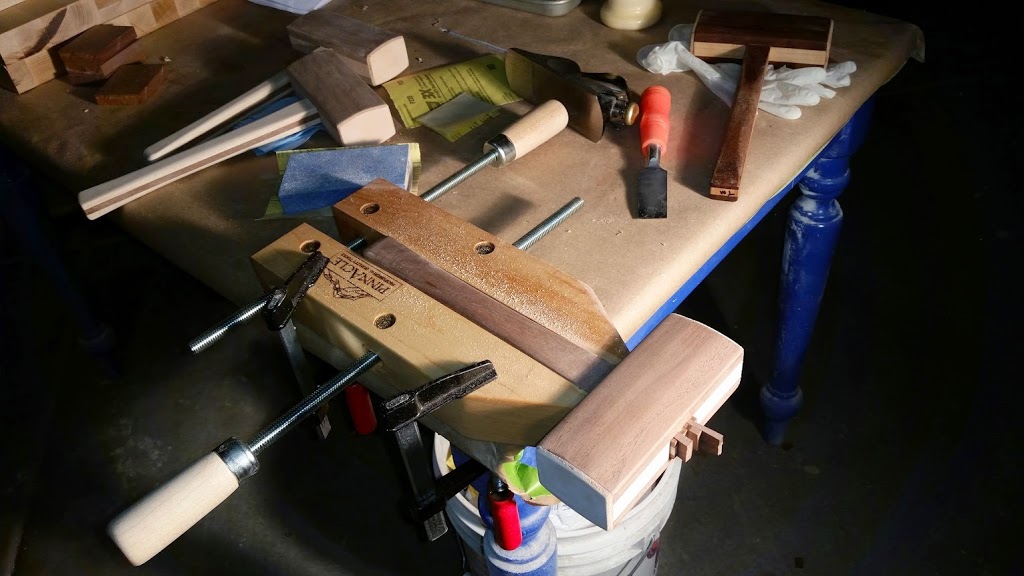
Everything has been shaped and sanded and now it's time to join the handles to the heads. I used some wedges also cut at 2 degrees with the smallest part being the sized of your blade kerf. I cut the handles and the wedges longer than the mallet head was thick to make sure they weren't too short. I then clamped them up and cut everything flush to the mallet head. A chisel, block plane and card scraper, made short work of the joint between the handle and head making it ultra smooth.

I applied my logo to some of the mallets using the laser printer/lacquer thinner transfer technique and finished everything off with two coats of Watco Danish Oil. Now it's time to put these things to good use!
Lessons Learned
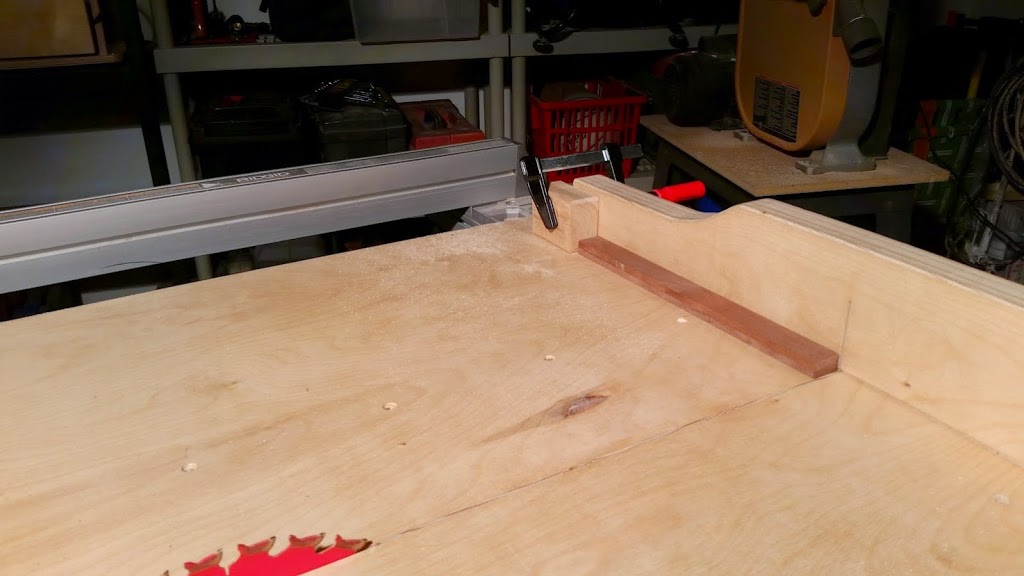
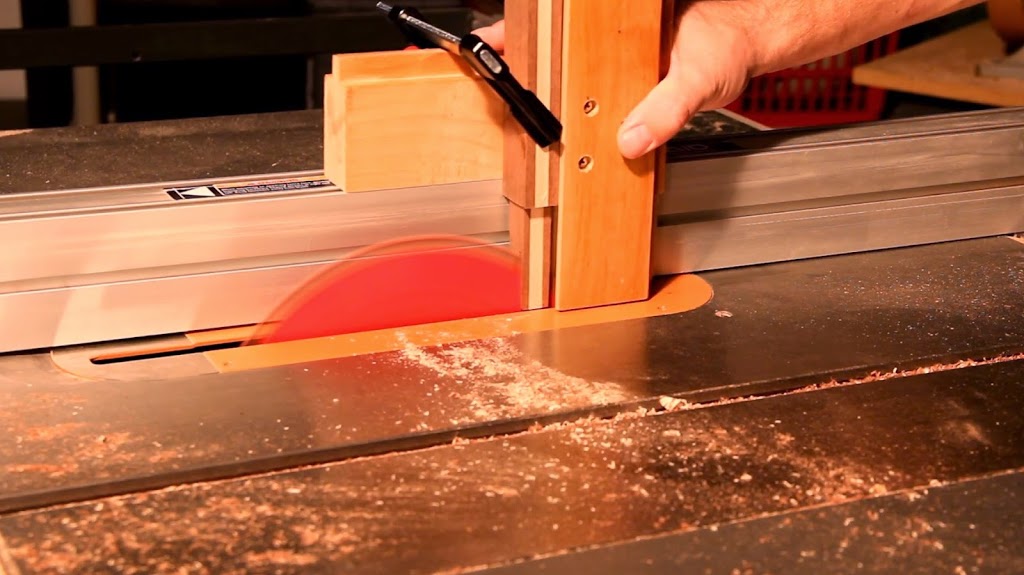
- Even though the tenoning jig was super easy to build and use, it left room for some error. I'm thinking I might modify it to wrap around my fence so it can't tip. There were a few times where it would tip just a little which kind of messed up my wedge slots. The end result wasn't bad but if you knew it was there you would see it.
- The first "test" mallet I made, I didn't clean up the joint where the handle matched up with the underside of the head. It's not all that unsightly and if you didn't know it was there you probably wouldn't notice the small gap. It doesn't take much time to straighten those things up with a sharp chisel or an edge plane, you just need to remember to do it.
- Next time I'll buy more lumber instead of trying to get as much as I can out of a small amount of wood. If I had more lumber I would have saved TONS of time sawing and re-sawing and mixing and matching. Next time I'll just get more/larger pieces of wood and cut everything to the exact same size.
- Check and double-check the wedges. I had a couple mallets where the wedges were a little on the small side. Luckily I had a bunch of extras so I was able to just throw some more in when the first ones weren't large enough to do the job.