
Bandsaw Box from a Single 2x4


I've always wanted to make a bandsaw box but when I finally got a bandsaw, I had so many other projects that "needed" to get done and none of them were a small box with drawers. When Summers Woodworking had their 2nd annual 2x4 contest, I needed a project and I decided to finally make my box.
I've recently been venturing into the YouTube woodworking community and this contest required a video so I don't plan on going into great detail about how to make one of these boxes. You can instead watch the entire process right here!
The basic steps of a bandsaw box is to:
- Acquire a largish block of solid wood. I used a single 2x4 which I ended up cutting it into smaller blocks, gluing them together and forming a larger solid block.
- After you have the basic shape figured out, you cut out the outside dimensions on the bandsaw to give the box it's overall shape.
- Once you have the general shape, you cut about 1/4" off of the entire back of the box to be glued on later.
- Cut out the individual drawers. Since this is a bandsaw with a continuous blade, you will have to cut through the side wall of the cabinet which will be glued back together later.
- After the individual drawers are cut out of the main block, you cut about 1/4" off the front and back of each drawer which will be glued back later.
- Now you can finally cut the hollow part out of the drawers.
- Sand the insides of the drawers and inside of the cabinets before gluing everything back together.
- Now that all of the cutting is done, you can glue the front/back onto the drawers and the back onto the cabinet.
- More sanding.. Since you will have to compress the cabinet a little to glue it back together, the back won't fit perfect so that will have to be sanded flush.
- At this point the box is done and you can decide on your finish.
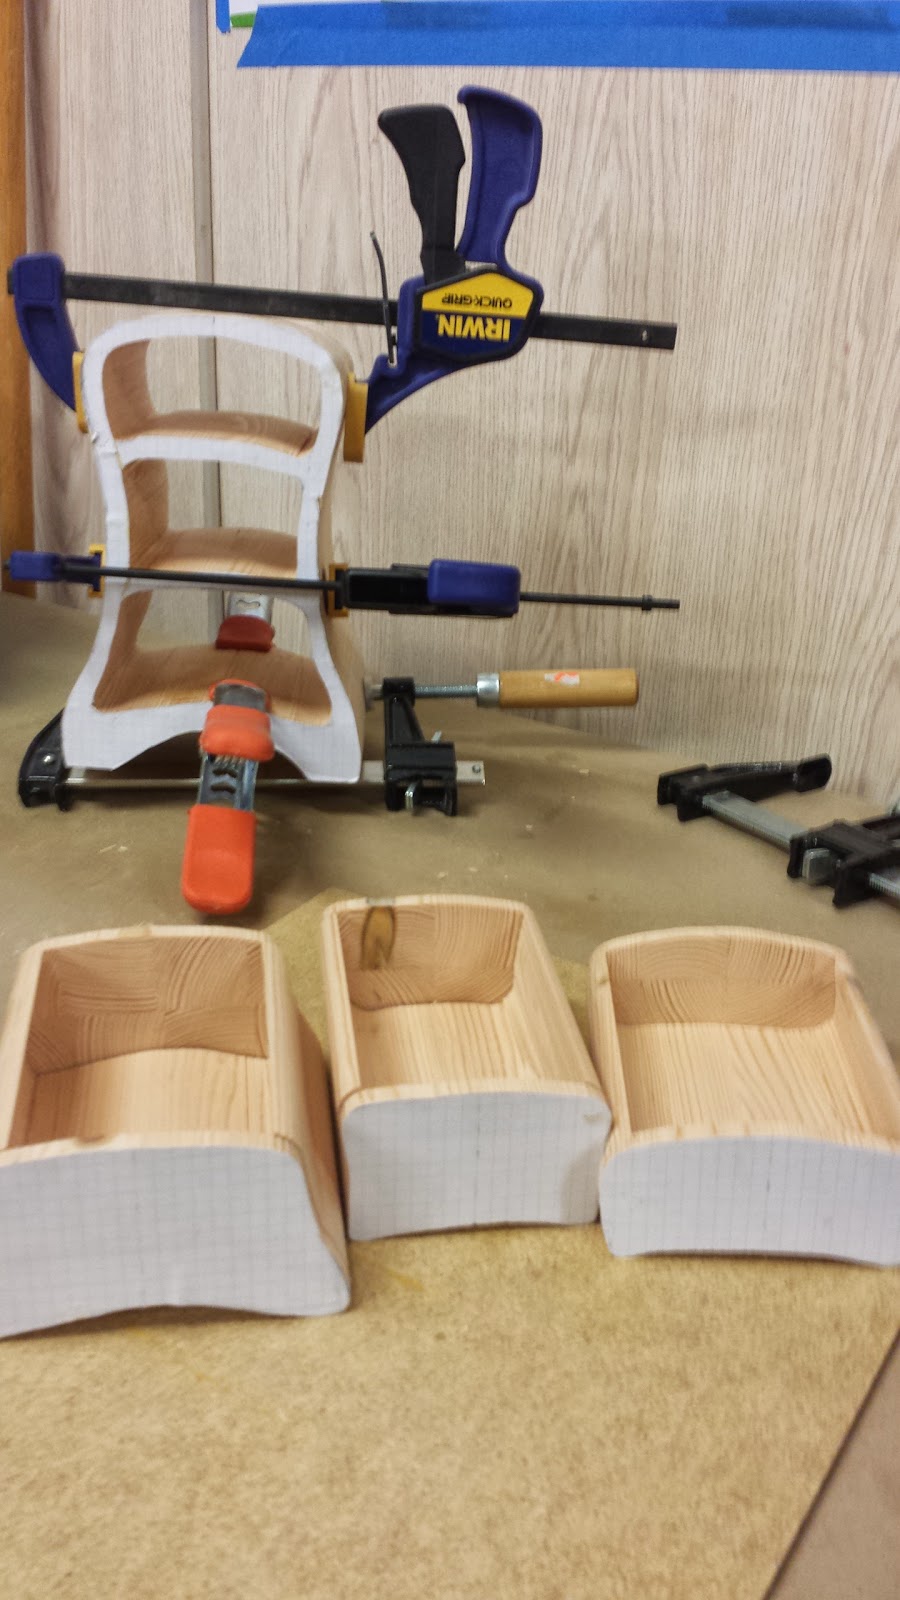
This was after getting everything cut out and the first sanding done. Making sure the grain pattern is lined up is key to get a semi seamless appearance in the back of the box and drawers.


Lessons Learned
- This isn't a quick one day project. (Unless you don't care about letting your glue cure.) I let each glue up cure overnight since this was pine which is fairly weak.
- Sanding on this project can be about half of the battle.
- Making sure that the block matches your saw's clearance before getting started will help prevent issues later.
- Gluing together almost 40 blocks of wood takes a lot of clamps. I thought I had enough clamps with over 30 all together but I didn't have enough small clamps to get this done in one go. I had multiple glue ups just to assemble the main block of wood.