
Concrete Counter w/Undermount Sink - 2

I know that I've already done a post on my bathroom concrete counter but figured I would get another example out there. I don't take on many projects for other people, primarily because I have so many of my own, but a friend convinced me to make a counter for a bathroom he has been helping remodel. I did everything other than stain and seal this counter so they could save a bit of money.
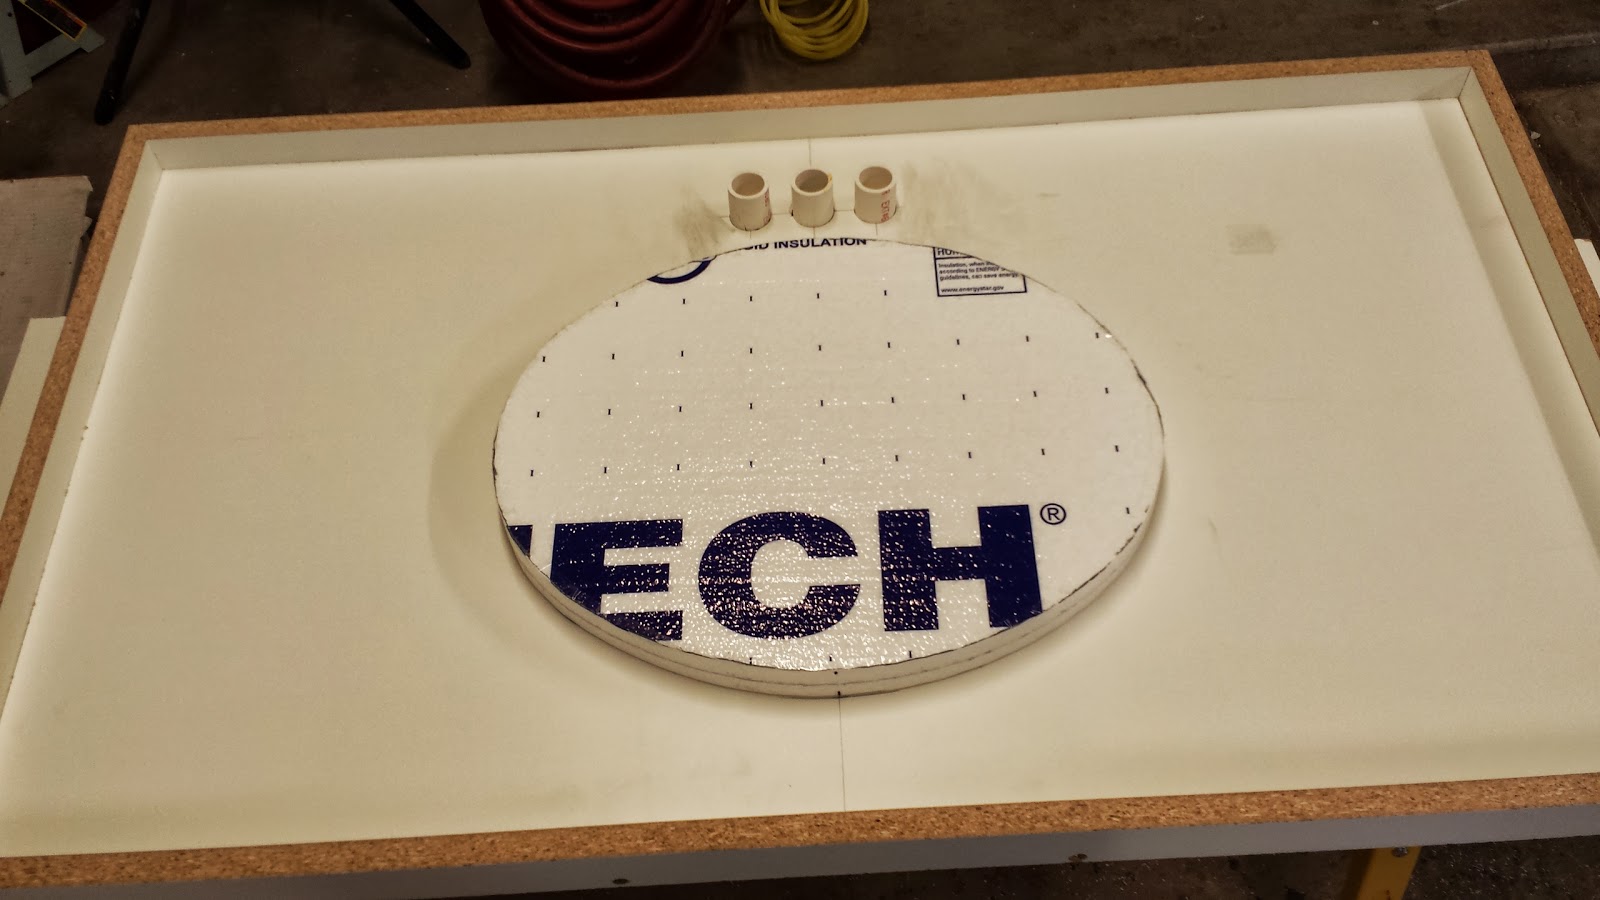
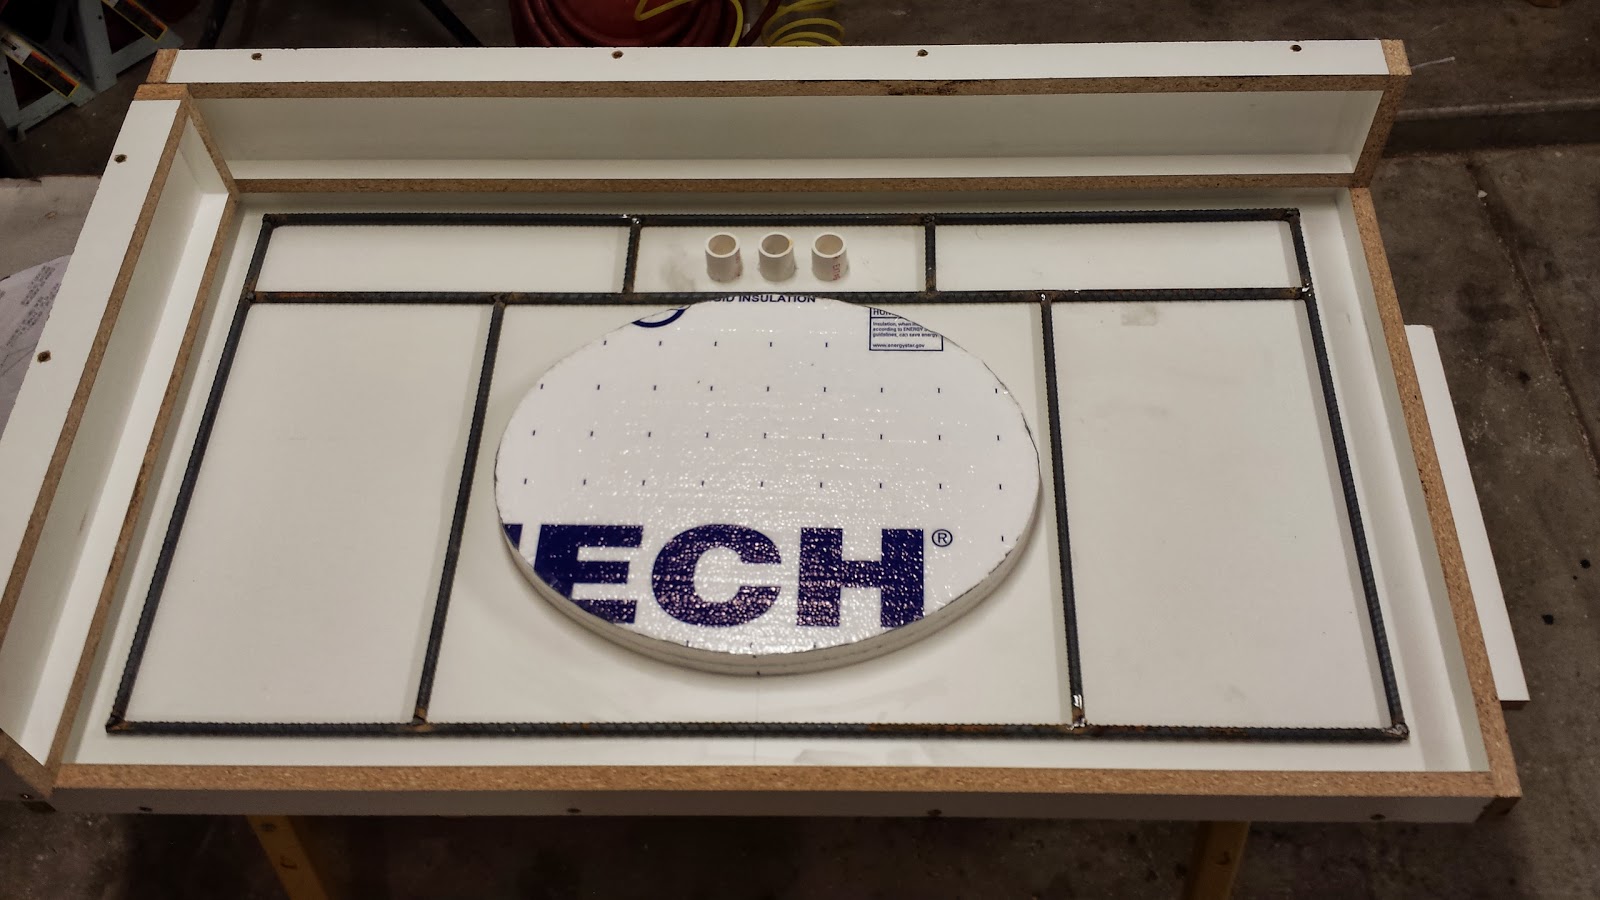
As before I created the form from melamine which I had laying around from the last project and used the Maximizer concrete from HomeDepot. I used the paper template that came with their sink to make a foam insert for the undermount sink. I cut it out with my jig saw and then sanded the edges and put packing tape around it to get that extra smooth finish. I'm also getting pretty handy with my welder from another weekend project I've been helping a friend with so I made quick work of the rebar frame. I sealed the corners of the frame and glued down the foam insert and PVC faucet inserts with some silicone I stashed in my pallet shelves.
Once again I taped some painters plastic over my reciprocating saw and vibrated the entire underside of the form at various stages of the pour to settle the concrete and get the air bubbles out. (Without of blade of course.) I didn't worry too much making the underside of the sink super smooth since it is the underside after all. I planned on going back with an abrasive disk on my grinder to knock down any high spots. While the concrete was still wet I grabbed a stick and put four divots on the four corners of the sink to epoxy the bolts in later for the undermount sink.
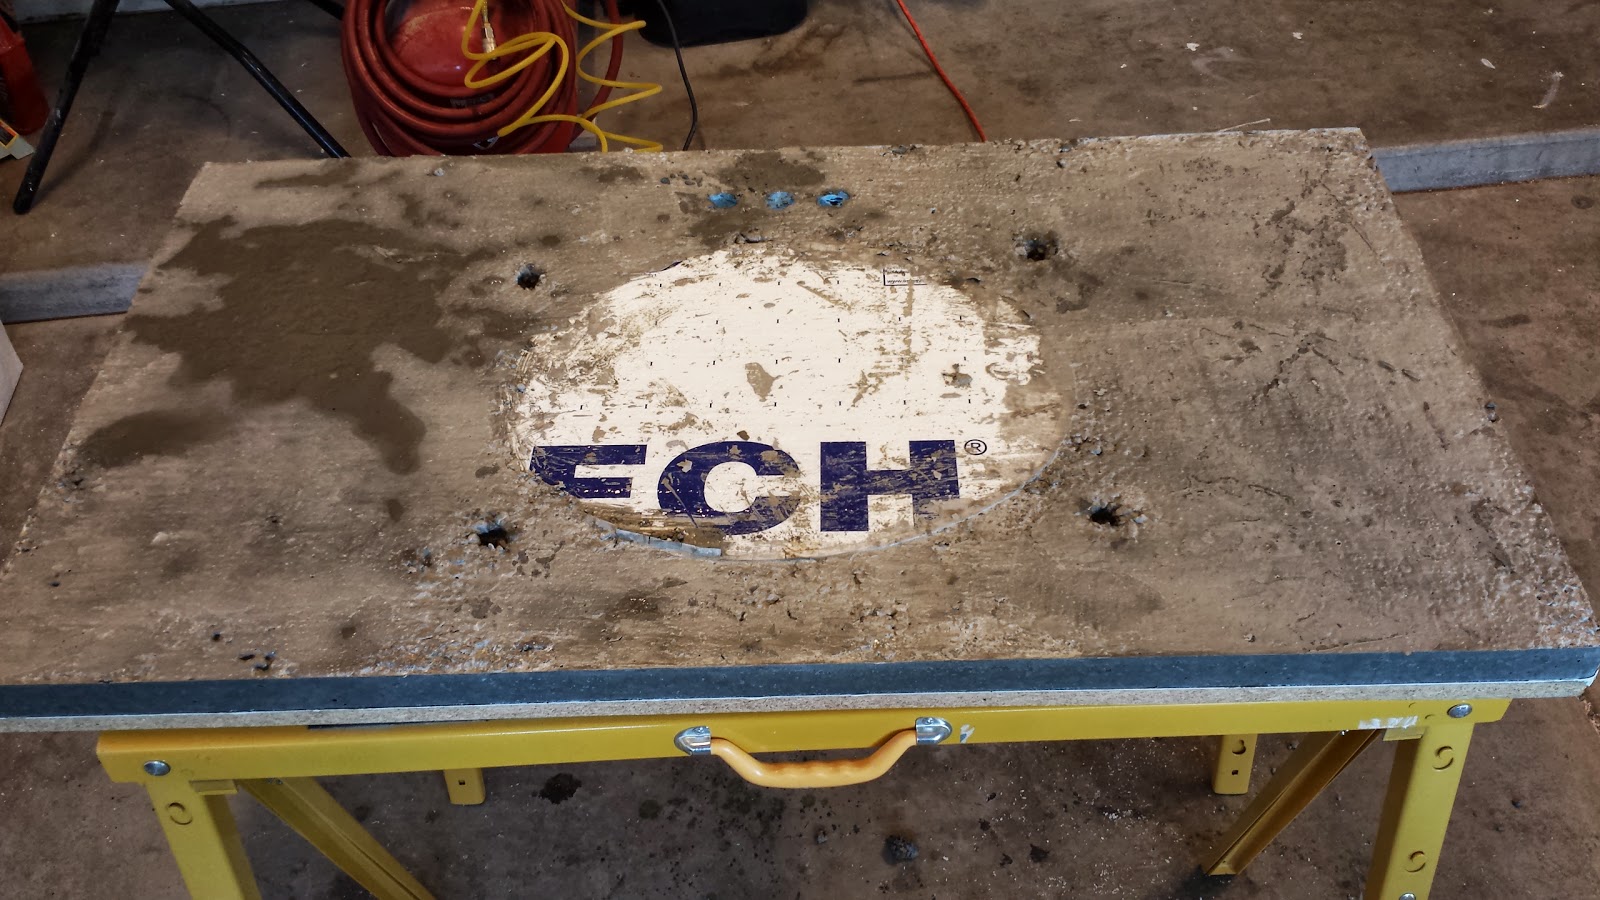
After keeping the concrete covered and wet for a few days so it could dry slowly I removed it from the frame and placed it upright. I used my grinder to flatten any high spots on the back and used a low grit diamond pad to open up any air voids on the top that needed filling. I mixed up about a cup of slurry by using a standard kitchen strainer to remove the aggregate. With rubber gloves I worked it into all of the small air voids and then used a small trowel to wipe off the excess.
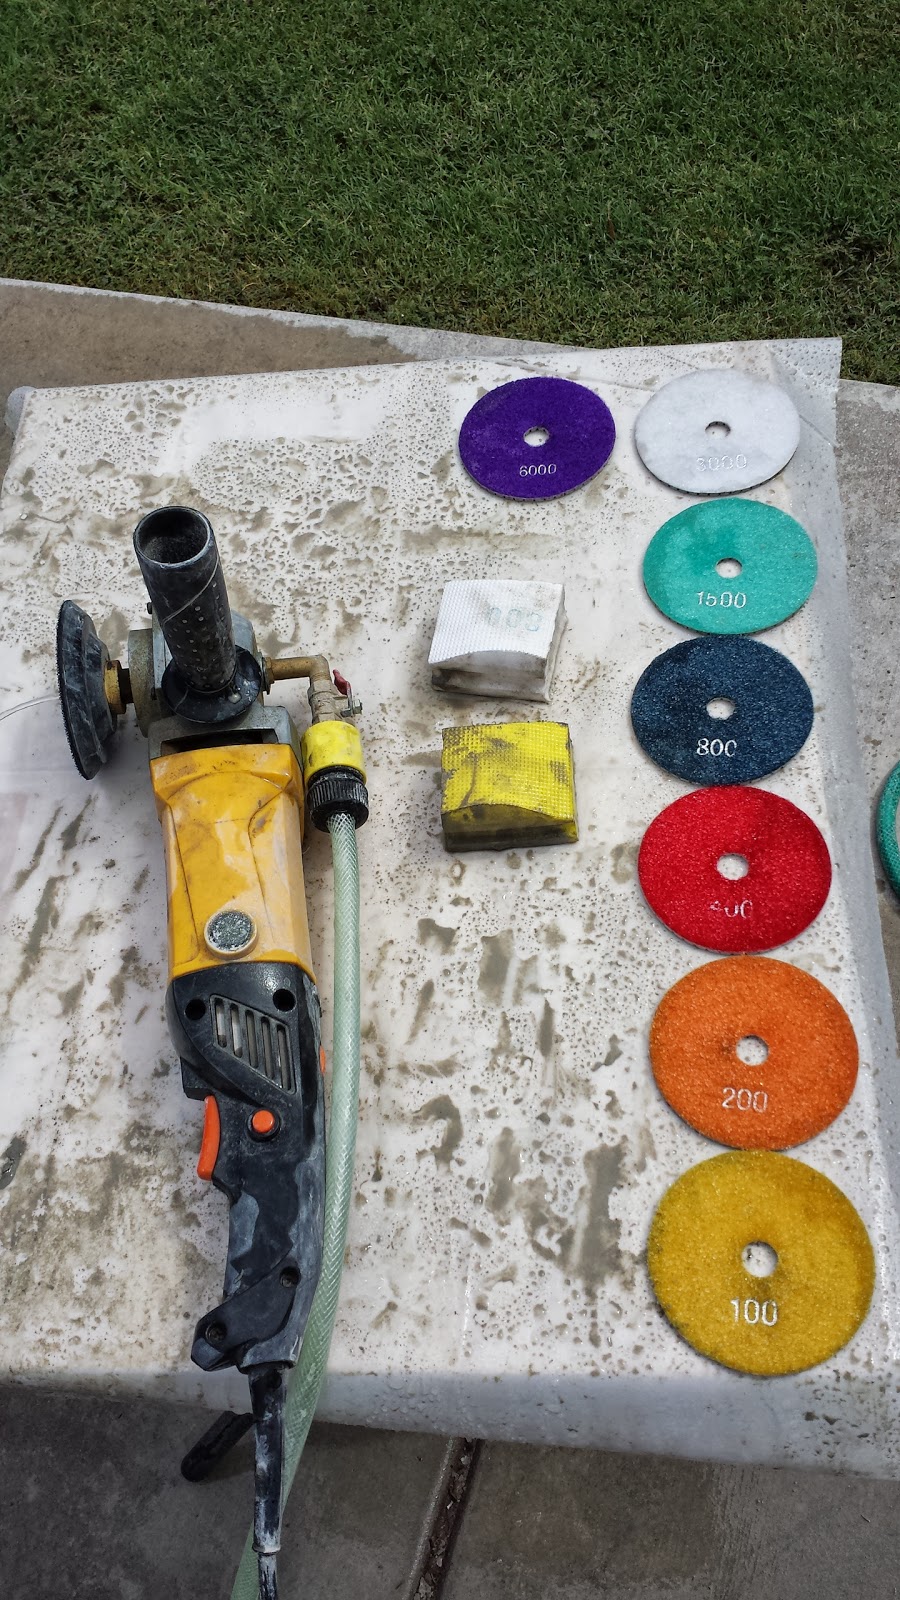
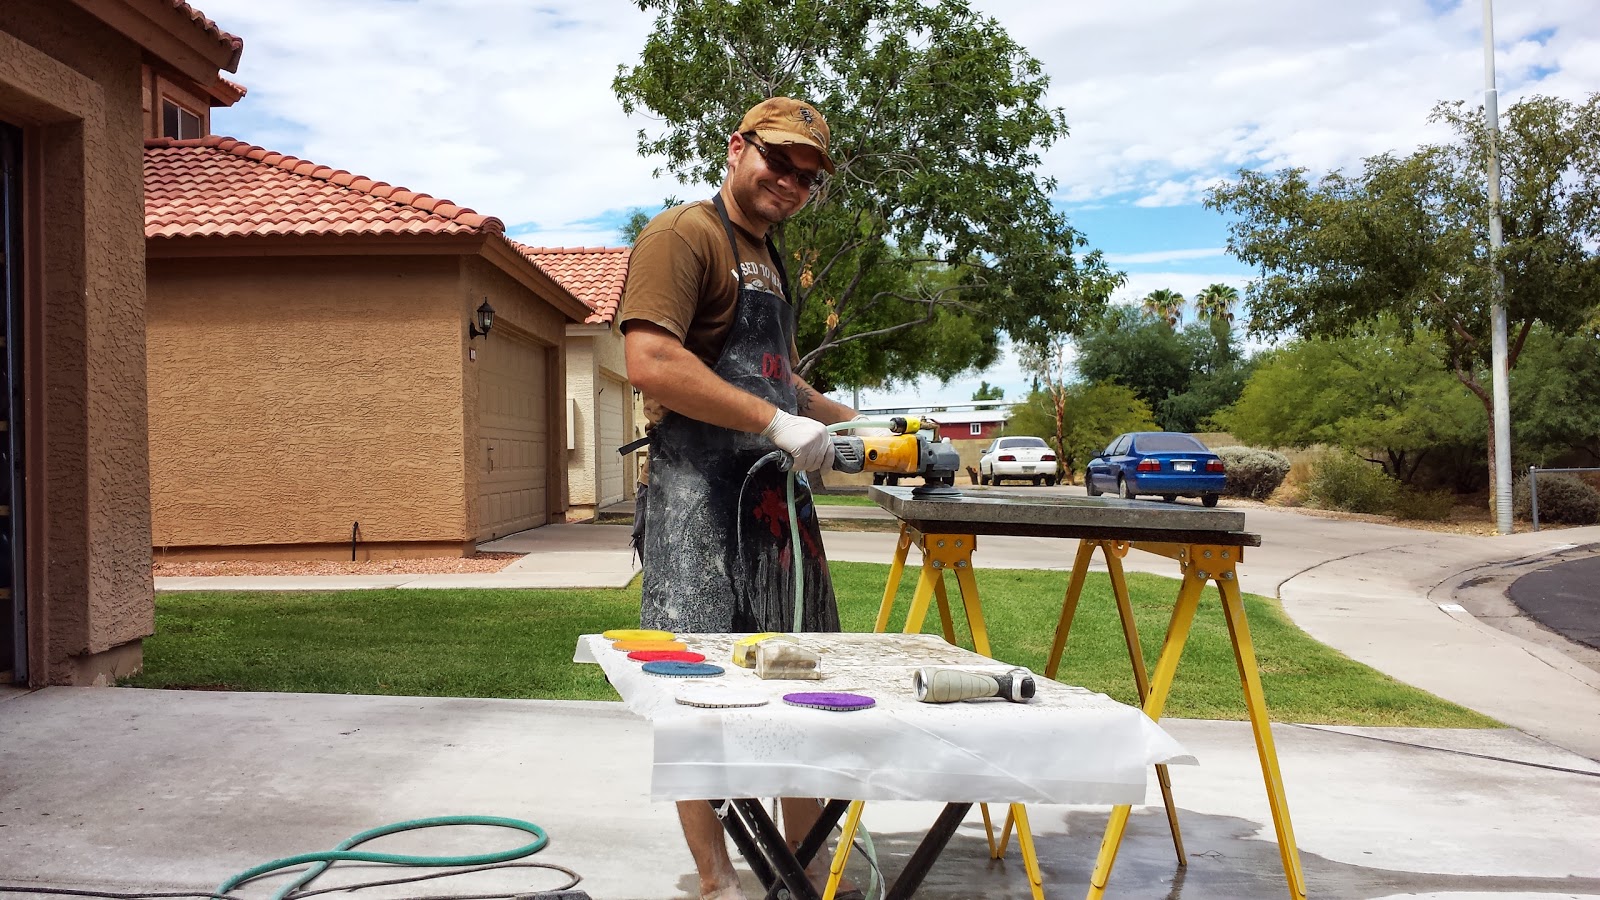
When all the air holes were filled and dry I setup my polishing station and went from a 100 to 6000 grit diamond sanding pads. When I did my sink I stopped at 400 and acid stained it before moving up to 6000 grit. I think I got more consistent results since my concrete was a little more porous at this stage. Theirs didn't look too bad but it was a little blotchy. Since I wasn't there when they stained it, I cant tell if it was because it was polished up to 6000 grit or if they didn't put it on consistently. I did make them a small 4"x 6" sample piece which was polished the same and the stain looked great.

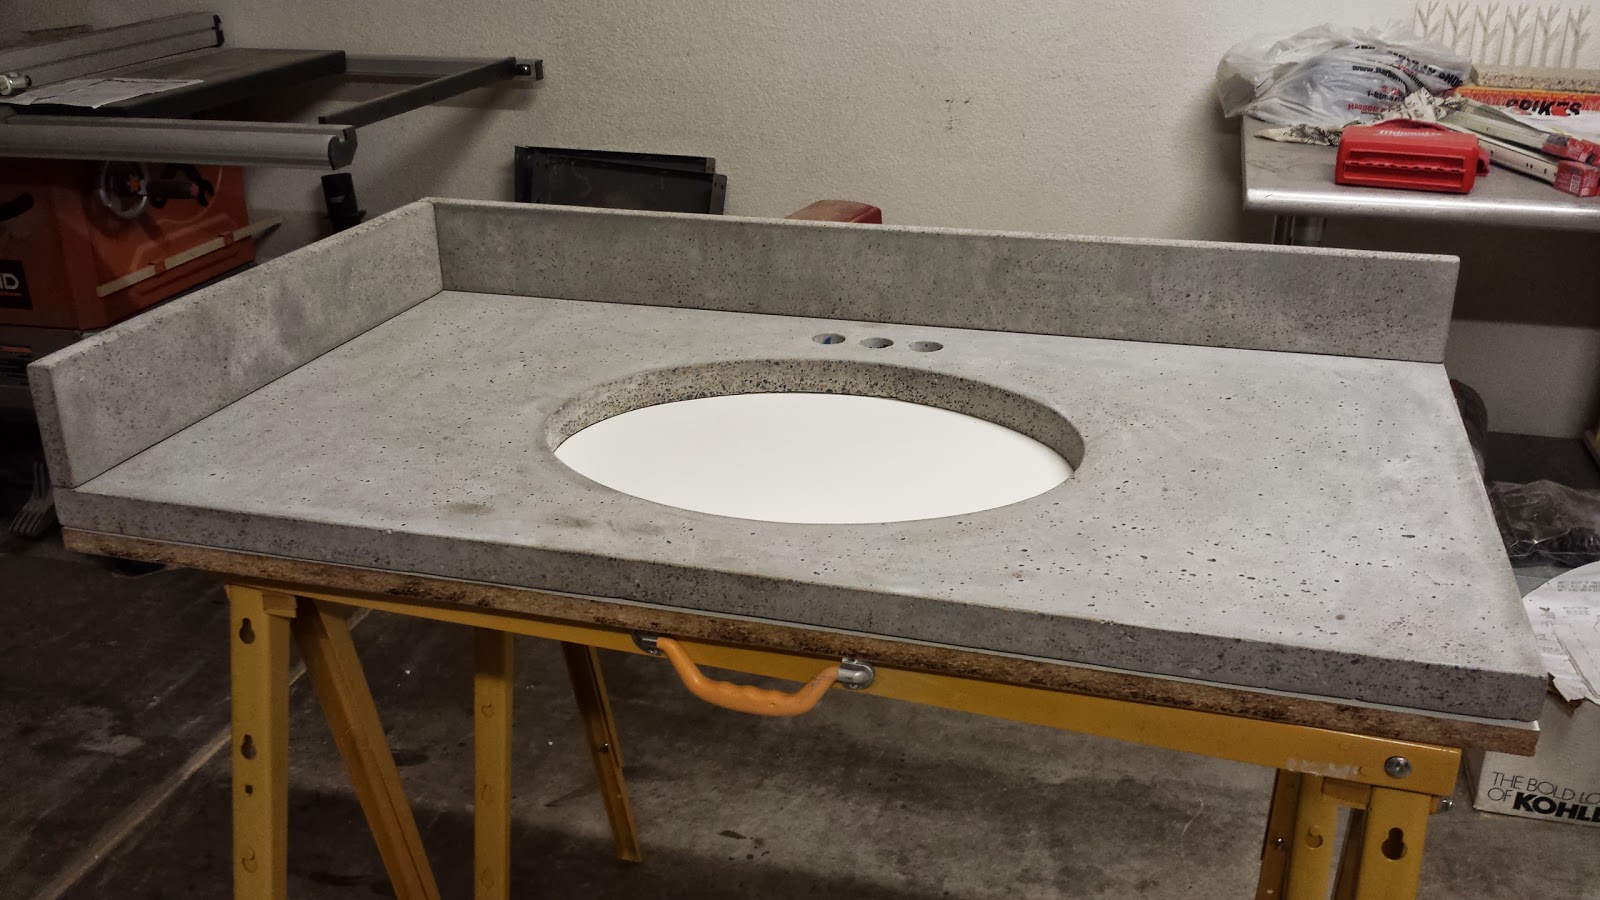
This picture was taken right after it was fully polished. The backsplash is just resting on it for effect. At this point the counter isn't stained or sealed, it's just wet from the polishing. This is about what it should look like if you sealed the concrete without staining it at all. (There are sealers that make it look wet or dry.)
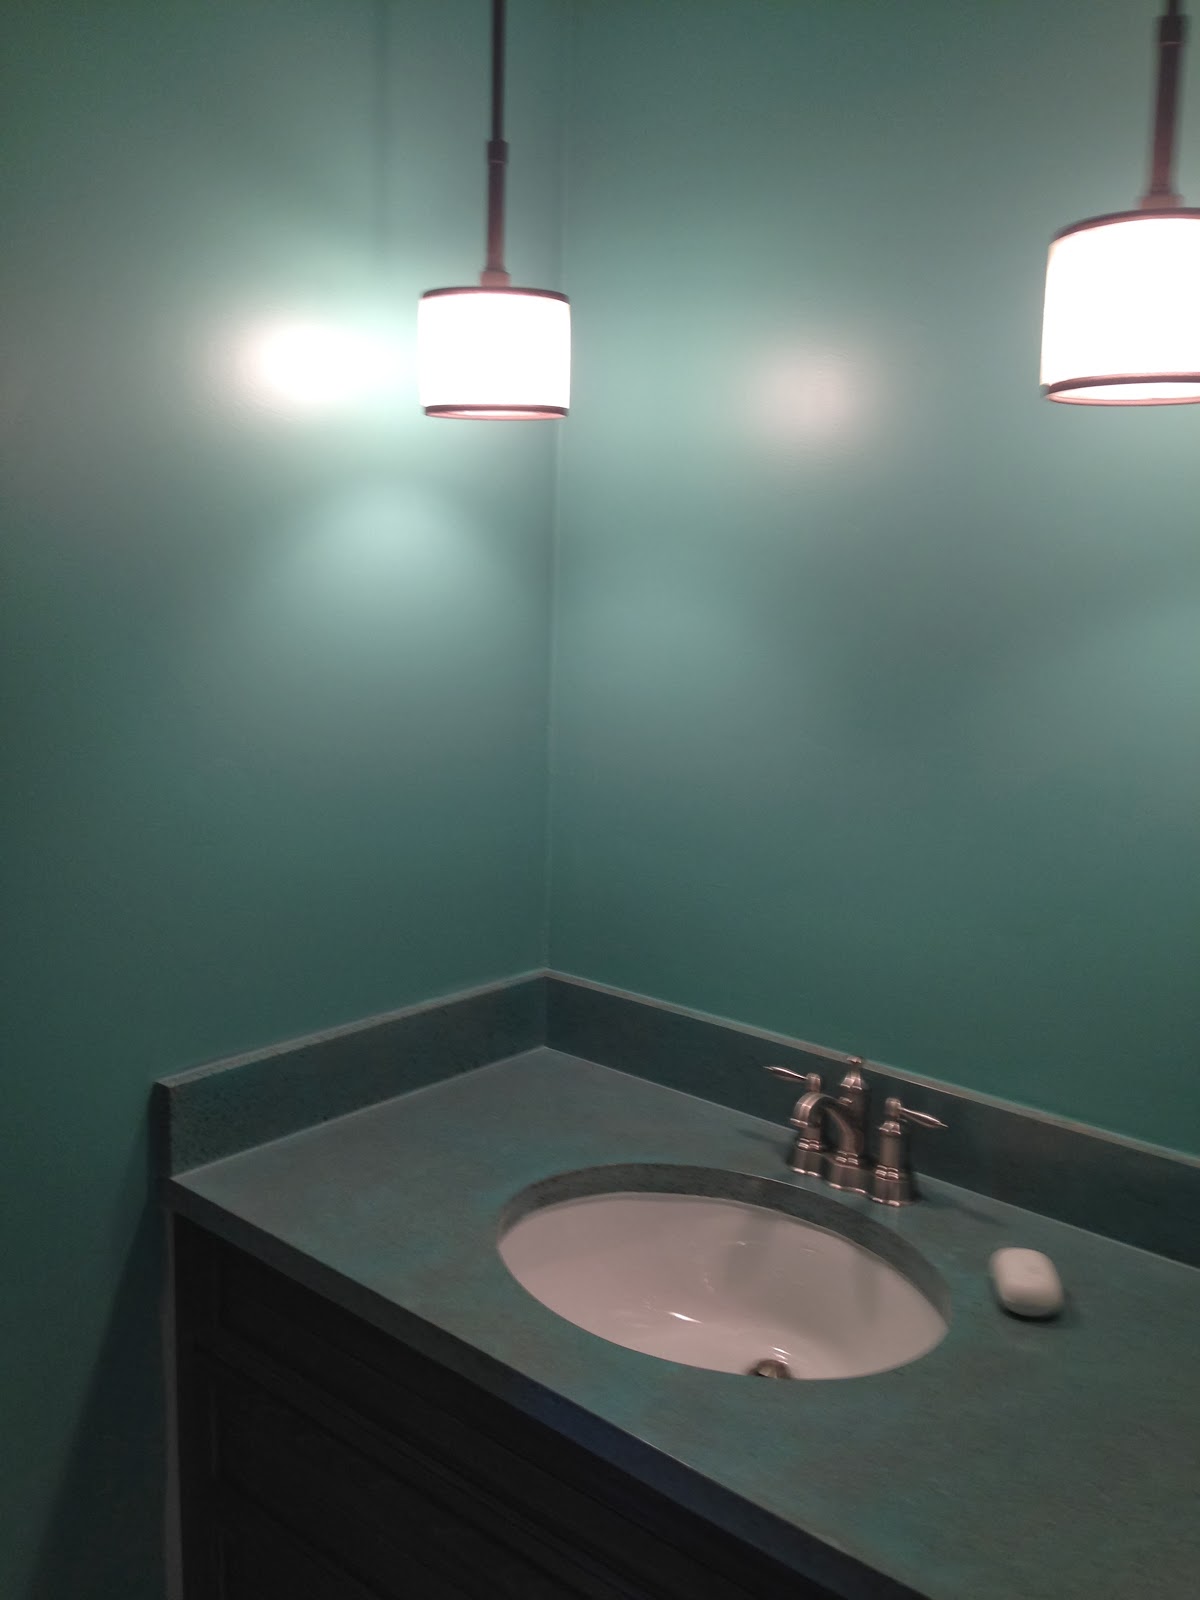
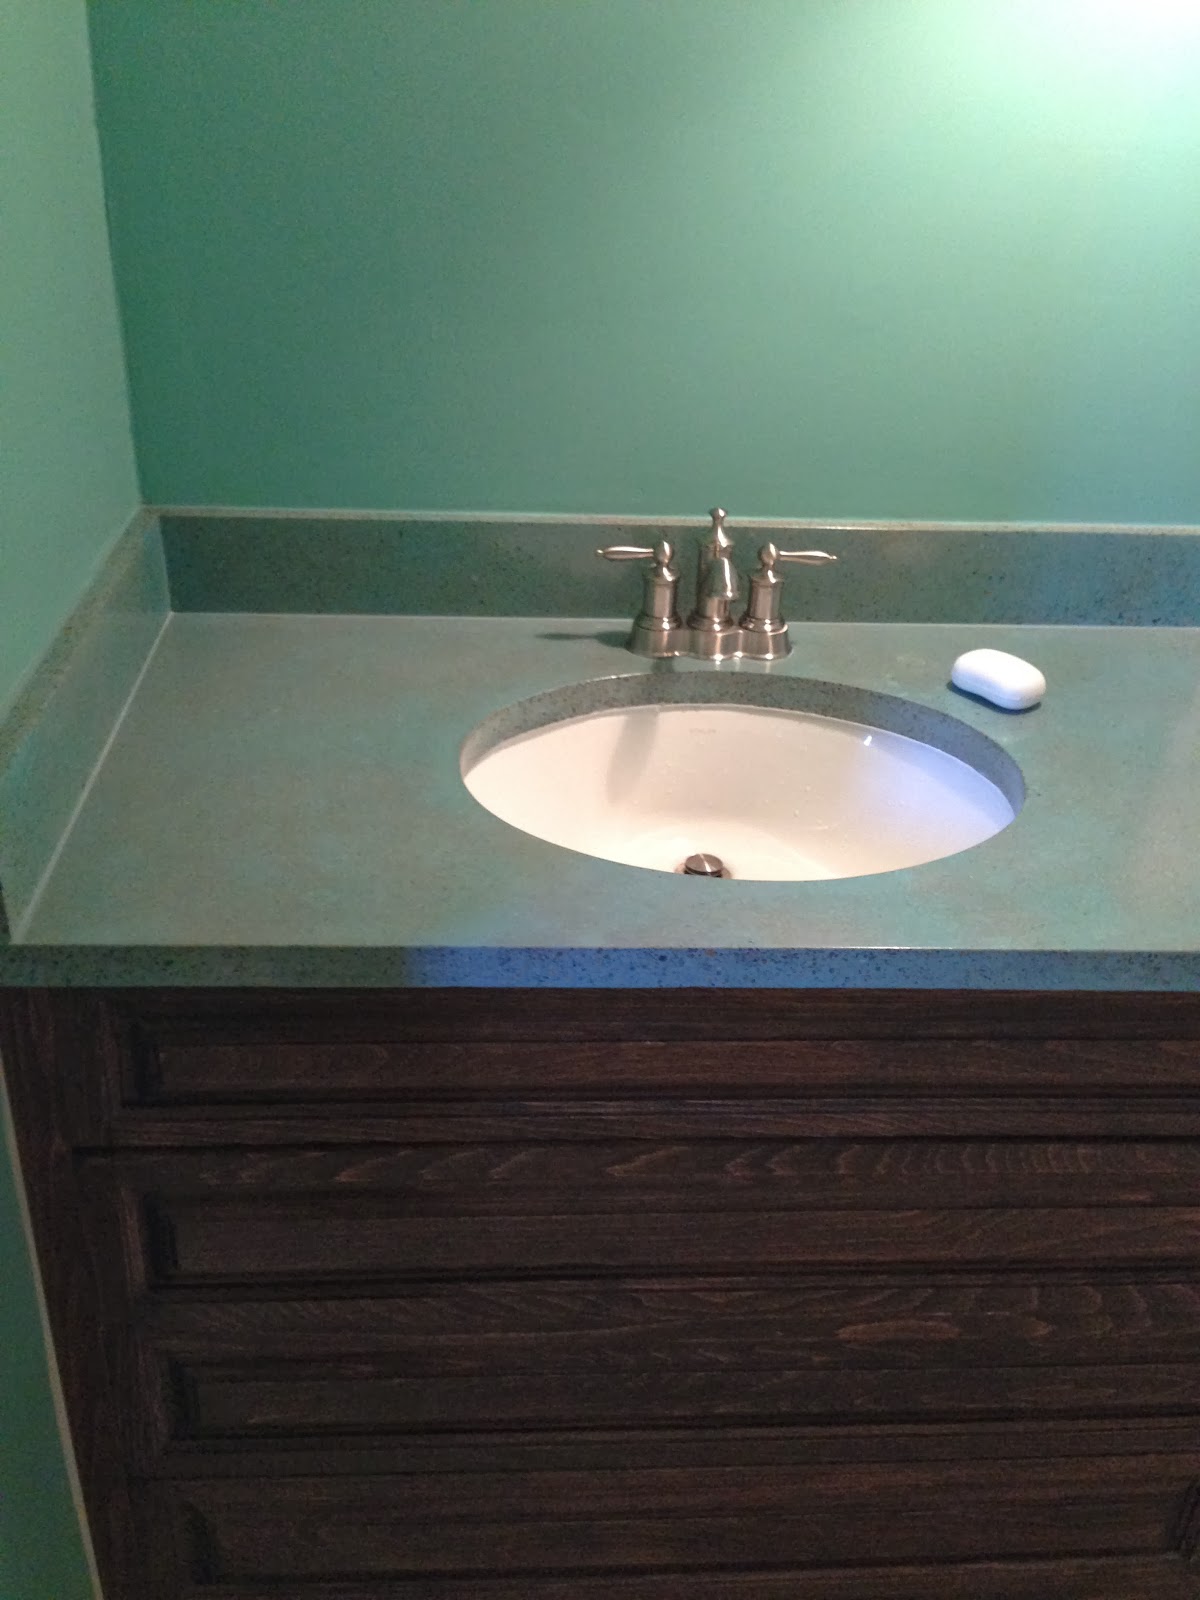
Here is their final picture of the counter after it was stained and sealed. I don't know if I would have picked a color that so closely matches the walls but overall I think it turned out pretty good.
Lessons Learned
- I'm still getting a decent amount of air bubbles so I think next time I do a concrete counter I will make a little bracket to attach my reciprocating saw so I can let it vibrate the entire table for a couple hours. (I know they make vibrating tables and concrete vibrators but I don't do this often enough for that and I'm cheap.)
- Even though the bottom isn't seen I should probably spend a little more time making sure it's nice and flat. It would make installing and sealing the sink a little easier.
- Maybe I shouldn't let other people stain their own counters so I can get it done at a lower grit to ensure a consistent look.