
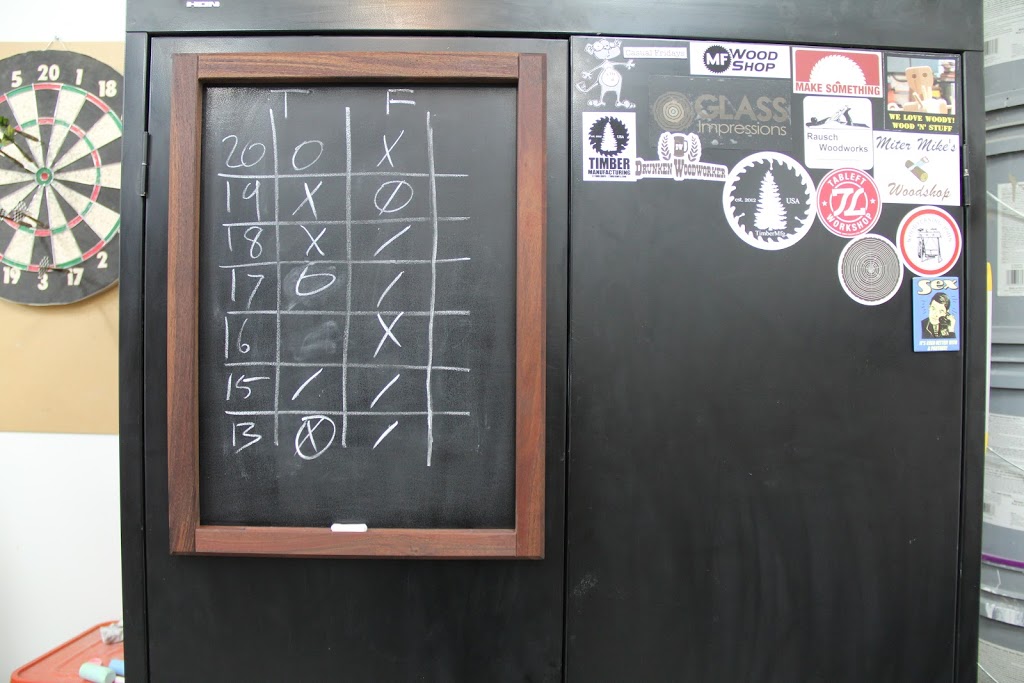
Magnetic Frame and Steel Cabinet Chalk Board

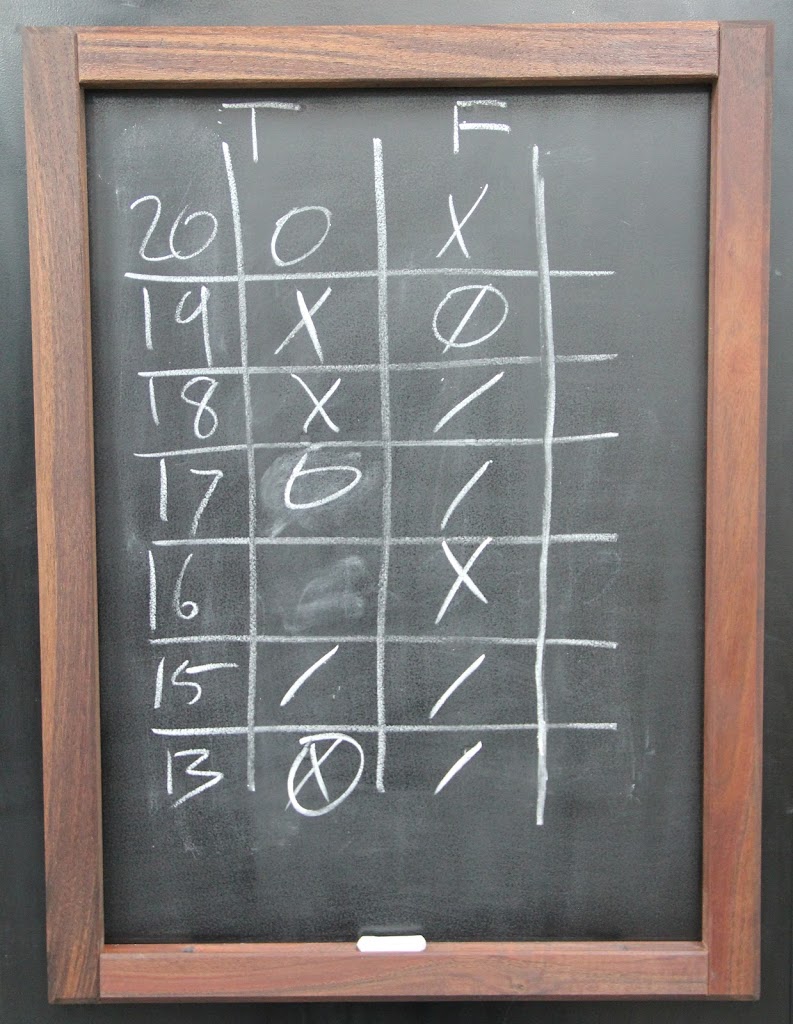
My friend brought over a dart board a few months ago and we've been playing a gamed called cricket ever since. I've had stacks of paper start to disappear from all the score keeping. About a month ago I decided I needed to figure out something new and started looking at the big steel cabinet next to the dart board. One night I quickly grabbed some sandpaper and turned a section of it into a make shift chalkboard. It's been wanting a more consistent sanding and a frame ever since.
I was picturing a nice frame around the chalkboard section of my cabinet made out of walnut. I didn't want to screw or glue anything to the cabinet so I did a quick search on Amazon and found some nice 1/2" diameter round magnets that would work perfect. I dug through my scrap bin and had just enough for the frame as long as no mistakes were made.
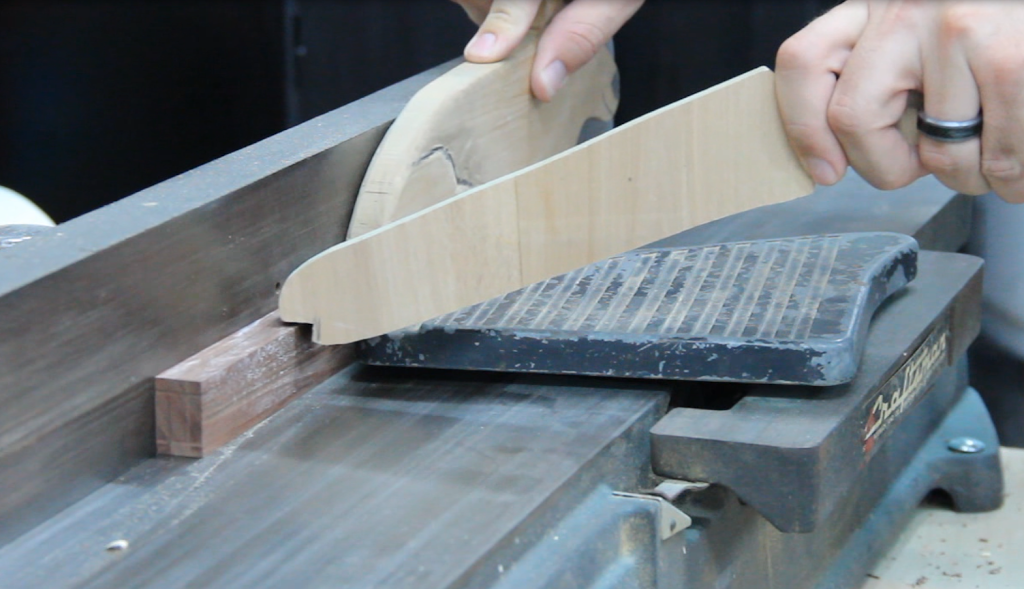
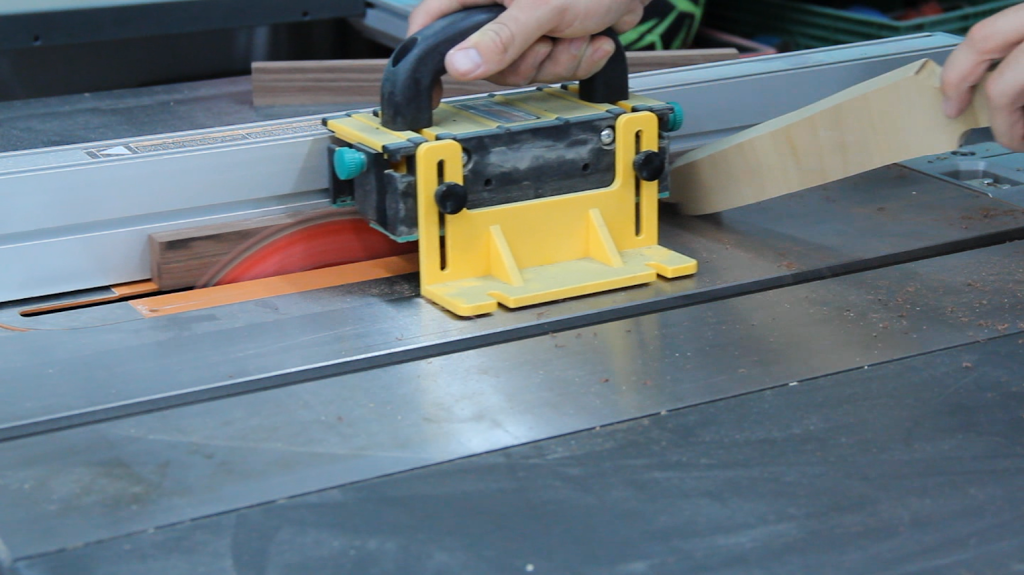
I jointed the small scrap pieces of walnut to get two perpendicular sides. I would have run them through the planer after that but I do most of my woodworking late at night and that beast is by far the loudest thing I have in my shop. Since they were fairly small pieces of wood, using the flat perpendicular sides and my table saw would have to do.
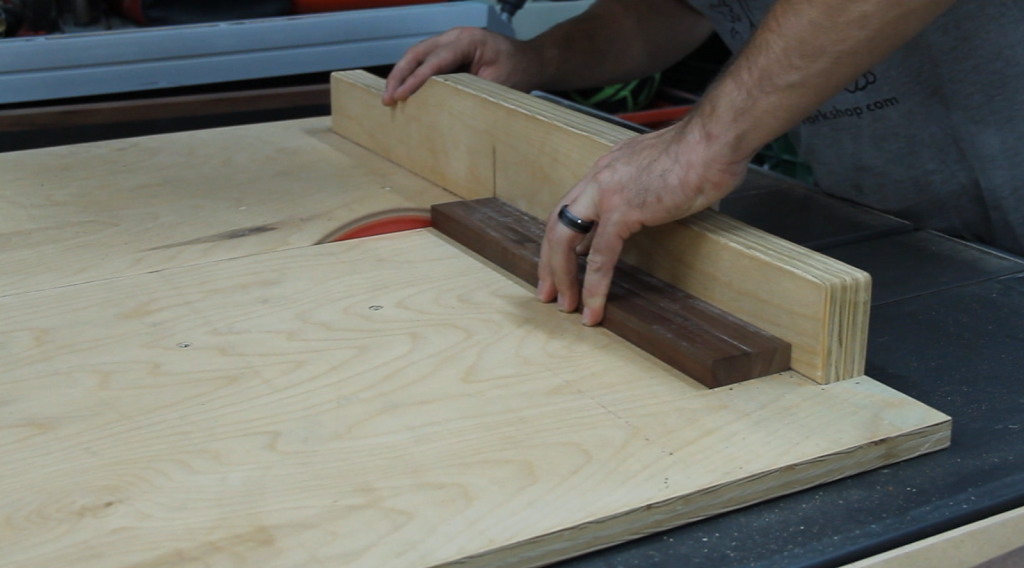
All of the pieces were cut to the width of my smallest piece of scrap wood and then cut to length using my cross cut sled. I didn't have any major size requirements so I just kind of went with what felt right. I wanted the chalkboard section tall enough to keep score for cricket but the entire frame had to be no wider than one of the doors. I actually had to go a little smaller width wise so the door could swing all the way open without the wood frame hitting the steel frame of the cabinet.
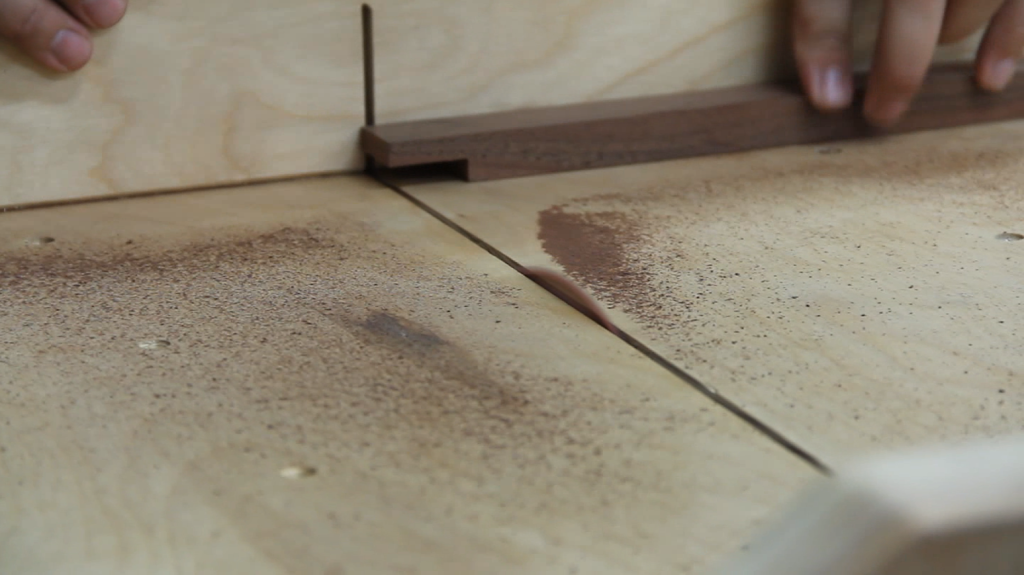
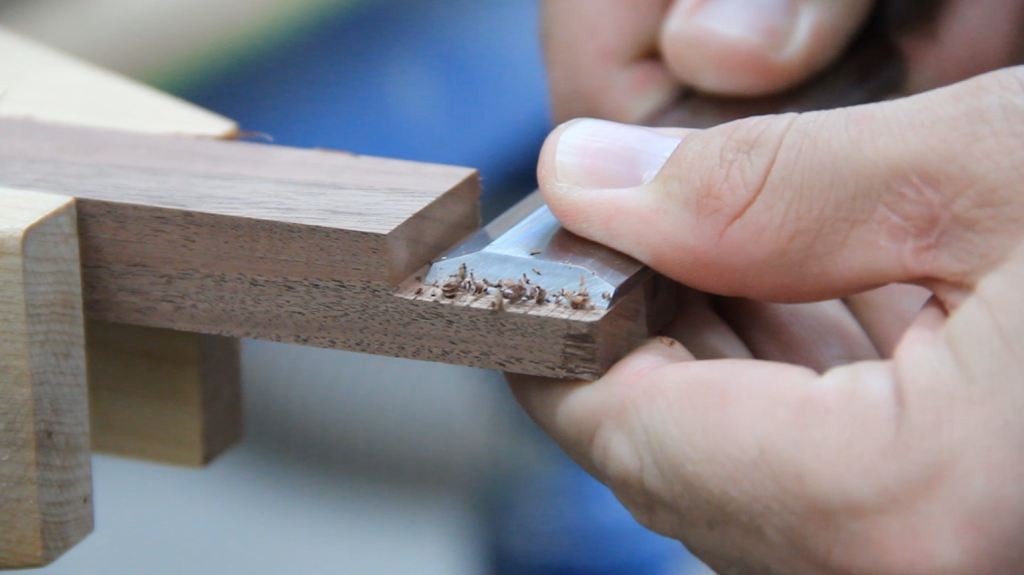
I decided to go for half lap joints to class it up a bit. Since they were fairly small I decided it would be more work to get out and set up the dado stack than just cutting the joints out using my cross cut sled and a regular blade. Either way, you'll have to take your chisel out and clean up the joints if you want a nice clean glue-up.
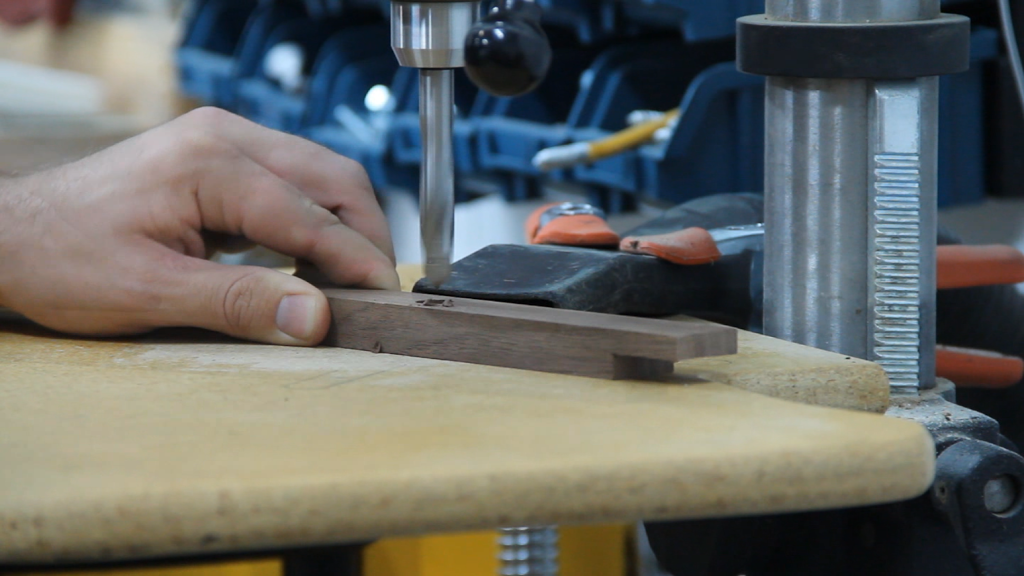
I started looking through my very small selection of forstner bits but didn't have the 1/2" size needed to match the magnets. Luckily the largest size of my brad point bits fit the bill perfectly. I set the depth on a test piece of wood and drilled all the holes. I actually started out with two in each board (8 total) but after some tests I decided to double it. It held with just 8 magnets but when I shut the door hard it would slide down a bit. I purchased a pack of 100 magnets so it's not like another handful of would hurt.
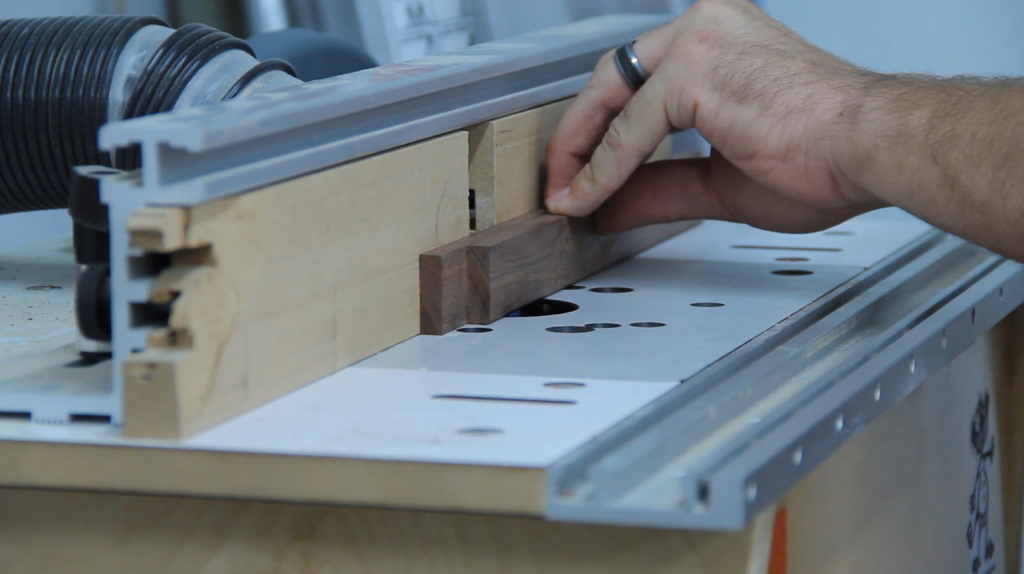
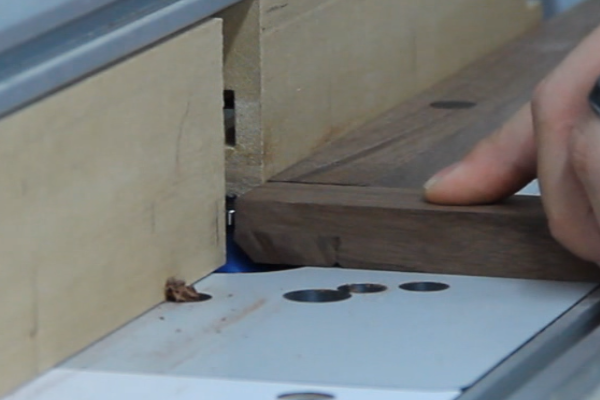
I put a small chamfer on the inside edges and used a round bit to put a slot in the bottom stile to hold my chalk. I didn't want to put a round slot in the entire bottom stile so I marked the start and stop position on the fence giving me a few inches on either side.
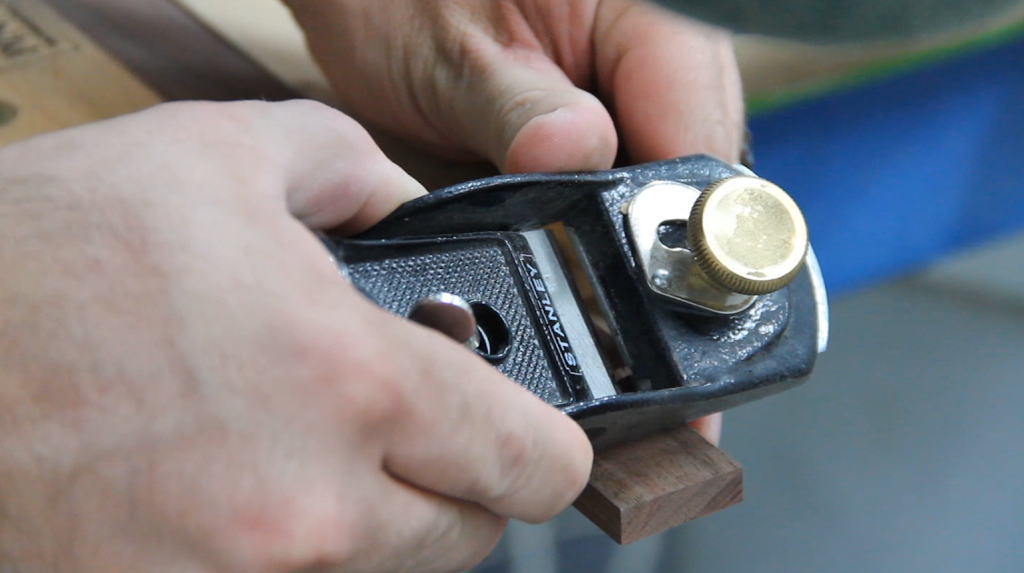
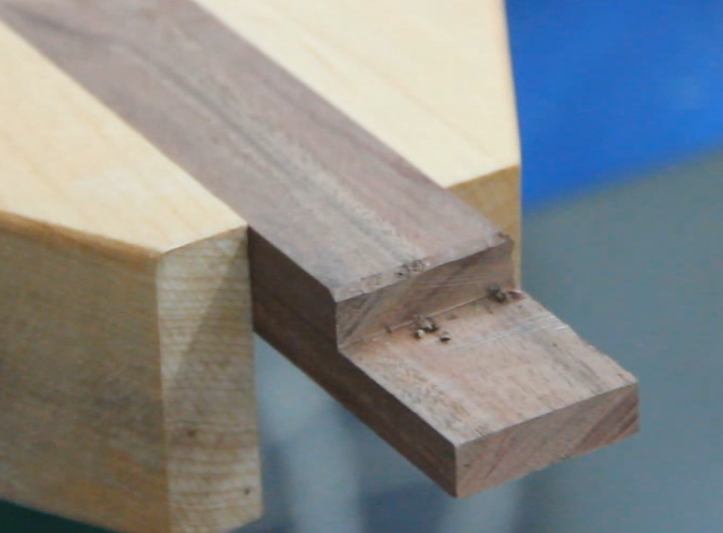
Using my block plane, I put a small chamfer on the ends of the stiles. These are the ends that will butt up to the rails and I wanted both sides of the half lap joint to have a small chamfer.
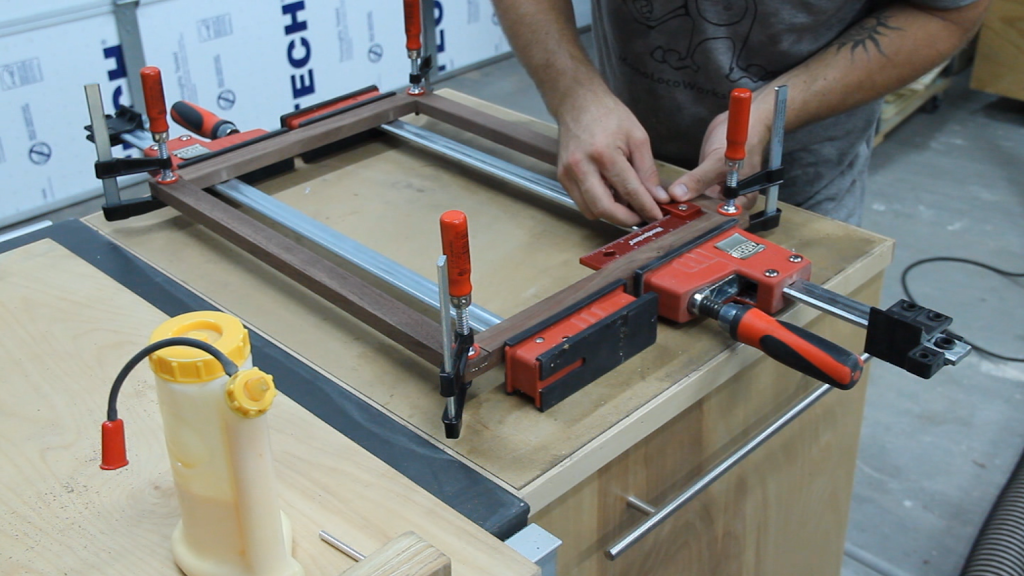
After giving the inside edges a quick sand, it was time for assembly. Just a little bit of glue on each joint and some clamps were all that was needed. These joints are pretty strong and I'm not worried about them breaking any time soon.
After the glue had a sufficient amount of time to dry I put a much more substantial chamfer around the entire outside of the frame. Everything got sanded with 220 grit to remove any machining marks and off to finishing it was.
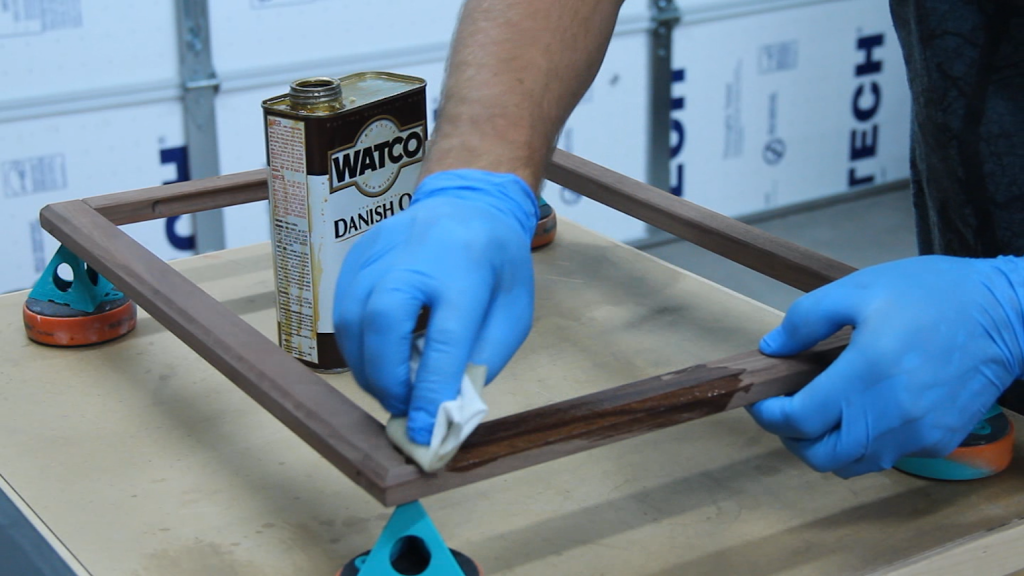
I've used Watco's Danish Oil on a few other walnut projects in the past and have always been pleased with the outcome. I figured I had it so why not just use it here too.
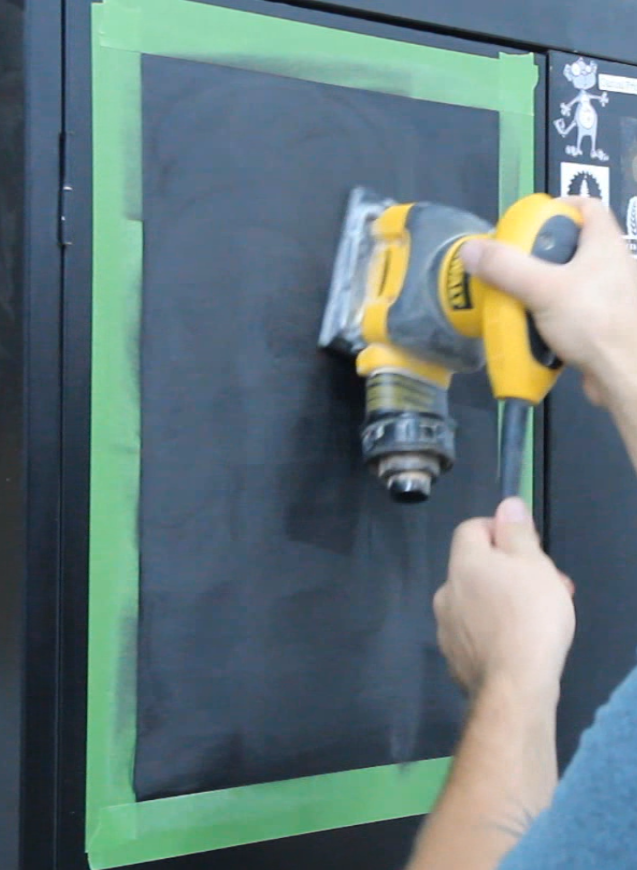

I put the frame on the cabinet where I figured it looked best and then traced the inside perimeter with a pencil. I then taped just outside the pencil mark and sanded the entire inside of the rectangle briefly with 400 grit sandpaper. The goal wasn't to sand through the paint but to rough it up just enough for it to evenly accept chalk.
Now that I won't be wasting paper for keeping score, maybe I can put some of it to good use by drawing up some plans for future projects.