
Glowing MonoLoco Sign

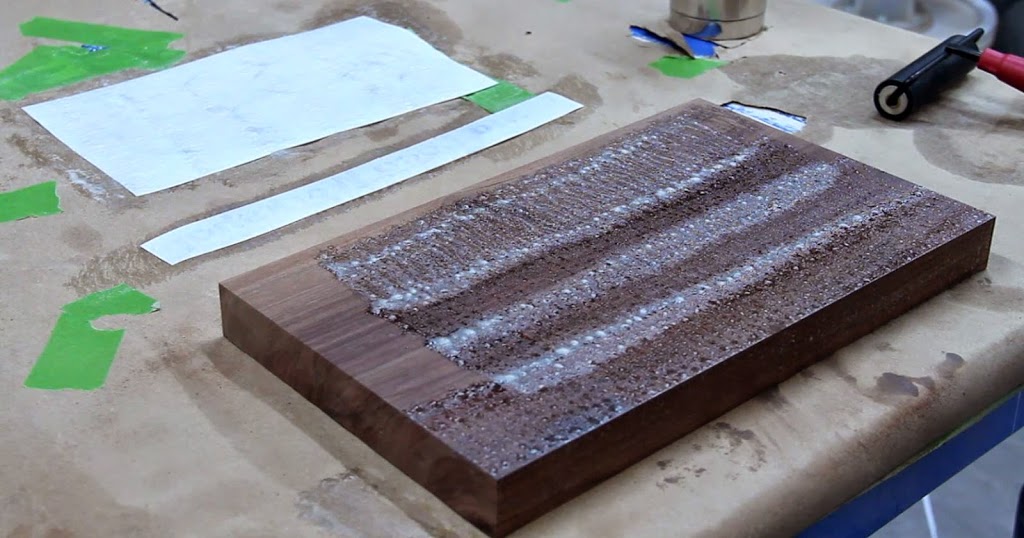
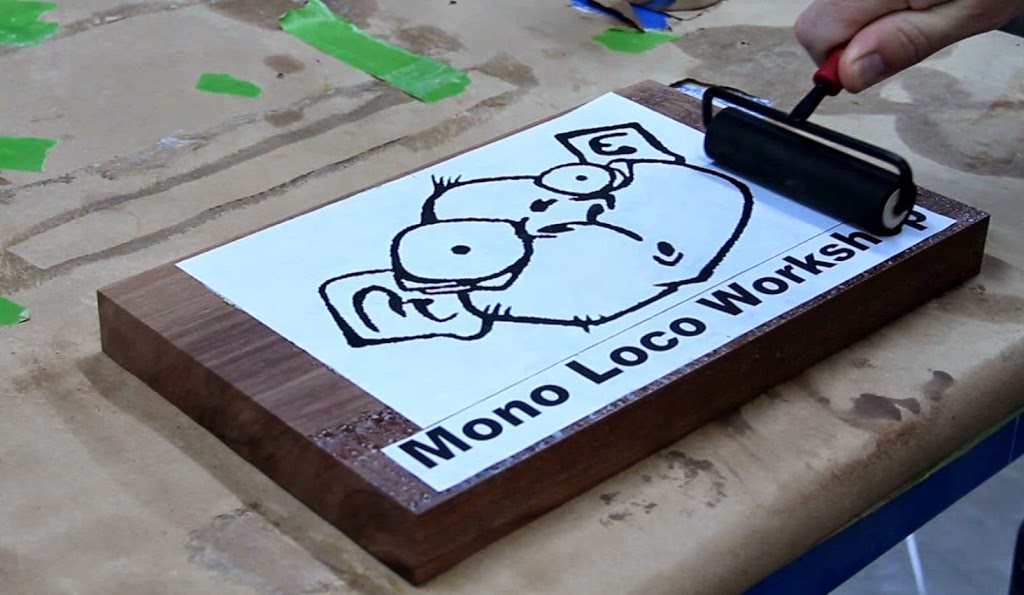
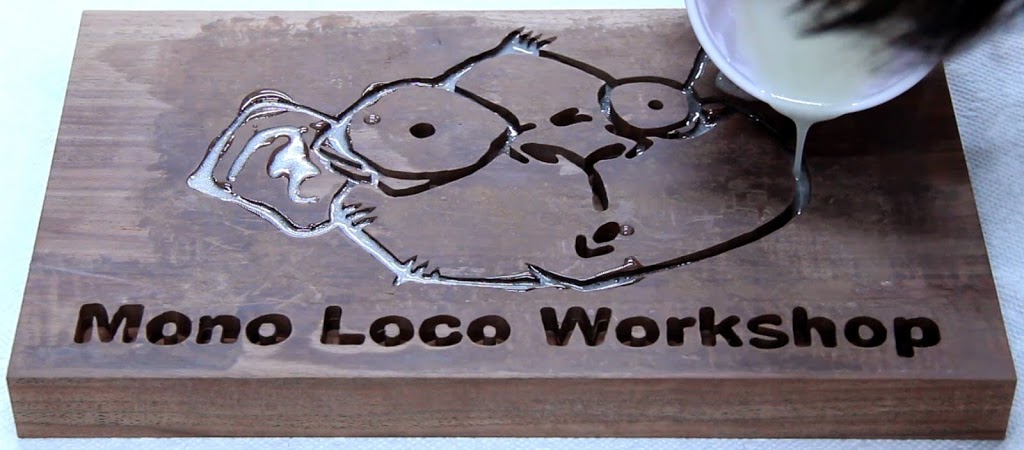
I recently picked up a piece of walnut from the local sawmill to use for an upcoming project. Since I love walnut I got extra for that unknown project that always seems to happen. I'm glad I did because it was perfect for this sign that came about after watching that video.The plan was to route out my logo and fill it with some of that glow in the dark epoxy. To do this, I needed to transfer my logo onto the wood. I initially tried the lacquer thinner / laser toner transfer technique that I use on most of my projects to put my logo on them but it didn't work all that well. I'm thinking it was because of how large the image was and how much toner/ink I needed to transfer. I didn't get a very good transfer so I had to keep applying lacquer thinner which in the end just made a big smear. I'm thinking that if I were to make just a thin outline it would have worked a lot better but live and learn... I ended up just using some spray adhesive to glue a printout of my logo onto the top of the board which came with its own issues. I should have just fell back to the good old carbon copy paper that I've quite successfully used in the past.
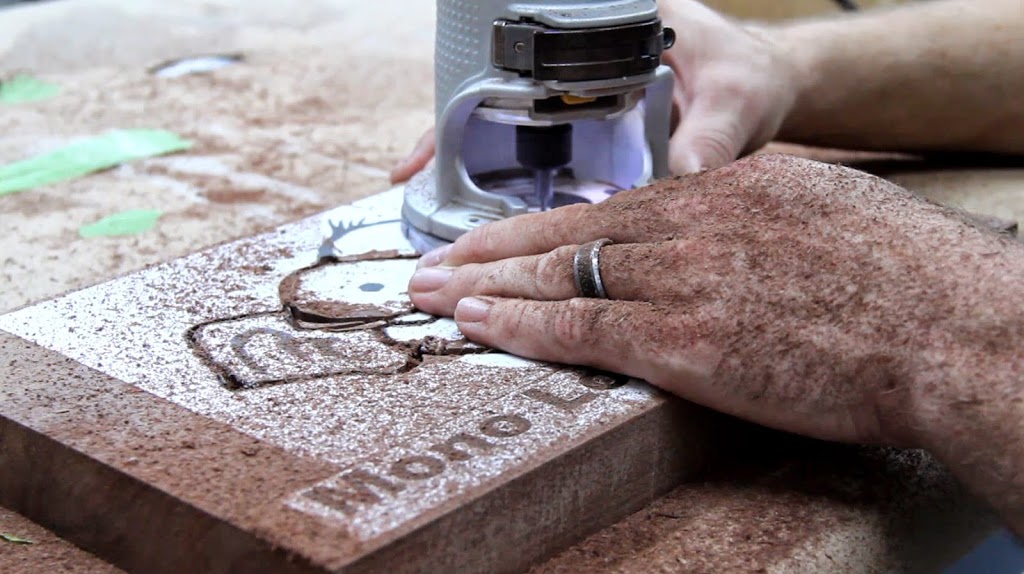
Using a small trim router and an 1/8" spiral up-cut bit I slowly routed out my entire logo. After about 5 minutes I decided that it was a mistake to glue the printout on top. The edges around some of the small bits that I routed out would kind of lift up and cause the router to get stuck while I was moving it around. I was sure that it was going to mess me up since I had to use extra force every time it got stuck but luckily it ended up working out.I did a shallow pass with the print out on top and then quickly removed the paper with a heat gun. After the paper and adhesive was removed from the top, I lowered my bit down so that the depth of the logo was 1/2".
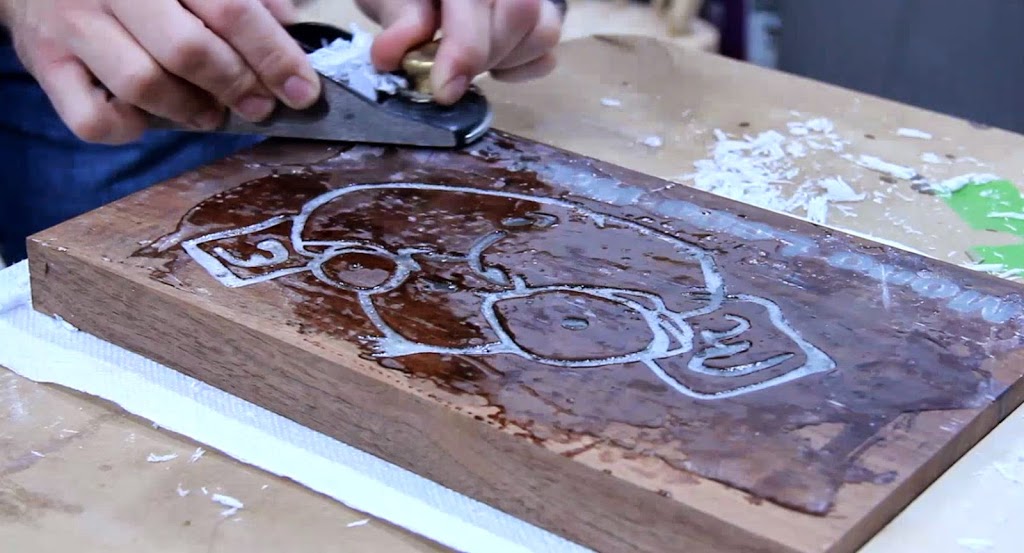

I used a block plane to remove any high spots in the epoxy before running it through my planer. This caused a really neat side effect where all of the shavings from the block plane were left glowing all over the table and floor.
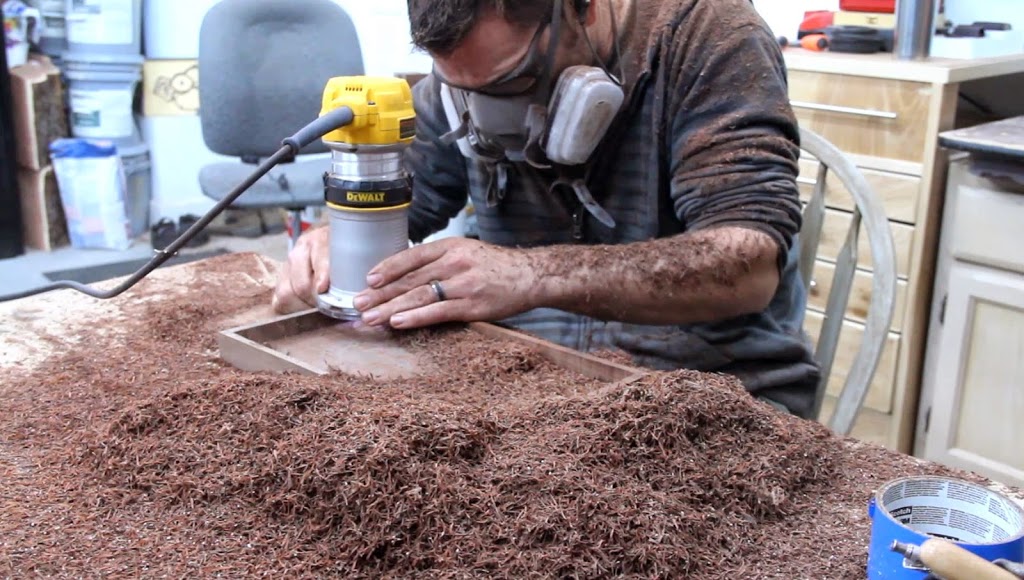
This sign is primarily going to be in my shop which I don't really plan on spending a lot of time in with the lights off. Because of this I decided I was going to put a black light behind the sign to activate the UV pigment in the epoxy. To make this work I needed to expose the epoxy from the back side of the sign. Using a larger spiral up-cut bit, I routed out most of the backside of the sign leaving a small lip around the entire thing. This sure did cause a mountain of shavings both on the table and in my lap.

I gave everything a quick wipe down with danish oil to give it a little oomph and maybe a little protection. I've been considering adding a little poly but still haven't done it so it probably won't happen.
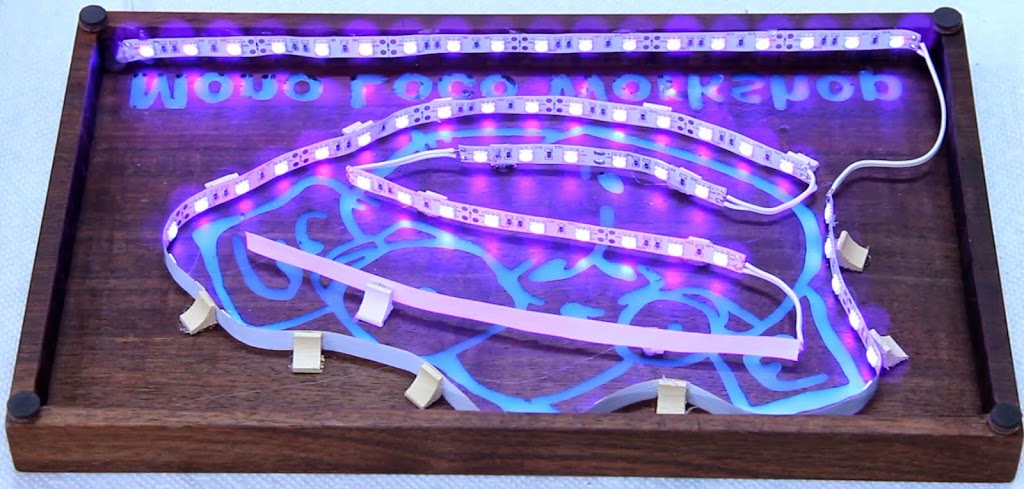
I picked up a roll of UV LEDs for a reasonable price on ebay and found a 12v power adapter lying around the house. I originally plan planned on running them around the inside perimeter of the sign but after playing around a bit I found that it didn't light up the center of the face like I wanted. I ended up using some small trim pieces of wood I had lying around and ran the LED's around and through the monkey head.

Lessons Learned
- When routing out a design, it's best to transfer the design onto the wood instead of gluing it on. This way you have a much smoother surface for the router to run over.
- When mixing larger quantities of epoxy resin, use a larger container. It's natural for the mixture to generate heat but apparently when it's think it generates a LOT MORE heat which can cause the container to melt as well as shorten it's cure time drastically.
- Much like I vibrate the form when making a concrete counter to remove the bubbles, that would help here as well. When I planed the top of the epoxy down I exposed more than a couple of air bubbles. You can't really see them unless you look close but they are there.