
Calendar Frames

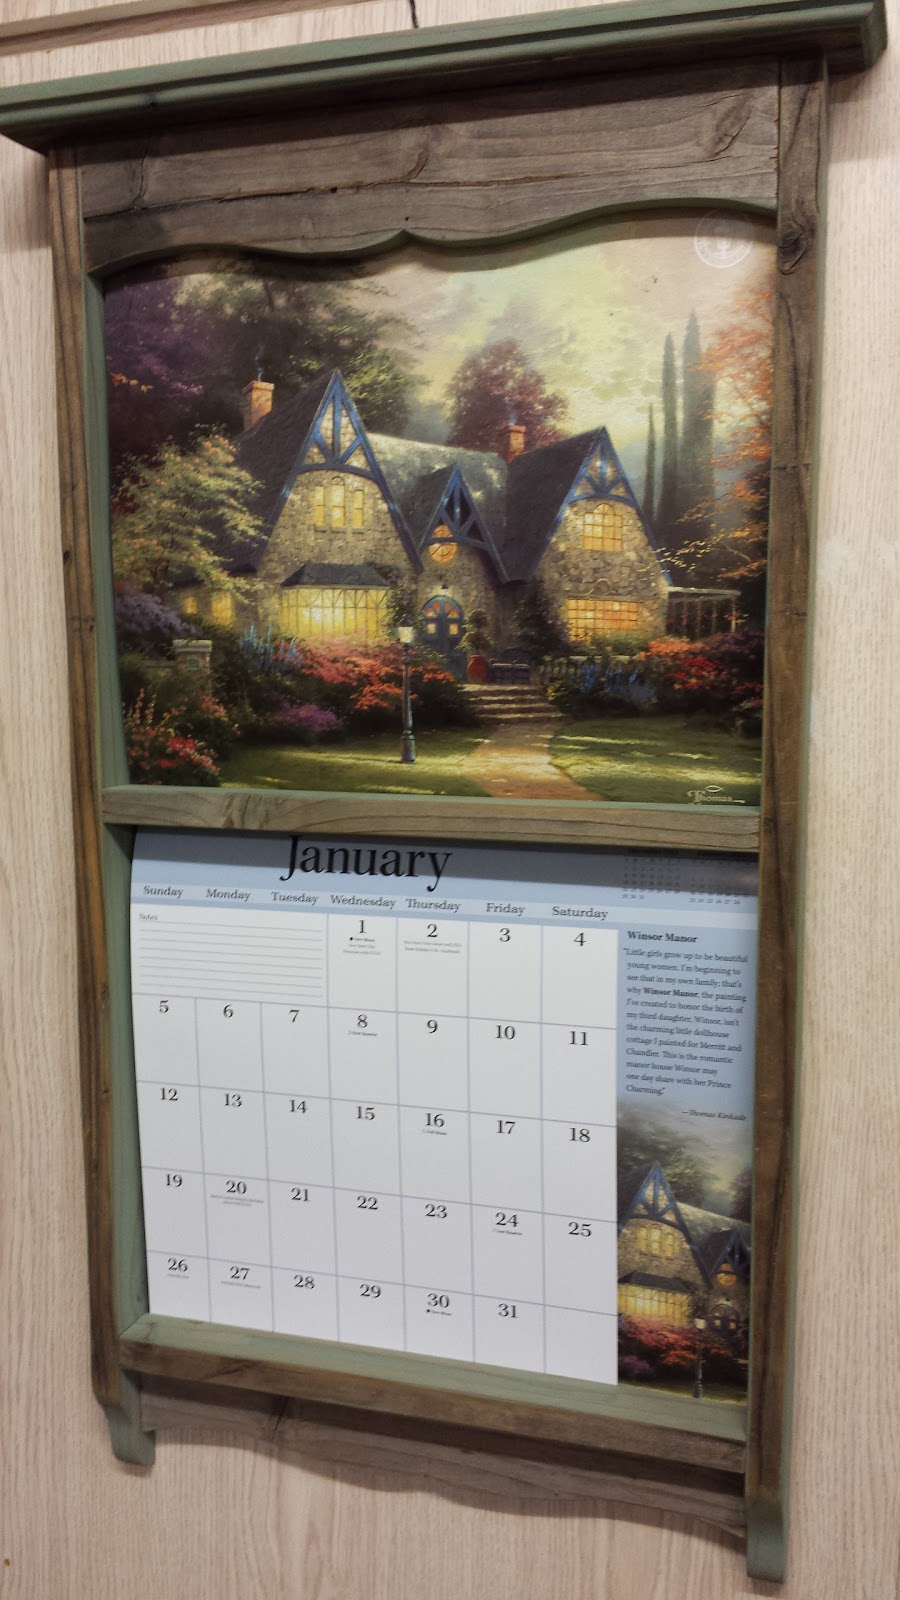
Growing up in Idaho, my family had a calendar frame with the fancy Lang calendars. Since I've gotten more into wood working, I have wanted to make some of these as Christmas presents and I finally got around to it.
Update: I made a new one for me and did a video of it. Check it out!
I made 5 of them this year for presents, most out of some reclaimed red wood I've had lying around. I made a few minor adjustments to my uncle's version but it's still pretty close. One thing I like about giving these out as Christmas presents is that it's easy to think of a gift for next year. (A new calendar!)
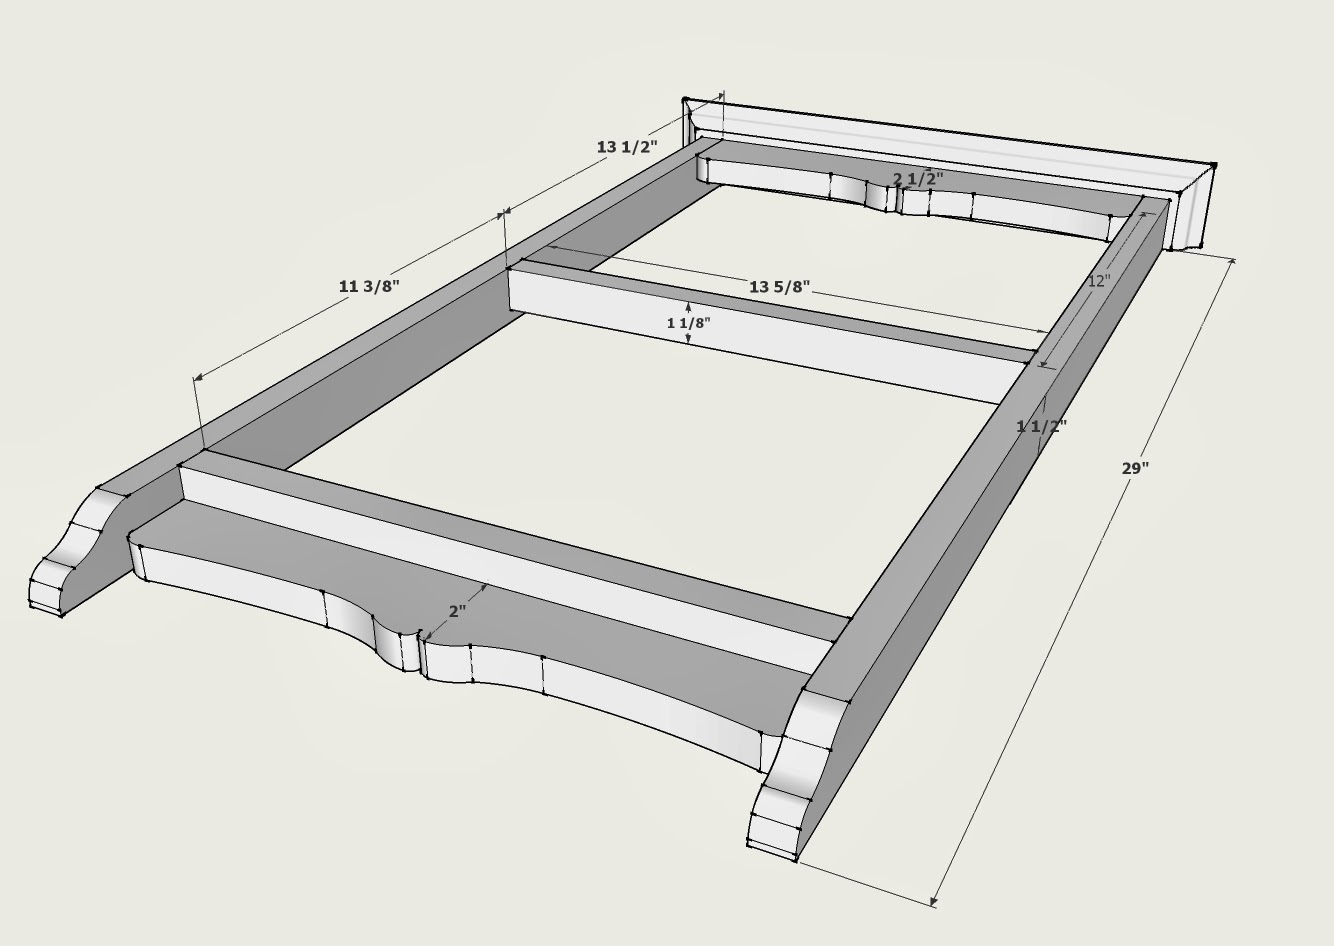 |
| This SketchUp file can be found on my Plans & Designs page. |
Once again, I laid everything out in SketchUp but ended up making a few minor adjustments when it came time to align everything. I noticed that the name of the month had almost no margin on the top of the bottom page. Because of this, I moved the center divider up a little so it didn't block any words. I also moved the bottom part with the pencil holder up about a 1/4" so it would hold the bottom of the calendar down.
 |
|
 |
 |
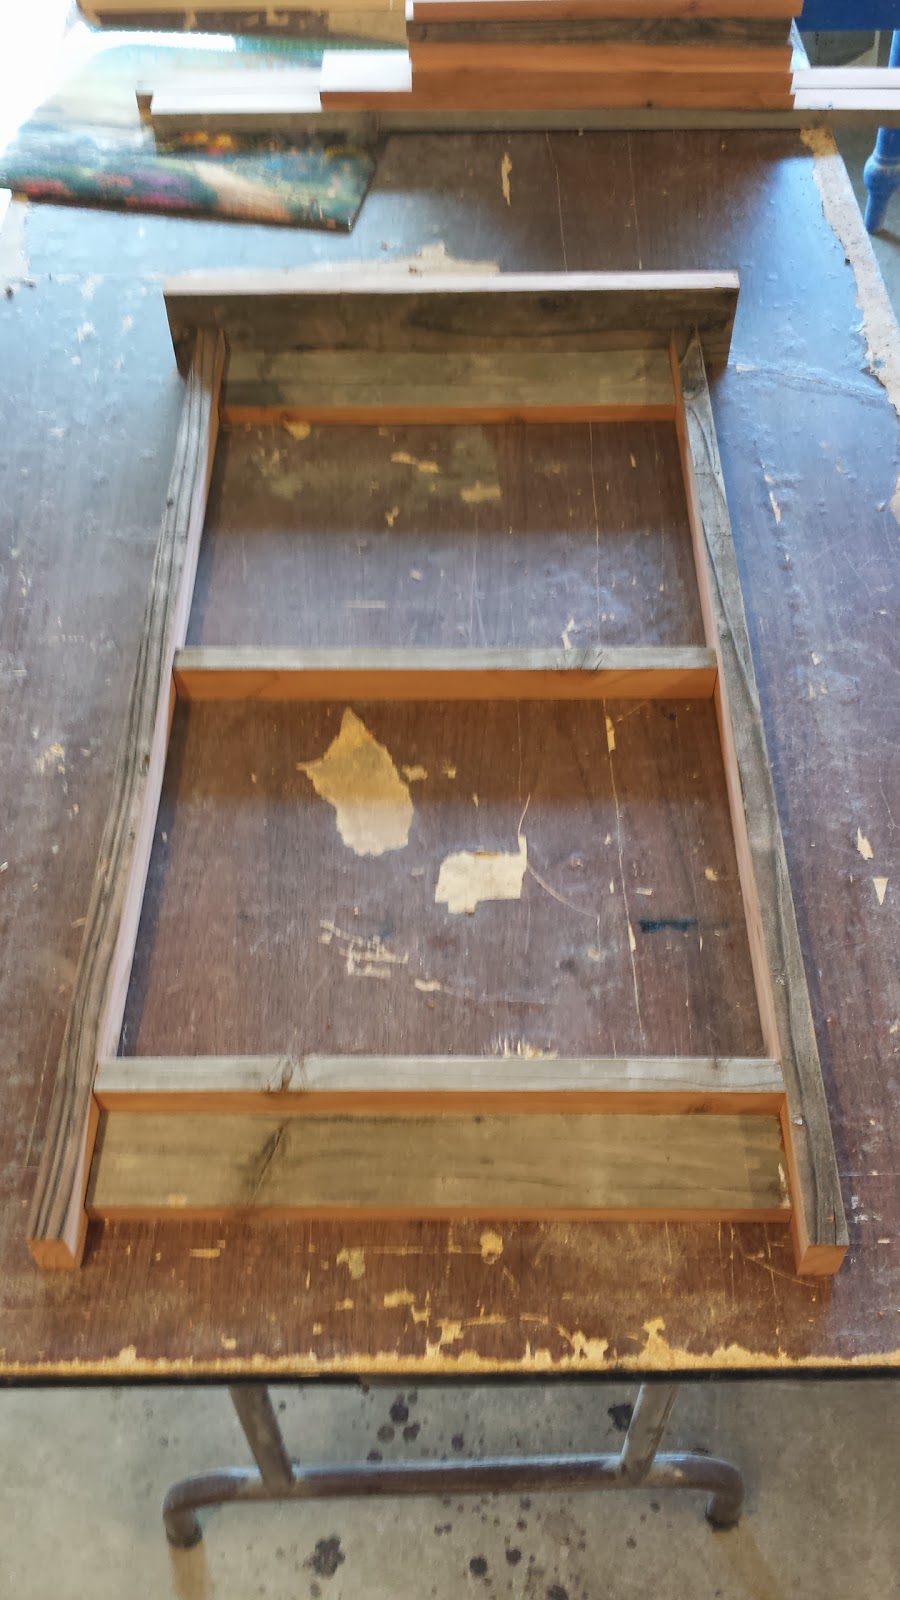
One of the 5 frames came out of a single 8 foot 1x4 pine board I picked up for a few bucks at the local big box store. The other 4 came from a section of a 2x4 and a 4x4 of red wood that I got from my friend's horse corral a couple of years back.
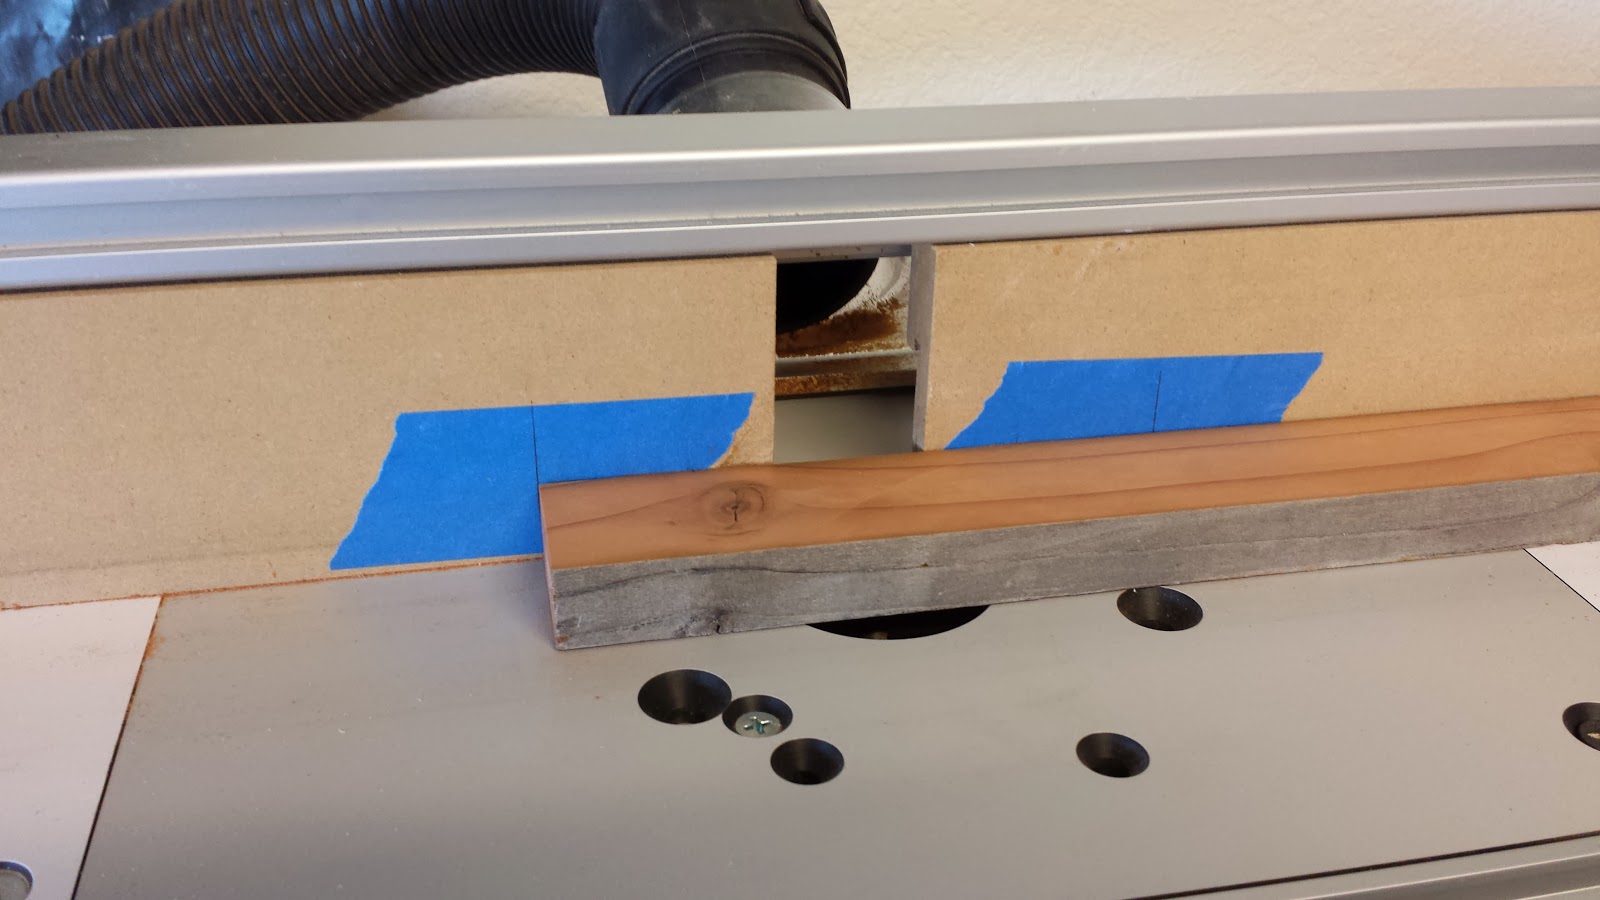
You can't really tell in the final pictures but each frame has a pencil holder about 8" long. I used a round bit and some tape with markings on it to indicate the start/stop points. This process was easier than I originally thought.
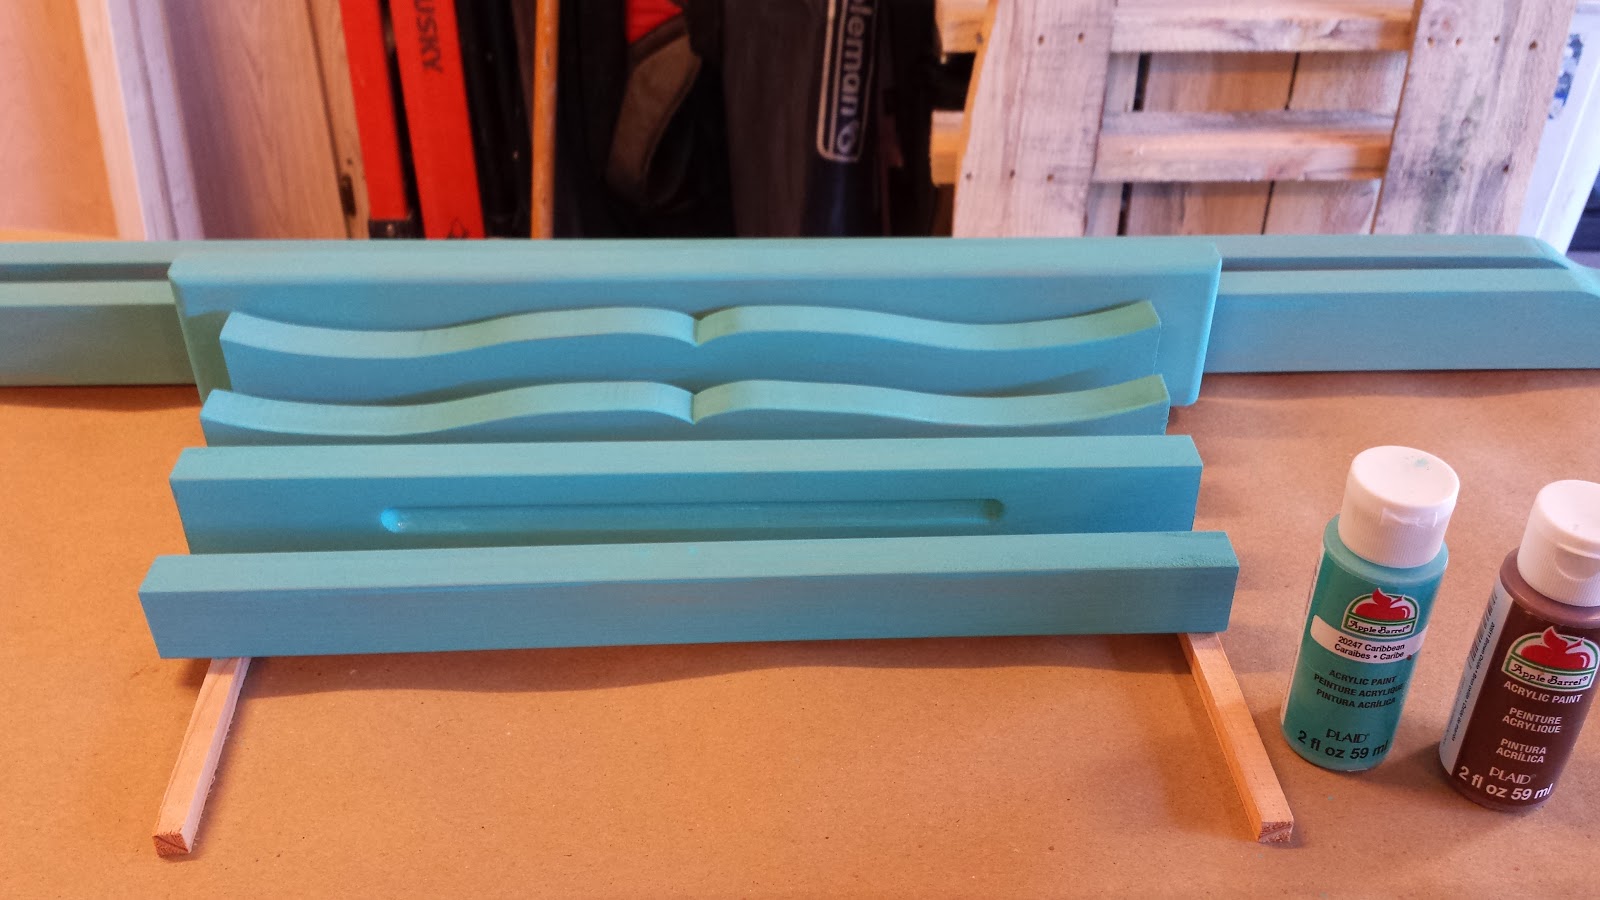
I decided to play around a bit with the finish which easily became the longest process of the entire build.
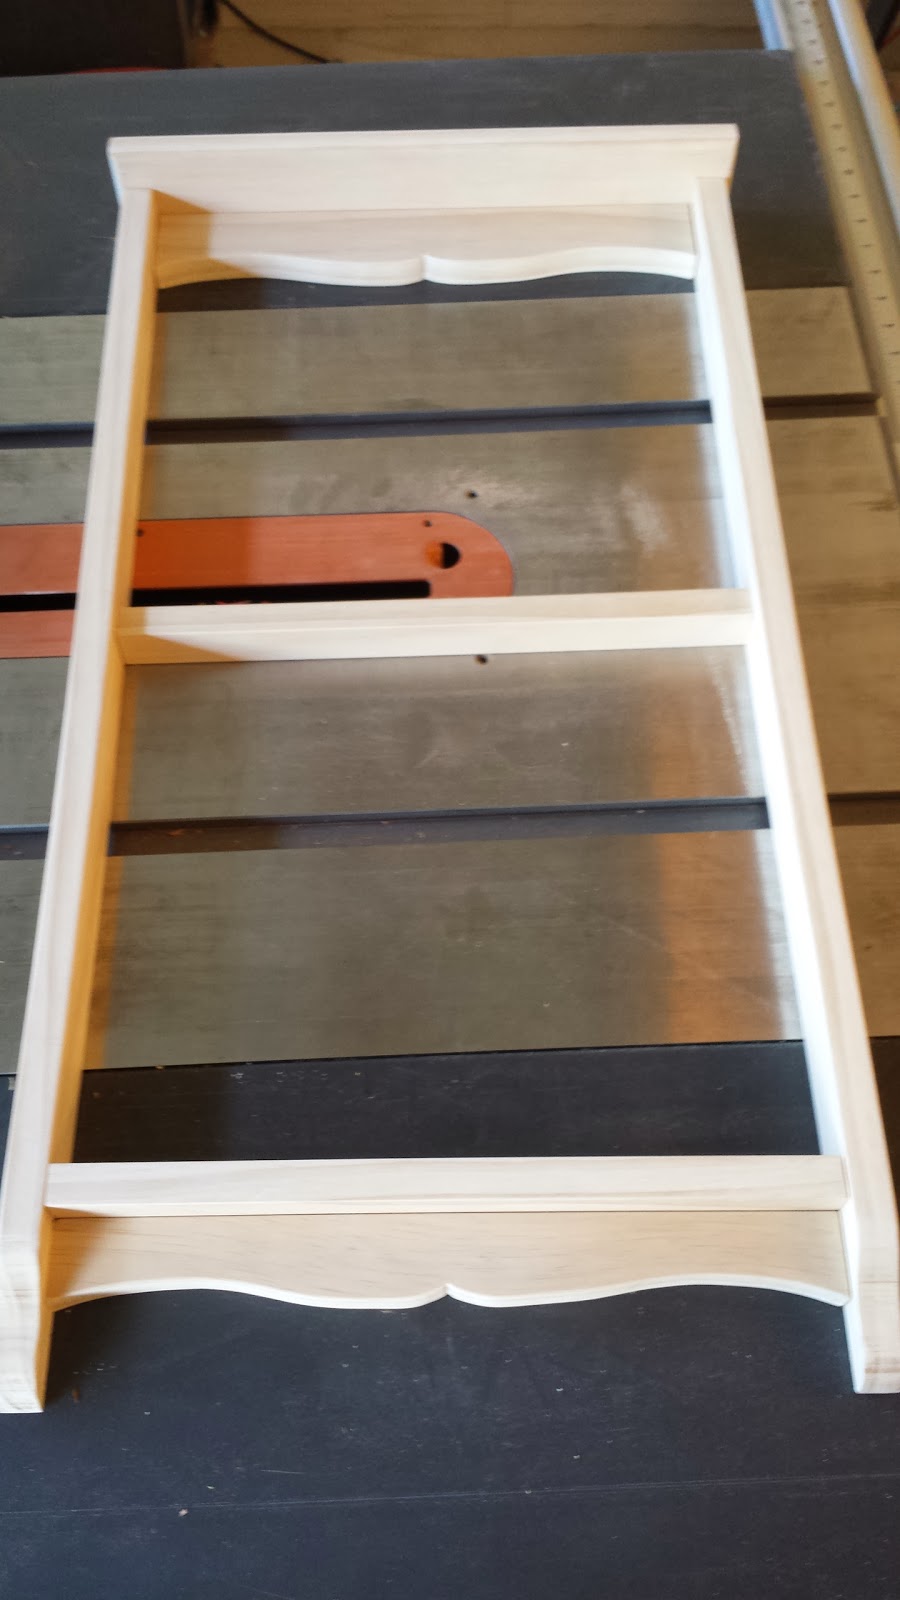
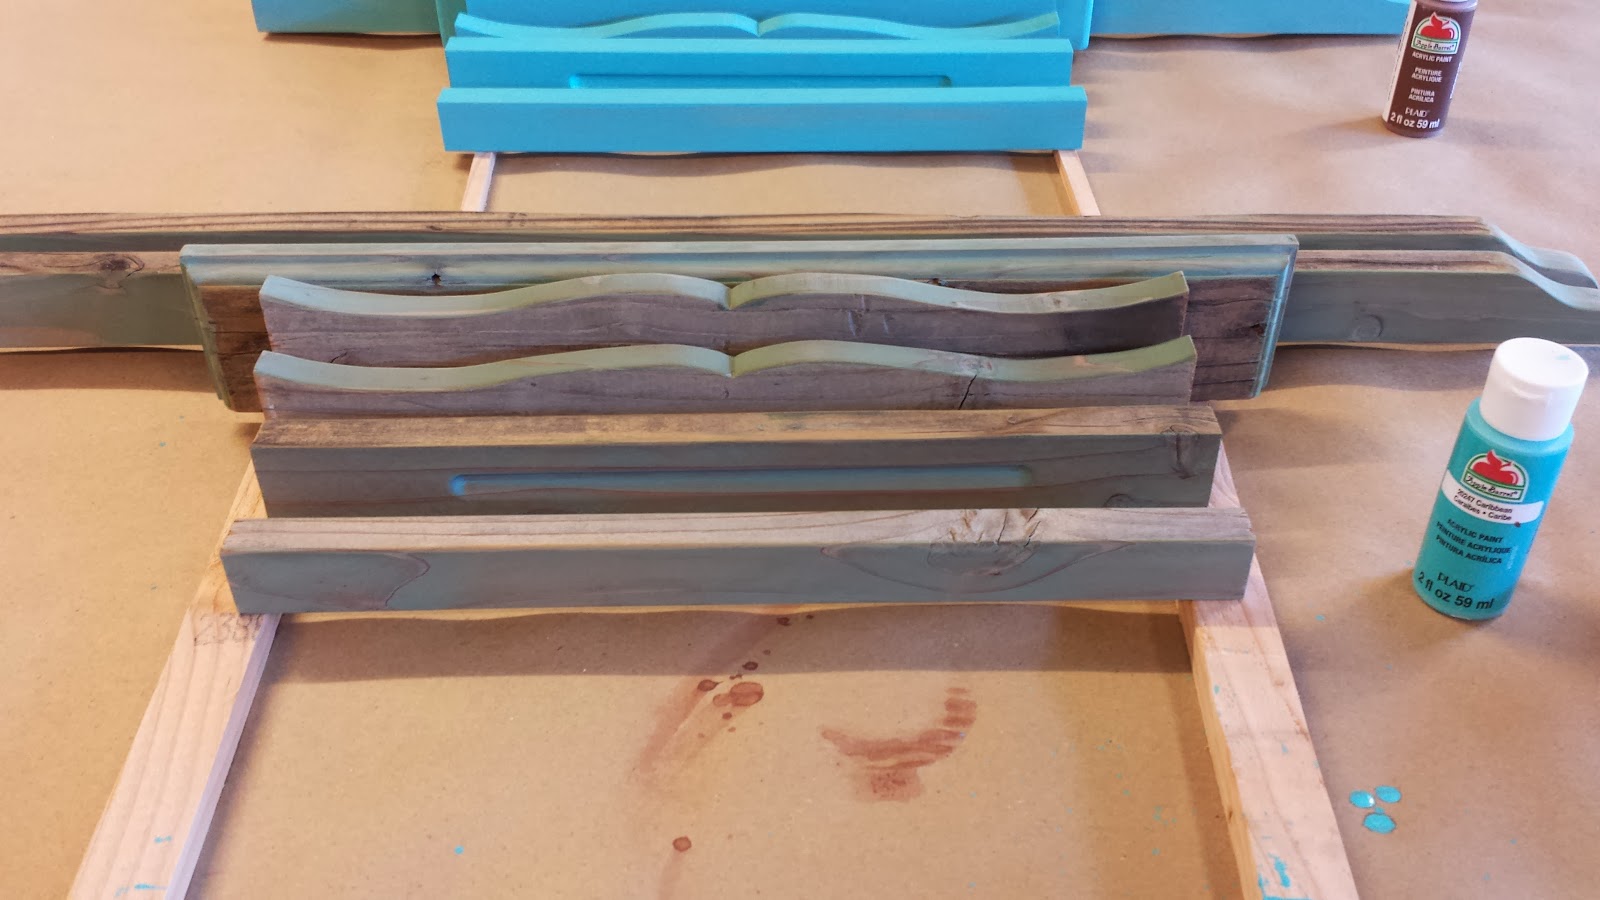
The plain pine frame was coated with watered down brown paint and then wiped off. I then lightly brushed on some blue/teal paint but left a lot of the brown showing through. It's hard to see in the final picture but I think it turned out pretty neat. Maybe next time I'll brush on a little less teal.
One of the reclaimed frames got a little watered down teal on the clean-cut edges which was quickly wiped off. I think this turned out really nice since all of the grain was still very prominent.
The other three were left with clean-cut red wood and old grey barn looking edges. I originally only made three and had three finishes but made an additional two a week later.
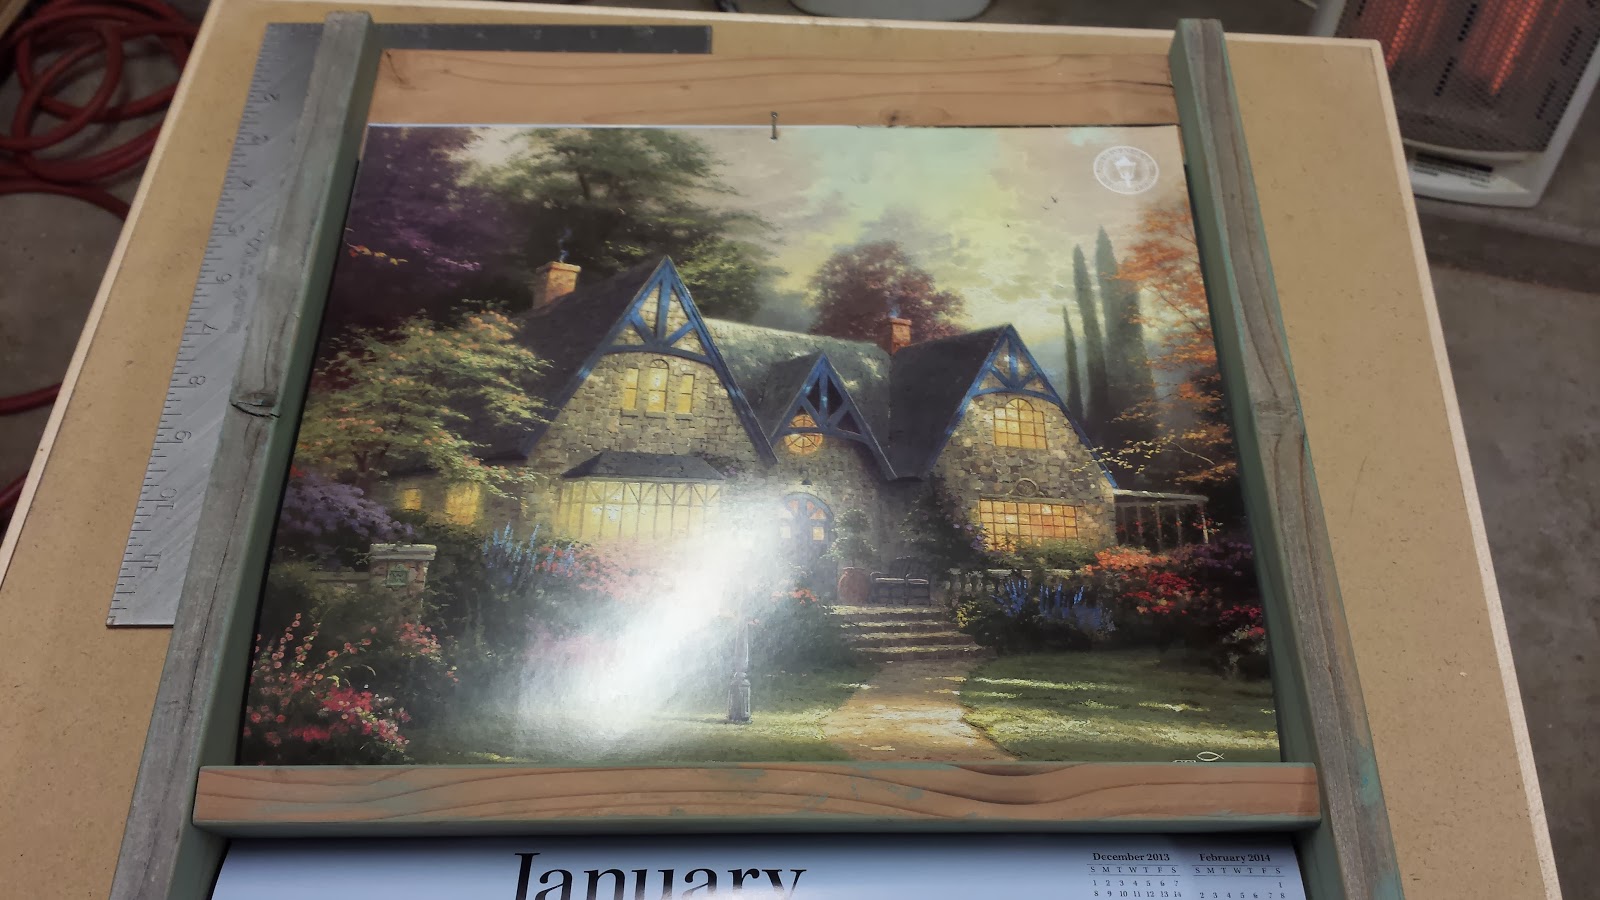
When deciding on the final layout during assembly I flipped the whole thing upside down. I pretty much just eyeballed where it best fit int he middle of the calendar while showing all the text from the month. I measured this and stuck with the measurement on the rest of my frames. I would suggest a similar approach if you build one of these for yourself.
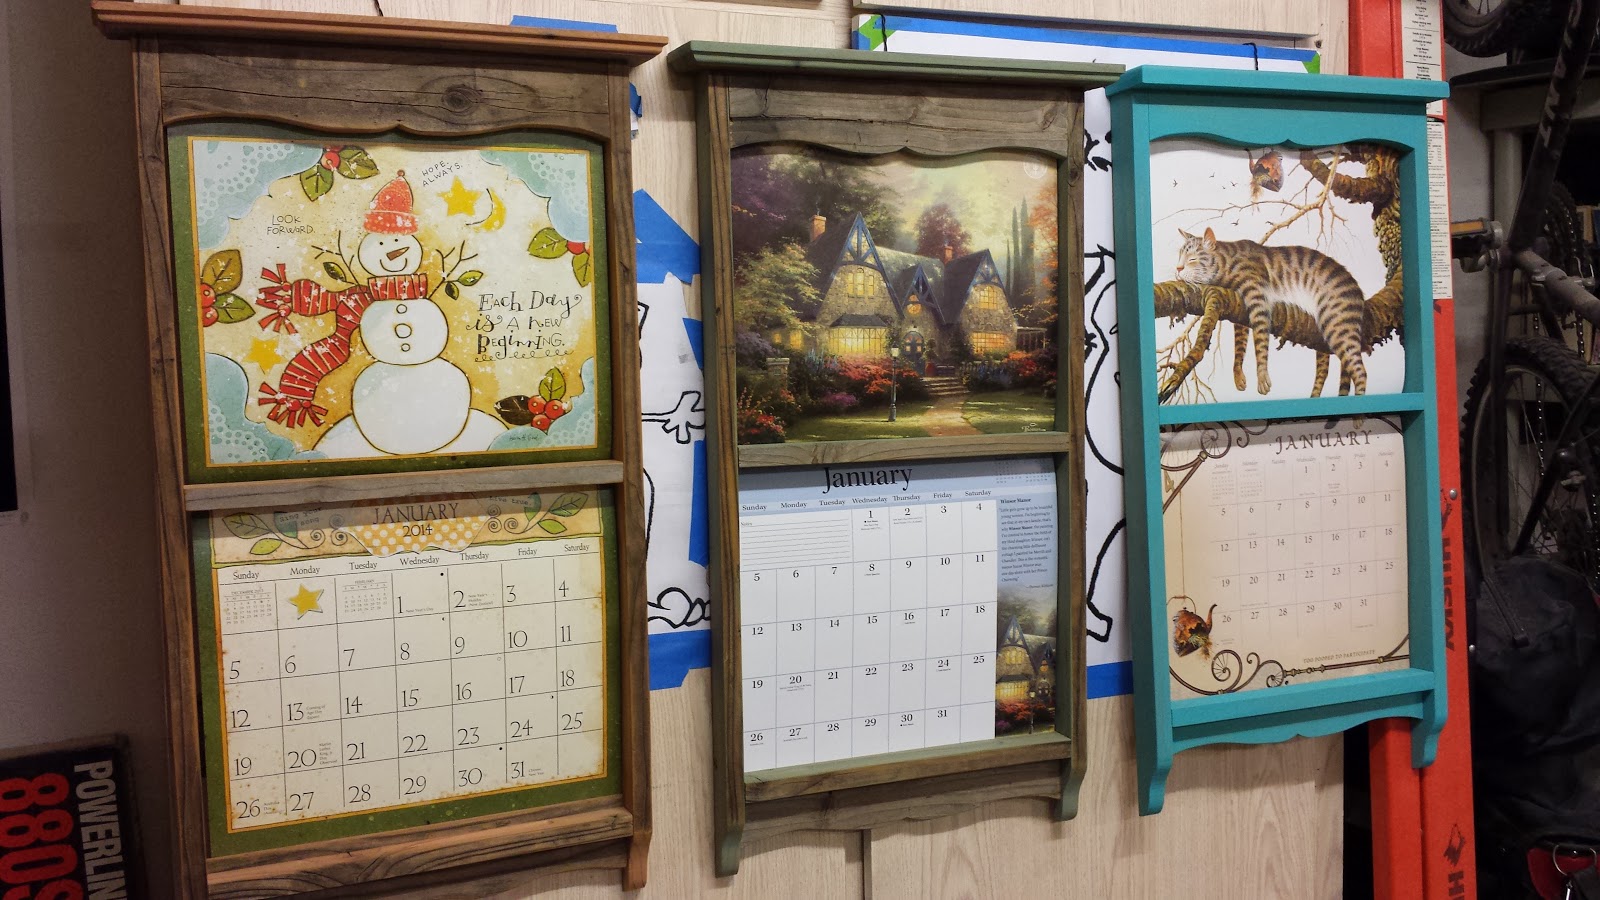
Here's the final three finishes I came up with. I think that they made great presents and will give years of pleasure. (Not to mention, it will give me years of easy Christmas presents!)Lessons LearnedIt's getting harder to come up with lessons learned. I guess that means I'm learning right?
- Now that I have a good table saw and a bandsaw, I'm surprised how much I can get from a four-foot section of an old 4x4 post.
- Even though I thoroughly plan my projects in SketchUp, laying everything out before final assembly is a must. Otherwise, I would have covered the month names and the bottom of the calendar would be flipping out. (Maybe I should have measured the calendar better while designing the frame in SketchUp?)
- When you make a bunch of presents for friends, maybe you should make one for yourself? I still don't have one of these in my house..